
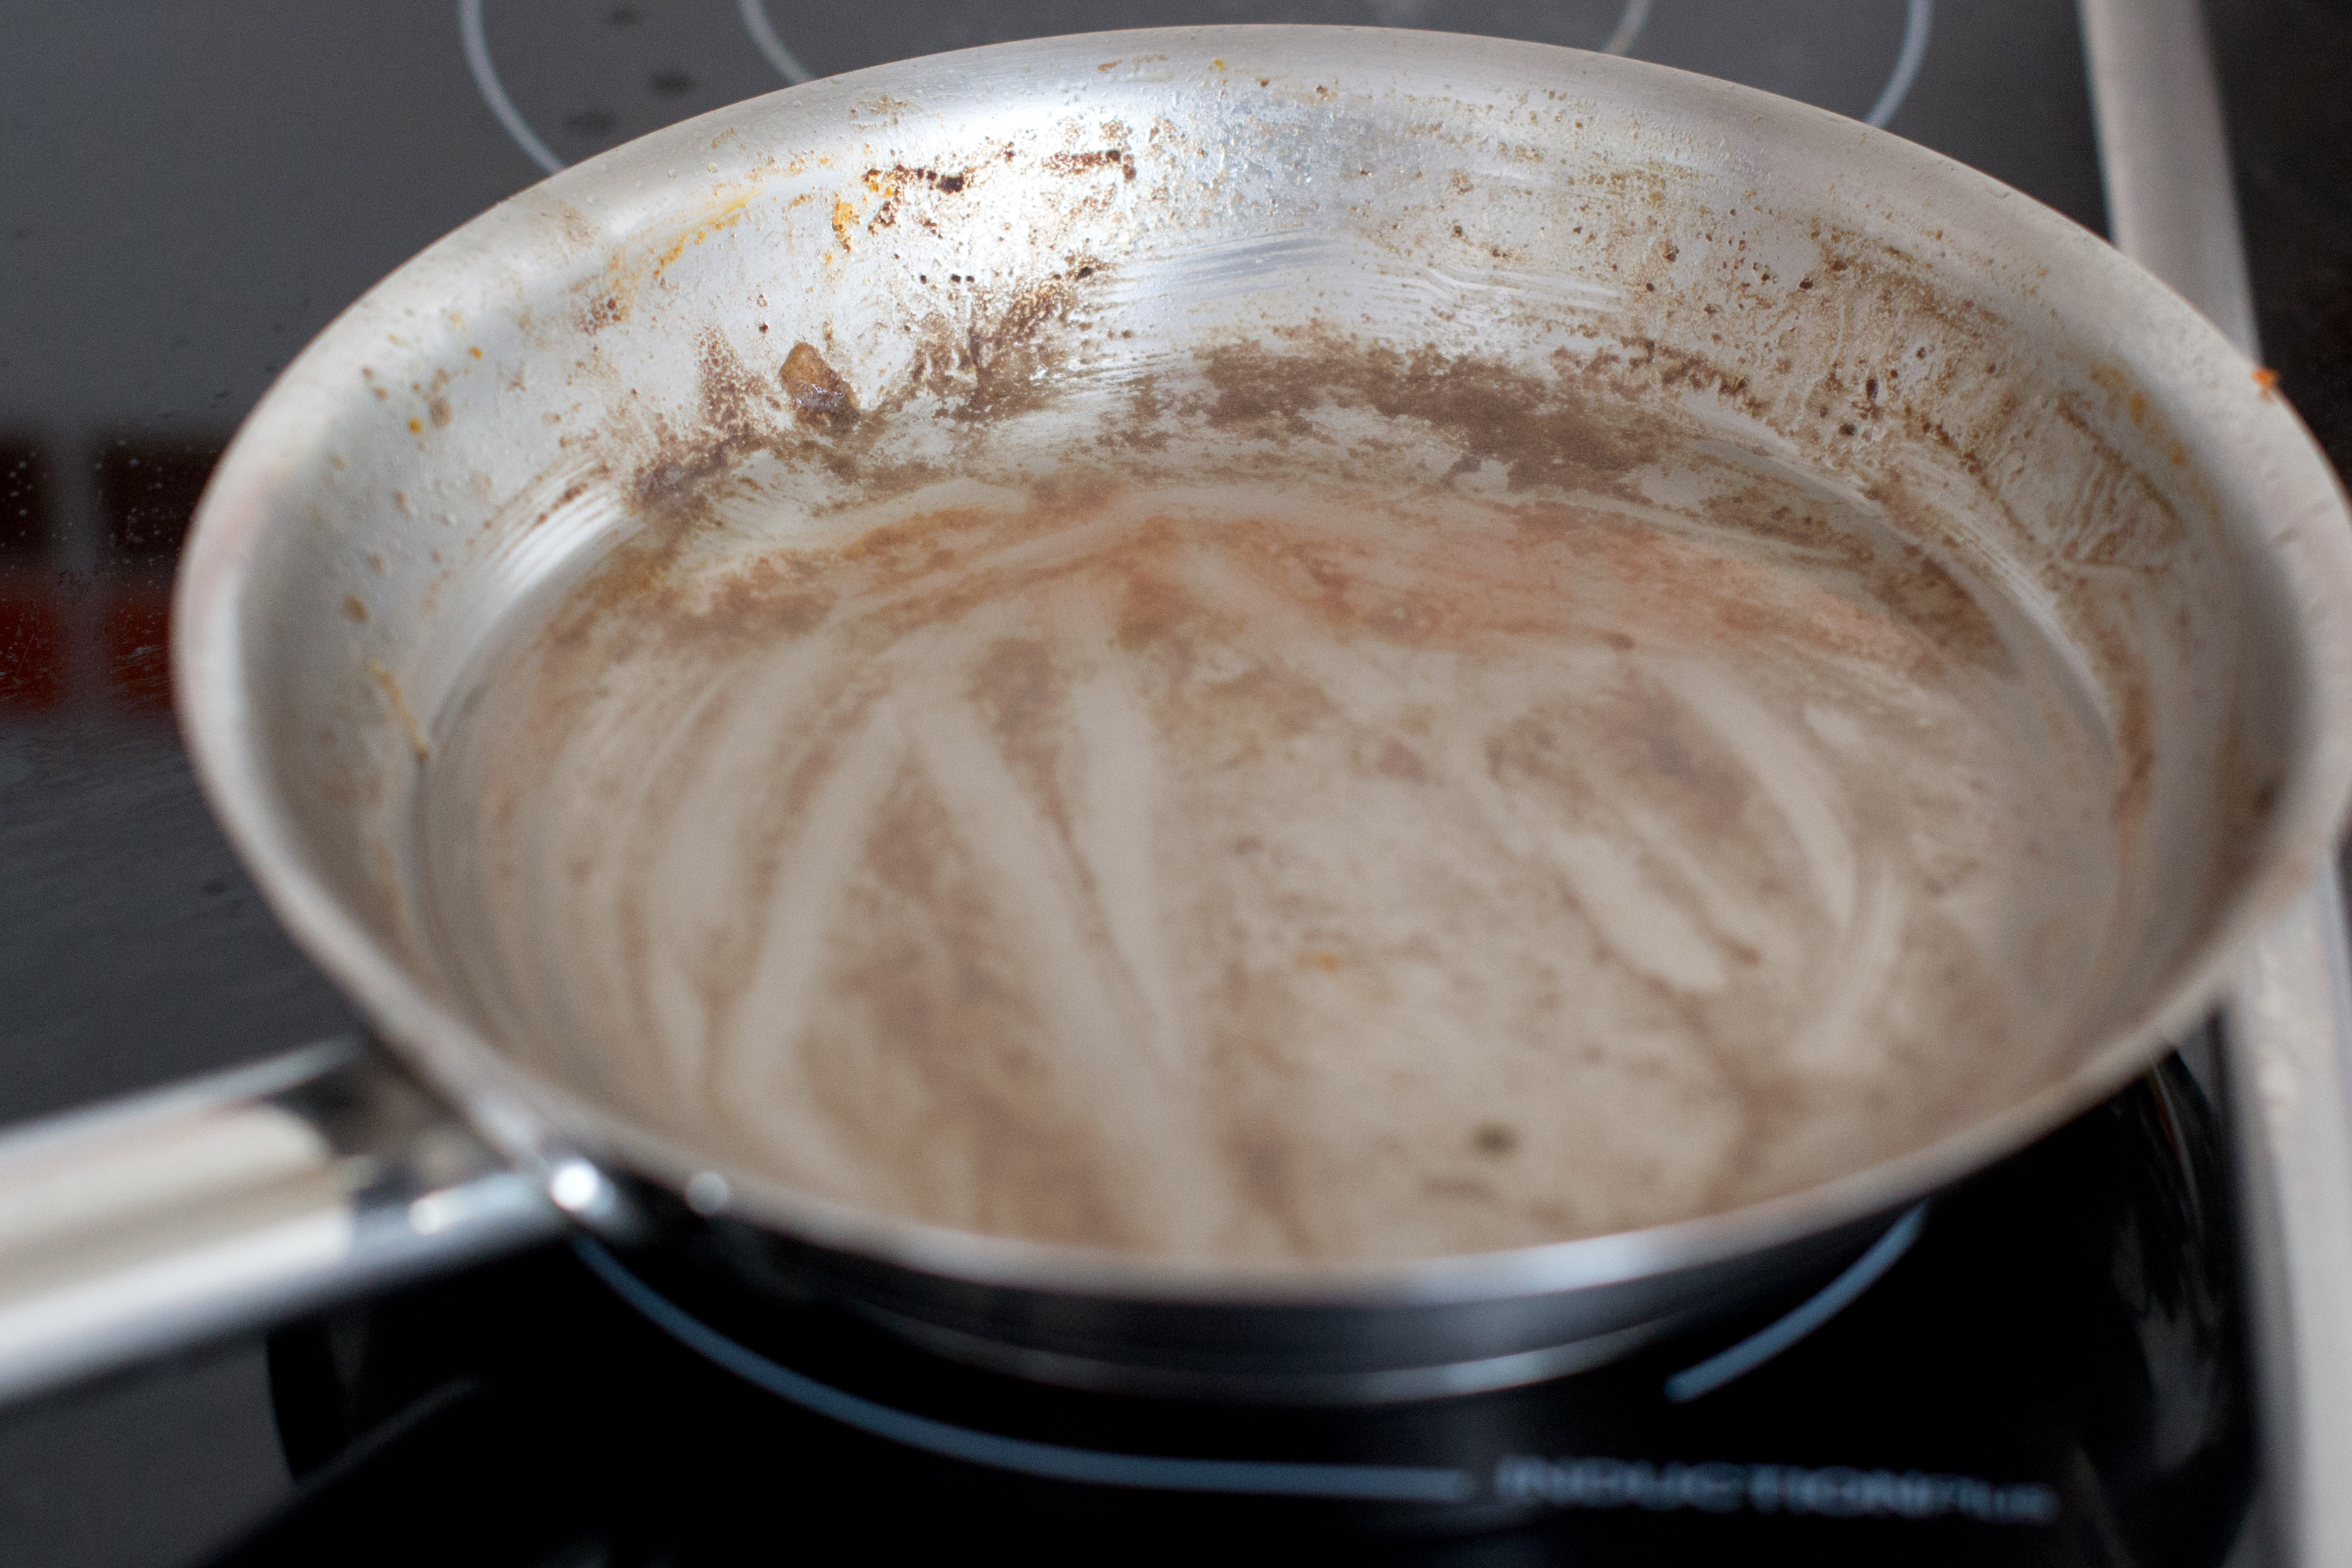
Few kitchen sounds are more dramatic than the hiss of food hitting a pan. Few kitchen smells are more tragic than the smoky announcement that dinner has joined the dark side. Burning pots and pans is not just annoying; it wastes food, damages cookware, fills the kitchen with smoke, and turns cleanup into a tiny domestic punishment.
The good news? Most burning is preventable. It usually comes down to heat control, timing, the right cooking fat, enough liquid, clean cookware, and knowing when to stop poking the chicken like it owes you money. Whether you cook with stainless steel, cast iron, ceramic, aluminum, nonstick, or a trusty old saucepan that has seen more drama than a reality show reunion, these practical tips will help you prevent burnt food, scorched pans, sticky residue, and sad dinners.
Below are 12 smart, realistic ways to prevent burning of pots and pans, plus a hands-on experience section at the end for real-world cooking situations.
Why Do Pots and Pans Burn in the First Place?
Before fixing the problem, it helps to understand it. Food burns when heat is too high, heat is uneven, moisture disappears, oil breaks down, sugar caramelizes too far, or food remains in direct contact with a hot surface for too long. A pan can also appear “burned” when old grease, residue, or minerals cook onto the surface repeatedly.
In other words, your pan is not always the villain. Sometimes it is the burner. Sometimes it is impatience. Sometimes it is the confident decision to “just check one message” while onions are sizzling. Spoiler: the onions always know.
12 Ways to Prevent Burning of Pots and Pans
1. Use the Right Heat Level for the Job
The number one way to prevent burning pots and pans is to stop treating “high heat” like a personality trait. High heat is useful for boiling water, searing steak in the right pan, or quickly reducing liquid. It is not ideal for delicate foods, nonstick cookware, sauces, eggs, pancakes, garlic, butter, or anything sugary.
For everyday cooking, medium heat is usually enough. Cast iron and stainless steel hold heat well, so they often continue cooking aggressively even after the burner is lowered. Nonstick and ceramic-coated pans should generally be used over low to medium heat because excessive heat can damage the coating and make food burn or stick faster.
A simple rule: if your oil smokes, butter turns black, garlic browns in seconds, or food burns outside while staying raw inside, the heat is too high. Turn it down before your dinner files a complaint.
2. Preheat the Pan Properly, Not Aggressively
Preheating helps food cook evenly and release from the surface, especially in stainless steel and cast iron pans. But preheating does not mean blasting the pan on high until it glows with ambition. A gradual preheat gives the metal time to warm evenly and reduces hot spots.
For stainless steel, heat the empty pan over medium or medium-high heat for a few minutes, then add oil once the surface is hot. If water droplets bead and glide across the pan, it is ready for oil. If they vanish instantly, the pan may be too hot. For cast iron, preheat slowly because cast iron retains heat strongly but does not always heat evenly at first.
For nonstick cookware, avoid long empty preheating. Add food or fat sooner and keep the temperature moderate. Nonstick pans are not built for dry, high-heat searing marathons.
3. Choose the Right Oil or Fat
Cooking fat is not just flavor; it is a barrier between food and the pan. Too little oil can lead to sticking, scorching, and uneven browning. But the type of fat matters too.
Butter tastes wonderful, but it burns more easily because of its milk solids. For higher-heat cooking, use oils with higher smoke points, such as avocado oil, canola oil, vegetable oil, peanut oil, or grapeseed oil. Olive oil works beautifully for many medium-heat dishes, but it should not be pushed past its comfort zone until it smokes and turns bitter.
For butter flavor without easy burning, try adding butter near the end of cooking or combining it with a little oil while still watching the heat. Just remember: oil does not magically make butter invincible. Butter can still burn if the pan is too hot.
4. Keep Food Dry Before It Hits the Pan
Wet food steams before it browns. That extra moisture can cool the pan, cause sticking, and create uneven patches that later scorch. This is especially true for chicken, fish, steak, tofu, mushrooms, and vegetables.
Pat proteins dry with paper towels before searing. Drain washed vegetables well. Press tofu if needed. If you are cooking frozen vegetables, expect extra moisture and adjust by using a wider pan, slightly higher heat at first, and enough stirring to prevent watery spots from turning into burnt spots once the steam disappears.
Dry food browns more predictably. Predictable browning is dinner. Unpredictable browning is “why is half of this black?”
5. Do Not Overcrowd the Pan
Overcrowding is one of the sneakiest causes of burning. When too much food is packed into a pan, moisture gets trapped. Instead of browning, food steams. Then, as the moisture evaporates, bits of food stick to the bottom and burn before the rest has cooked properly.
Cook in batches when needed. Give chicken thighs, meatballs, mushrooms, potatoes, and tofu enough room to make contact with the hot surface. If you are sautéing vegetables, use a wide skillet instead of a small saucepan. A crowded pan may feel efficient, but it often creates uneven cooking and more cleanup.
The pan needs breathing room. So does the cook, especially when dinner guests ask, “Is it supposed to smell smoky?”
6. Stir When Stirring Is Needed
Some foods need to be left alone to brown. Others need frequent movement to avoid burning. Knowing the difference saves both your meal and your cookware.
Stir soups, sauces, custards, oatmeal, rice pudding, caramelizing onions, and anything thick or dairy-based frequently because heavy ingredients settle and scorch on the bottom. Garlic, spices, and tomato paste can burn quickly, so keep them moving and add liquid before they go too dark.
On the other hand, steak, chicken, fish, and potatoes often need a little patience. If you move them too soon, they tear and stick. Let them form a crust, then flip. The art is knowing when to stir and when to let the pan do its job.
7. Add Liquid Before the Pan Gets Too Dry
Many burnt-pan disasters happen because the liquid disappears quietly. Sauces reduce, rice absorbs water, soups thicken, and suddenly the bottom layer becomes a smoky sacrifice.
When simmering, check the pot regularly. Keep the heat low enough that the liquid bubbles gently, not violently. Add small splashes of water, broth, wine, or sauce when the pan looks dry. For tomato sauces, beans, stews, and braises, stir from the bottom so thick ingredients do not settle and scorch.
If browned bits start forming during sautéing, use them before they burn. Add a splash of liquid and scrape the pan with a wooden spoon. That is called deglazing, and it turns stuck flavor into sauce instead of kitchen regret.
8. Match the Burner Size to the Pan
A tiny pan on a giant burner is a recipe for scorched sides and damaged handles. A large pan on a tiny burner can create a hot center and cool edges, leading to uneven cooking. Gas flames should not climb up the sides of the pot. Electric and induction burners should match the base of the cookware as closely as possible.
Using the correct burner size helps distribute heat more evenly. It also protects the exterior of the pot from discoloration and burnt-on grease. If you notice food always burning in one specific area, your burner may be creating a hot spot. Rotate the pan occasionally, especially with cast iron or older cookware.
9. Use the Right Pan Material for the Recipe
Not every pan is perfect for every job. Stainless steel is great for searing, sautéing, pan sauces, and browning. Cast iron is excellent for heat retention, steak, cornbread, crispy potatoes, and roasting. Nonstick is ideal for eggs, delicate fish, pancakes, and foods that need gentle release. Heavy-bottomed saucepans are best for sauces, custards, oatmeal, and rice because they distribute heat more evenly.
A thin, lightweight pan may heat too quickly and burn food before you can react. A heavy pan gives you more control. For sugary sauces, milk-based dishes, and long simmering, choose a thick-bottomed pot and keep the heat low.
The right pan will not make you a celebrity chef overnight, but it will reduce the number of meals that look like evidence.
10. Keep Pots and Pans Clean Between Uses
Old grease and food residue burn faster than fresh ingredients. If a pan feels sticky, looks brown in patches, or has a dull film, that residue can become the starting point for the next burn. Clean cookware gives food a smoother surface and helps heat transfer more evenly.
For stainless steel, use warm soapy water, baking soda paste, or a cookware-safe cleanser when needed. For nonstick and ceramic pans, avoid abrasive pads and metal utensils that scratch the coating. For cast iron, clean it promptly, dry it completely, and maintain a light layer of seasoning.
Do not ignore burnt buildup. Burnt-on grease is like kitchen gossip: the longer it stays, the harder it is to remove.
11. Watch Sugar, Dairy, and Garlic Closely
Some ingredients burn faster than others. Sugar can go from golden caramel to bitter black in seconds. Milk, cream, and cheese scorch when overheated or left unstirred. Garlic burns quickly, especially when minced. Ground spices can also scorch if added to a dry, hot pan for too long.
For garlic, cook it briefly over medium or medium-low heat, then add other ingredients before it browns too much. For dairy sauces, use low heat and stir often. For sugar-based glazes or caramel, stay near the stove and use a light-colored pan if possible so you can see the color change.
These ingredients are delicious, but they are dramatic. Give them attention and they will behave.
12. Stay Present and Use Timers
The final tip sounds simple because it is: do not wander away from active cooking. Many burnt pots and pans begin with “I’ll be right back.” The stove hears that and immediately chooses chaos.
Use timers for rice, pasta, simmering sauces, roasting pans, and anything that cooks longer than a few minutes. Set a second reminder if you are reducing liquid or cooking something thick. Keep oven mitts, utensils, oil, broth, and ingredients nearby before you start so you are not searching for them while the pan overheats.
Cooking rewards attention. You do not have to stare at the pan like it is a suspicious text message, but you should check it often enough to catch problems early.
Extra Tips for Different Types of Cookware
How to Prevent Burning in Stainless Steel Pans
Preheat gradually, add oil after the pan is hot, and give food time to release naturally. If food sticks immediately, do not scrape aggressively. Wait a little longer, lower the heat if needed, and use liquid to deglaze browned bits before they burn.
How to Prevent Burning in Nonstick Pans
Use low to medium heat, avoid metal utensils, skip high-heat searing, and do not leave an empty nonstick pan on a hot burner. Hand-wash gently and replace the pan if the coating is deeply scratched, peeling, or no longer releasing food well.
How to Prevent Burning in Cast Iron
Preheat slowly, use enough oil, and remember that cast iron holds heat longer than many other materials. Once it is hot, you may need to lower the burner. Keep the seasoning maintained and avoid cooking very acidic sauces for long periods in a young or poorly seasoned skillet.
How to Prevent Burning in Saucepans
Use a heavy-bottomed saucepan for oatmeal, sauces, custards, soups, and grains. Stir from the bottom, use low heat for thick mixtures, and add liquid before the pan dries out. When cooking rice or grains, follow the correct liquid ratio and avoid lifting the lid too often.
Common Mistakes That Lead to Burnt Pots and Pans
Many burnt-pan problems come from a few repeat habits: using high heat for everything, adding oil too early and letting it smoke, cooking with too little fat, overcrowding the pan, ignoring residue, and walking away during a critical moment.
Another mistake is assuming all cookware behaves the same. A thin aluminum pan reacts quickly to heat changes. Cast iron reacts slowly but stays hot. Stainless steel rewards proper preheating. Nonstick prefers gentler temperatures. Learning your cookware is like learning a pet’s personality, except the pan will not chew your slippers.
How to Save a Pan Before Food Burns Completely
If you smell burning, act fast. First, lower or turn off the heat. Move the pan to a cool burner if needed. If you are cooking a sauce, soup, or stew, do not scrape the burnt bottom into the food. Transfer the unburned portion into a clean pot, leaving the scorched layer behind.
If you are sautéing, add a small splash of liquid and gently loosen browned bits before they turn black. If oil is smoking heavily, remove the pan from heat and let it cool safely. Do not pour water into hot oil. That is not a cooking technique; that is a kitchen volcano audition.
Experience Section: Real-Life Lessons for Preventing Burnt Pots and Pans
After enough time in the kitchen, most cooks develop a sixth sense for burning. It starts with smell. You are chopping parsley, feeling very professional, and then a faint bitter scent floats up. That is the pan politely whispering, “Excuse me, I am about to ruin your evening.” The best cooks respond early. Beginners often wait until the smoke alarm joins the conversation.
One of the most useful experiences is learning that medium heat is stronger than it sounds. Many home cooks start too hot because restaurant cooking looks fast and fiery. But restaurant burners, pans, prep systems, and timing are different. At home, medium heat gives you more control. For example, onions cooked over medium-low heat become sweet and golden. Onions cooked over high heat become black confetti with emotional damage.
Another lesson comes from cooking eggs. Eggs teach humility. In a cold stainless steel pan, they glue themselves down like they signed a lease. In a screaming-hot pan, they blister and burn. But in a properly warmed pan with enough butter or oil, they slide, set, and release. The same principle applies to fish, pancakes, tofu, and chicken: temperature plus fat plus patience equals release.
Rice and oatmeal teach a different lesson: the bottom of the pot matters. Thick foods settle as they cook. If the burner is too high or the pot is too thin, the bottom layer scorches while the top looks innocent. Stirring from the bottom, lowering the heat after boiling, and using a heavy saucepan can prevent that classic burnt-grain smell. A timer helps too, because “I’ll remember” is not a reliable cooking strategy.
Experience also shows that clean pans cook better. A pan with sticky brown film may look harmless, but that residue burns quickly the next time heat is applied. Once a pan starts with old grease on it, fresh food has a greater chance of sticking and scorching. Cleaning after each use is not glamorous, but neither is soaking a pot overnight while questioning your life choices.
Finally, the biggest real-world lesson is to prepare before turning on the stove. Slice the vegetables, measure the sauce, open the broth, find the spatula, and set the lid nearby. Burning often happens in the gap between “the pan is ready” and “where did I put the garlic?” Professional cooks call this mise en place. Home cooks can call it “not panicking while oil smokes.” Either way, it works.
Preventing burnt pots and pans is not about perfection. It is about paying attention, choosing the right heat, and respecting the cookware. Every pan has a rhythm. Once you learn it, cooking becomes calmer, food tastes better, and your smoke alarm can finally enjoy a peaceful retirement.
Conclusion
Preventing burning of pots and pans comes down to control: control the heat, control moisture, control timing, and control the urge to walk away at exactly the wrong moment. Use moderate heat for most cooking, preheat cookware properly, add enough oil or liquid, avoid overcrowding, stir when needed, and keep pans clean. Match the pan to the recipe, respect delicate ingredients, and let food release naturally instead of forcing it.
With these 12 practical methods, you can protect your cookware, reduce kitchen smoke, save money on ruined food, and make cooking feel less like a battle with hot metal. A good pan is a kitchen partner. Treat it well, and it will reward you with golden crusts, silky sauces, fluffy eggs, and fewer burnt offerings to the dinner gods.














