
Some crafts require glitter, specialty glue, and the patience of a saint. A plastic bag parachute requires exactly the opposite: a clean plastic bag, a little string, tape, scissors, and a small toy brave enough to become your test pilot. Congratulations, you have just entered the glamorous world of kitchen-table aerospace engineering.
Learning how to make a plastic bag parachute is not only a fun DIY project for kids, families, and classroom STEM activities. It is also a simple way to explore gravity, air resistance, drag, surface area, balance, and design testing without needing a lab coat or a wind tunnel. The basic idea is wonderfully simple: a parachute canopy catches air as it falls, creating drag that slows the payload. In other words, air becomes the invisible hand saying, “Not so fast, tiny action figure.”
In this guide, you will learn three practical ways to make a plastic bag parachute: a classic square parachute, a rounded parachute, and a vented parachute for smoother drops. Each method uses everyday materials and includes testing tips, troubleshooting advice, and safety notes. At the end, you will also find a longer experience-based section with real-world lessons learned from making and testing homemade parachutes.
Before You Start: Safety, Setup, and Materials
A plastic bag parachute is a simple craft, but it still needs common sense. Thin plastic bags can be a suffocation hazard for babies and young children, so this activity should be done with adult supervision. Keep plastic bags away from faces, cribs, beds, and play areas for toddlers. Also, do not drop objects from rooftops, high balconies, streets, stairwells with people below, or anywhere the payload could hit someone. Your toy pilot wants adventure, not a lawsuit.
Basic Materials
- One clean, lightweight plastic grocery bag or produce bag
- Scissors
- String, yarn, thread, or dental floss
- Tape, preferably masking tape or clear tape
- Ruler or measuring tape
- Hole punch, optional
- Small toy, bottle cap, paper clip, small washer, or clay ball for the payload
- Marker, optional
The best payload is small, lightweight, and not breakable. A plastic toy figure, a cork, a bottle cap with a bit of clay, or a paper clip bundle works well. Avoid glass, batteries, food, sharp items, or anything heavy enough to cause damage. For testing, a safe indoor drop from shoulder height, a sturdy chair with adult supervision, or a low outdoor platform is enough.
The Science Behind a Plastic Bag Parachute
When you drop a toy without a parachute, gravity pulls it downward and it speeds up quickly. When you attach a parachute, the plastic canopy spreads out and pushes against the air. That pushing force is called air resistance or drag. A larger canopy usually catches more air, which can slow the fall. A smaller canopy catches less air, so it usually falls faster.
But bigger is not always automatically better. A parachute also needs balance. If the strings are uneven, the payload may swing, spin, or flip. If the plastic is too stiff, it may not open correctly. If the payload is too heavy, the parachute may fall like a sad grocery bag attached to a rock. The goal is to balance canopy size, string length, payload weight, and airflow.
That is why this project is perfect for a STEM challenge. You can build, test, measure, change one variable, and test again. Try timing each drop with a phone stopwatch. Record the canopy size, payload weight, string length, and drop time. Suddenly, your craft table has become a research center, minus the intimidating clipboard.
Way 1: Make a Classic Square Plastic Bag Parachute
The square parachute is the easiest and most reliable design. It is ideal for beginners because it is quick to cut, simple to attach, and easy to adjust. If this is your first homemade parachute, start here.
Step 1: Cut the Canopy
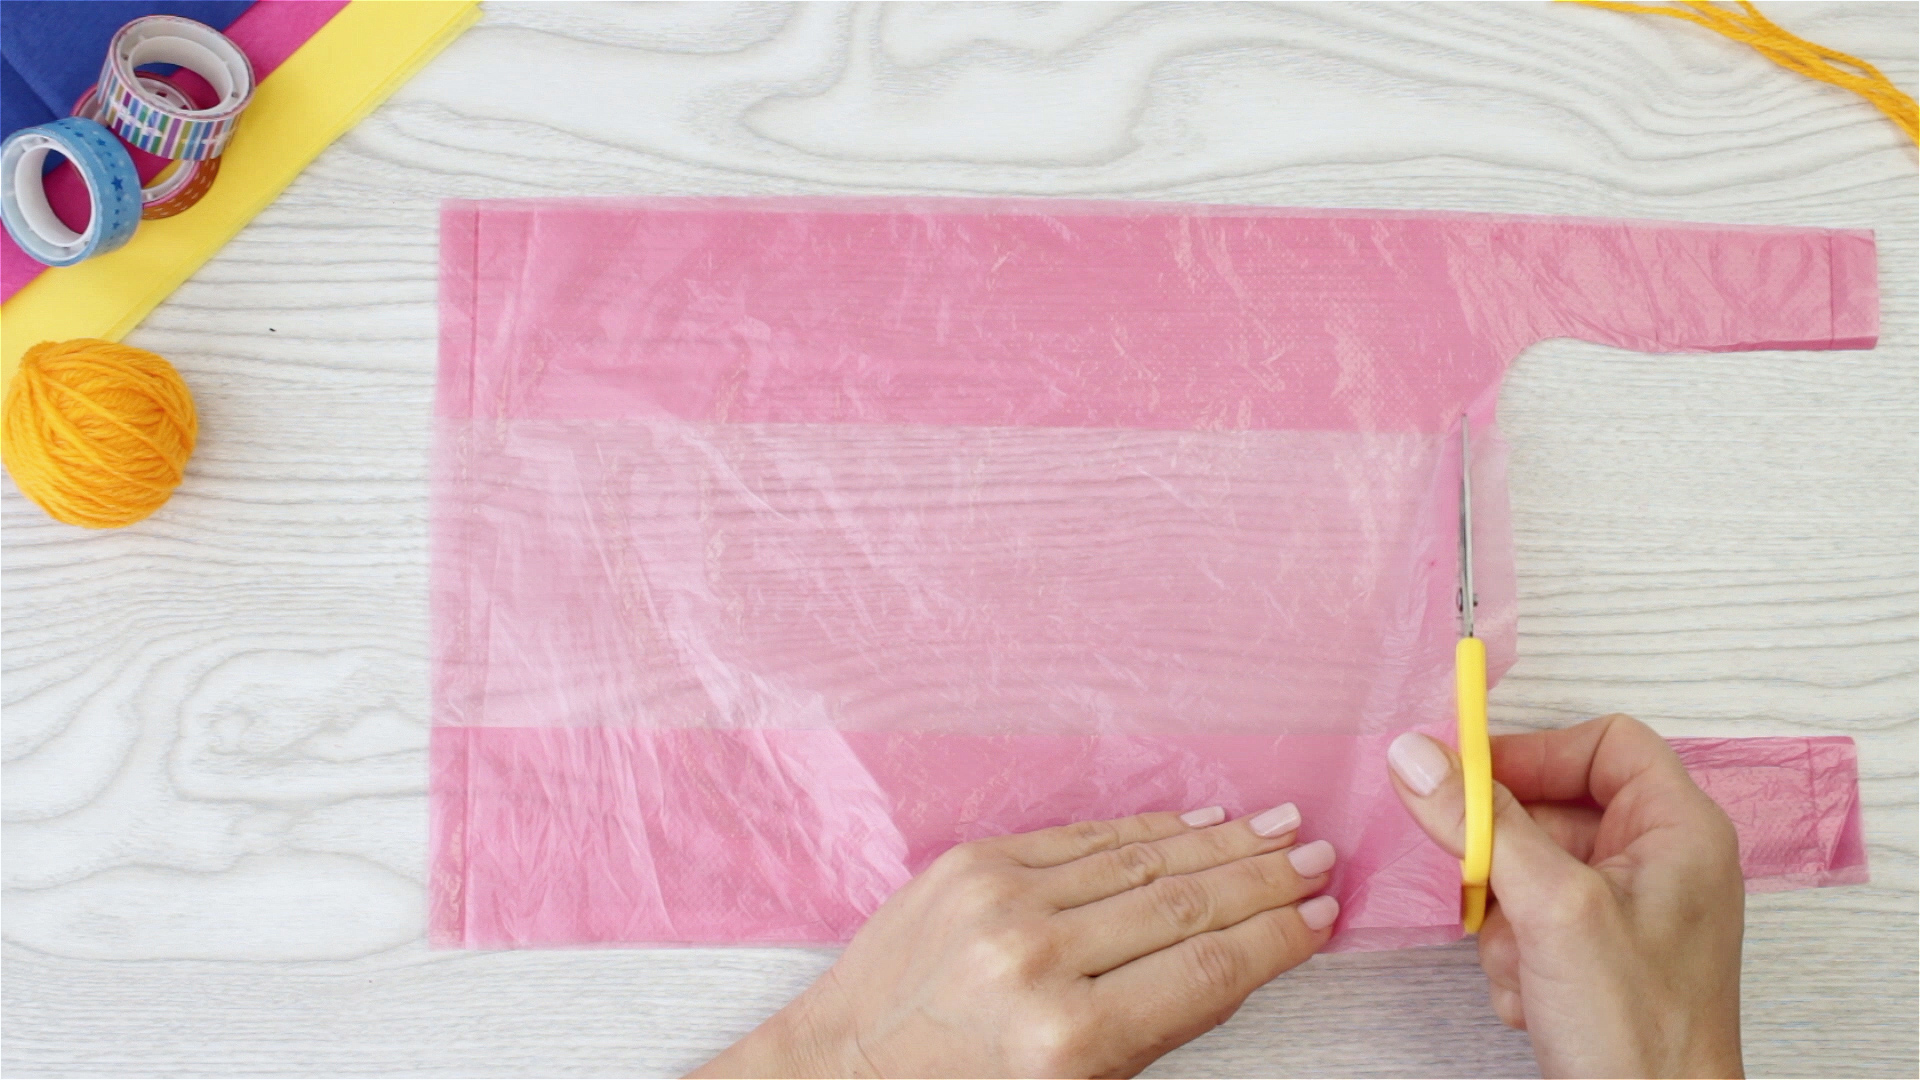
Lay the plastic bag flat on a table. Cut out a square about 12 inches by 12 inches. If your bag is small, use the largest square you can make. Try to keep the edges even, but do not panic if your square looks slightly homemade. Air is forgiving. Mostly.
Step 2: Reinforce the Corners
Place a small piece of tape on each corner of the square. This makes the corners stronger and helps prevent the plastic from tearing when the strings pull on it. If you have a hole punch, punch one hole through each taped corner. If not, you can tape the strings directly to the corners.
Step 3: Cut Four Equal Strings
Cut four strings of equal length, about 12 inches each. Equal string length matters because uneven strings can tilt the canopy and make the parachute spin. A little spin can be fun. A lot of spin turns your parachute into a tiny plastic tornado.
Step 4: Attach the Strings
Tie or tape one string to each corner. Gather the loose ends together and attach them to your payload. If using a toy figure, tie the strings around its waist or tape them to its back. If using a bottle cap, tape the strings inside the cap and add a small piece of clay for weight.
Step 5: Test the Drop
Hold the parachute by the center of the canopy, lift it gently, and release it from a safe height. Watch how it opens. A good square parachute should spread out, catch air, and slow the payload as it falls. If it drops too quickly, try a bigger canopy or a lighter payload. If it flips over, check whether the strings are even.
Way 2: Make a Round Plastic Bag Parachute
A round parachute looks more like the classic parachute shape people imagine. It can open smoothly and drift nicely when balanced well. It takes slightly more cutting than the square version, but it is still easy enough for a weekend craft or classroom activity.
Step 1: Trace a Circle
Flatten the plastic bag and place a large bowl, plate, or lid on top. Trace around it with a marker. A circle between 10 and 14 inches across works well for small toys. Cut along the line carefully.
Step 2: Mark Attachment Points
Choose four or six points around the edge of the circle. Four points are simpler; six points can make the parachute more stable. Try to space them evenly. You do not need professional geometry tools, but do not put three strings on one side and one lonely string on the other. That is how parachutes develop trust issues.
Step 3: Tape and Punch the Edges
Add small tape patches at each marked point. Punch or poke a small hole through each taped spot. The tape acts like a reinforcement patch, helping the plastic survive multiple drops.
Step 4: Add Strings
Cut four or six equal strings, depending on how many attachment points you made. Tie one string to each hole. Gather the lower ends and tie them together above the payload. Then attach the knot to your small toy, cap, or weight.
Step 5: Shape and Release
Before dropping, gently pull the strings downward so the circle forms a shallow dome. Release it from a safe height. The rounded canopy may wobble less than a square one, especially if the strings are evenly spaced and the payload hangs directly below the center.
Way 3: Make a Vented Plastic Bag Parachute
A vented parachute has a small hole in the center of the canopy. That may sound strange because the whole point is to catch air, right? But a small vent can help air escape in a controlled way, reducing wild wobbling and spinning. Think of it as giving the trapped air an orderly exit instead of letting it panic.
Step 1: Start With a Square or Round Canopy
You can use either the square design or the round design as your base. For beginners, a 12-inch square is easiest. For a more polished look, use a round canopy.
Step 2: Cut a Small Center Vent
Fold the canopy gently in half, then in half again, without creasing it too hard. Snip a tiny piece from the center point. Open the plastic and you should have a small hole in the middle. Start with a hole about the size of a dime. You can always make it bigger later, but you cannot make plastic grow back. Science has limits.
Step 3: Attach Equal Strings
Use four or six equal strings. Reinforce the attachment points with tape, then tie or tape the strings securely. Attach them to your payload so the weight hangs centered under the canopy.
Step 4: Compare the Drop
Drop the vented parachute from the same height as your non-vented parachute. Compare how it falls. Does it spin less? Does it fall faster? Does it open more reliably? A vent may slightly increase descent speed, but it can also improve stability. This makes it a great design for experiments.
Testing Your Homemade Parachute Like a Mini Engineer
The best part of making a plastic bag parachute is testing it. One drop is fun, but several drops turn the activity into a real experiment. Choose one drop height and use it for every trial. Drop the parachute the same way each time. Time each fall with a stopwatch and write down the results.
Simple Test Ideas
- Compare a 10-inch canopy with a 12-inch canopy.
- Compare four strings with six strings.
- Compare a square canopy with a round canopy.
- Compare a vented parachute with a non-vented parachute.
- Test different payload weights using paper clips or clay.
Only change one thing at a time. If you change the canopy size, string length, and payload weight all at once, you will not know which change caused the result. That is not an experiment; that is a mystery novel with tape.
Troubleshooting: Why Your Plastic Bag Parachute Is Not Working
The Parachute Falls Too Fast
The payload may be too heavy, the canopy may be too small, or the parachute may not be opening fully. Try using a lighter toy, cutting a larger canopy, or holding the parachute open slightly before release.
The Parachute Spins Like Crazy
Spinning usually means the strings are uneven or the payload is not centered. Measure the strings again and adjust the attachment point so the weight hangs directly below the middle of the canopy.
The Plastic Tears at the Corners
Add more tape reinforcement. Thin grocery bags can tear easily, especially after several test drops. Tape patches spread out the pulling force and make the canopy last longer.
The Canopy Does Not Open
The plastic may be folded too tightly, the payload may be too heavy, or the drop height may be too low for the parachute to inflate. Lightly fluff the canopy before dropping and test from a safe, slightly higher indoor location with adult supervision.
Best Tips for a Better Plastic Bag Parachute
Use lightweight plastic that opens easily. Very thick plastic may not inflate well for a tiny payload. Keep strings equal and untangled. Reinforce every hole with tape. Use a payload that is heavy enough to pull the parachute downward but not so heavy that it overpowers the canopy. If you want slower drops, increase canopy size. If you want smoother drops, try a small center vent.
For classroom use, turn the project into a challenge: Which team can keep the same payload in the air the longest using only one plastic bag, four pieces of string, and six inches of tape? Add a rule that the parachute must land within a target circle for an extra design twist. This encourages students to think not only about slow descent, but also stability and control.
Eco-Friendly Notes: Reuse First, Dispose Properly
This project is a great way to reuse a clean plastic bag that might otherwise sit under the sink forever, multiplying mysteriously like household confetti. Still, plastic should be handled responsibly. Reuse materials when possible, keep scraps contained, and dispose of damaged plastic properly. Many communities do not accept plastic bags in regular curbside recycling bins because they can tangle in sorting equipment, but some grocery stores and retail locations offer plastic film drop-off bins.
After your parachute has completed its flying career, remove any string or tape if possible and check your local recycling rules. If it cannot be recycled, place it in the trash so it does not become litter. A good STEM project should teach curiosity and responsibility at the same time.
Experience Section: What You Learn After Making a Few Plastic Bag Parachutes
The first experience most people have with a plastic bag parachute is pure surprise. It looks too simple to work. You cut a piece of plastic, tie on some string, attach a toy, and expect it to flop sadly to the floor. Then you drop it, the canopy opens, and suddenly the toy floats down like it has a tiny flight plan. That moment is why this project is such a favorite. It gives a quick reward while quietly teaching real physics.
One practical lesson is that neatness matters more than fancy materials. A clean square with equal strings often performs better than a dramatic-looking design with uneven attachment points. The parachute does not care how artistic it looks. It cares about balance, surface area, airflow, and weight. This is a useful reminder for kids and adults: good engineering is not always flashy. Sometimes it is just four equal strings and tape placed in the right spot.
Another lesson is that payload weight changes everything. A tiny paper clip may float slowly but drift unpredictably. A small toy may pull the canopy open better and fall more steadily. Add too much weight, though, and the parachute drops quickly no matter how beautiful the canopy looks. Testing different weights helps children understand that design is about trade-offs. More weight can improve tension and opening, but it also increases the force pulling downward.
The vented parachute is often the most interesting design to test. Many beginners assume that a hole in the middle will ruin the parachute. In practice, a small vent can make the fall more controlled. The parachute may descend a little faster, but it often wobbles less. This creates a great discussion: is the “best” parachute the slowest one, or the one that lands most predictably? In real engineering, the answer depends on the mission.
Testing also teaches patience. The first drop may fail because the strings tangle. The second may fail because the canopy folds. The third may suddenly work perfectly. That process is not a mistake; it is the activity. Every failed drop gives information. If the parachute spins, adjust the strings. If it falls too fast, enlarge the canopy. If it tears, reinforce the corners. The project naturally teaches iteration, which is a fancy word for “try again, but smarter.”
For families, this activity works best when adults ask questions instead of taking over. Try asking, “What do you think will happen if we make the canopy bigger?” or “Why did this one spin more than the other?” These questions help kids make predictions and connect results to causes. The point is not to build a perfect parachute on the first try. The point is to notice, test, laugh, improve, and maybe cheer when a bottle cap lands like a professional skydiver.
For classrooms, the plastic bag parachute is especially useful because it is low-cost and flexible. Students can work in teams, compare data, and present their results. One team may focus on canopy size, another on shape, another on string length. When students compare findings, they begin to see how engineering knowledge grows through shared testing. Plus, the materials are humble enough that nobody feels afraid to experiment. It is easier to cut a new plastic square than to rebuild a robot.
The biggest takeaway from making plastic bag parachutes is that everyday objects can reveal big ideas. A grocery bag becomes a canopy. A toy becomes a payload. A chair-height drop becomes a lesson in gravity and drag. With a few safe rules and a willingness to experiment, this simple craft turns into a memorable STEM activity that feels like play but teaches like a mini science lab.
Conclusion
Making a plastic bag parachute is easy, inexpensive, and surprisingly educational. The classic square parachute is perfect for beginners, the round parachute offers smoother design possibilities, and the vented parachute adds a fun experiment in stability. Along the way, you get to explore air resistance, gravity, drag, surface area, balance, and the engineering design process.
Whether you are planning a classroom STEM lesson, a rainy-day craft, a homeschool science activity, or a weekend project that does not require a shopping trip, a homemade parachute is a reliable winner. Just use safe drop heights, supervise children, keep plastic bags away from babies and toddlers, and reuse or dispose of materials responsibly. Your tiny test pilot is now cleared for takeoff.












