
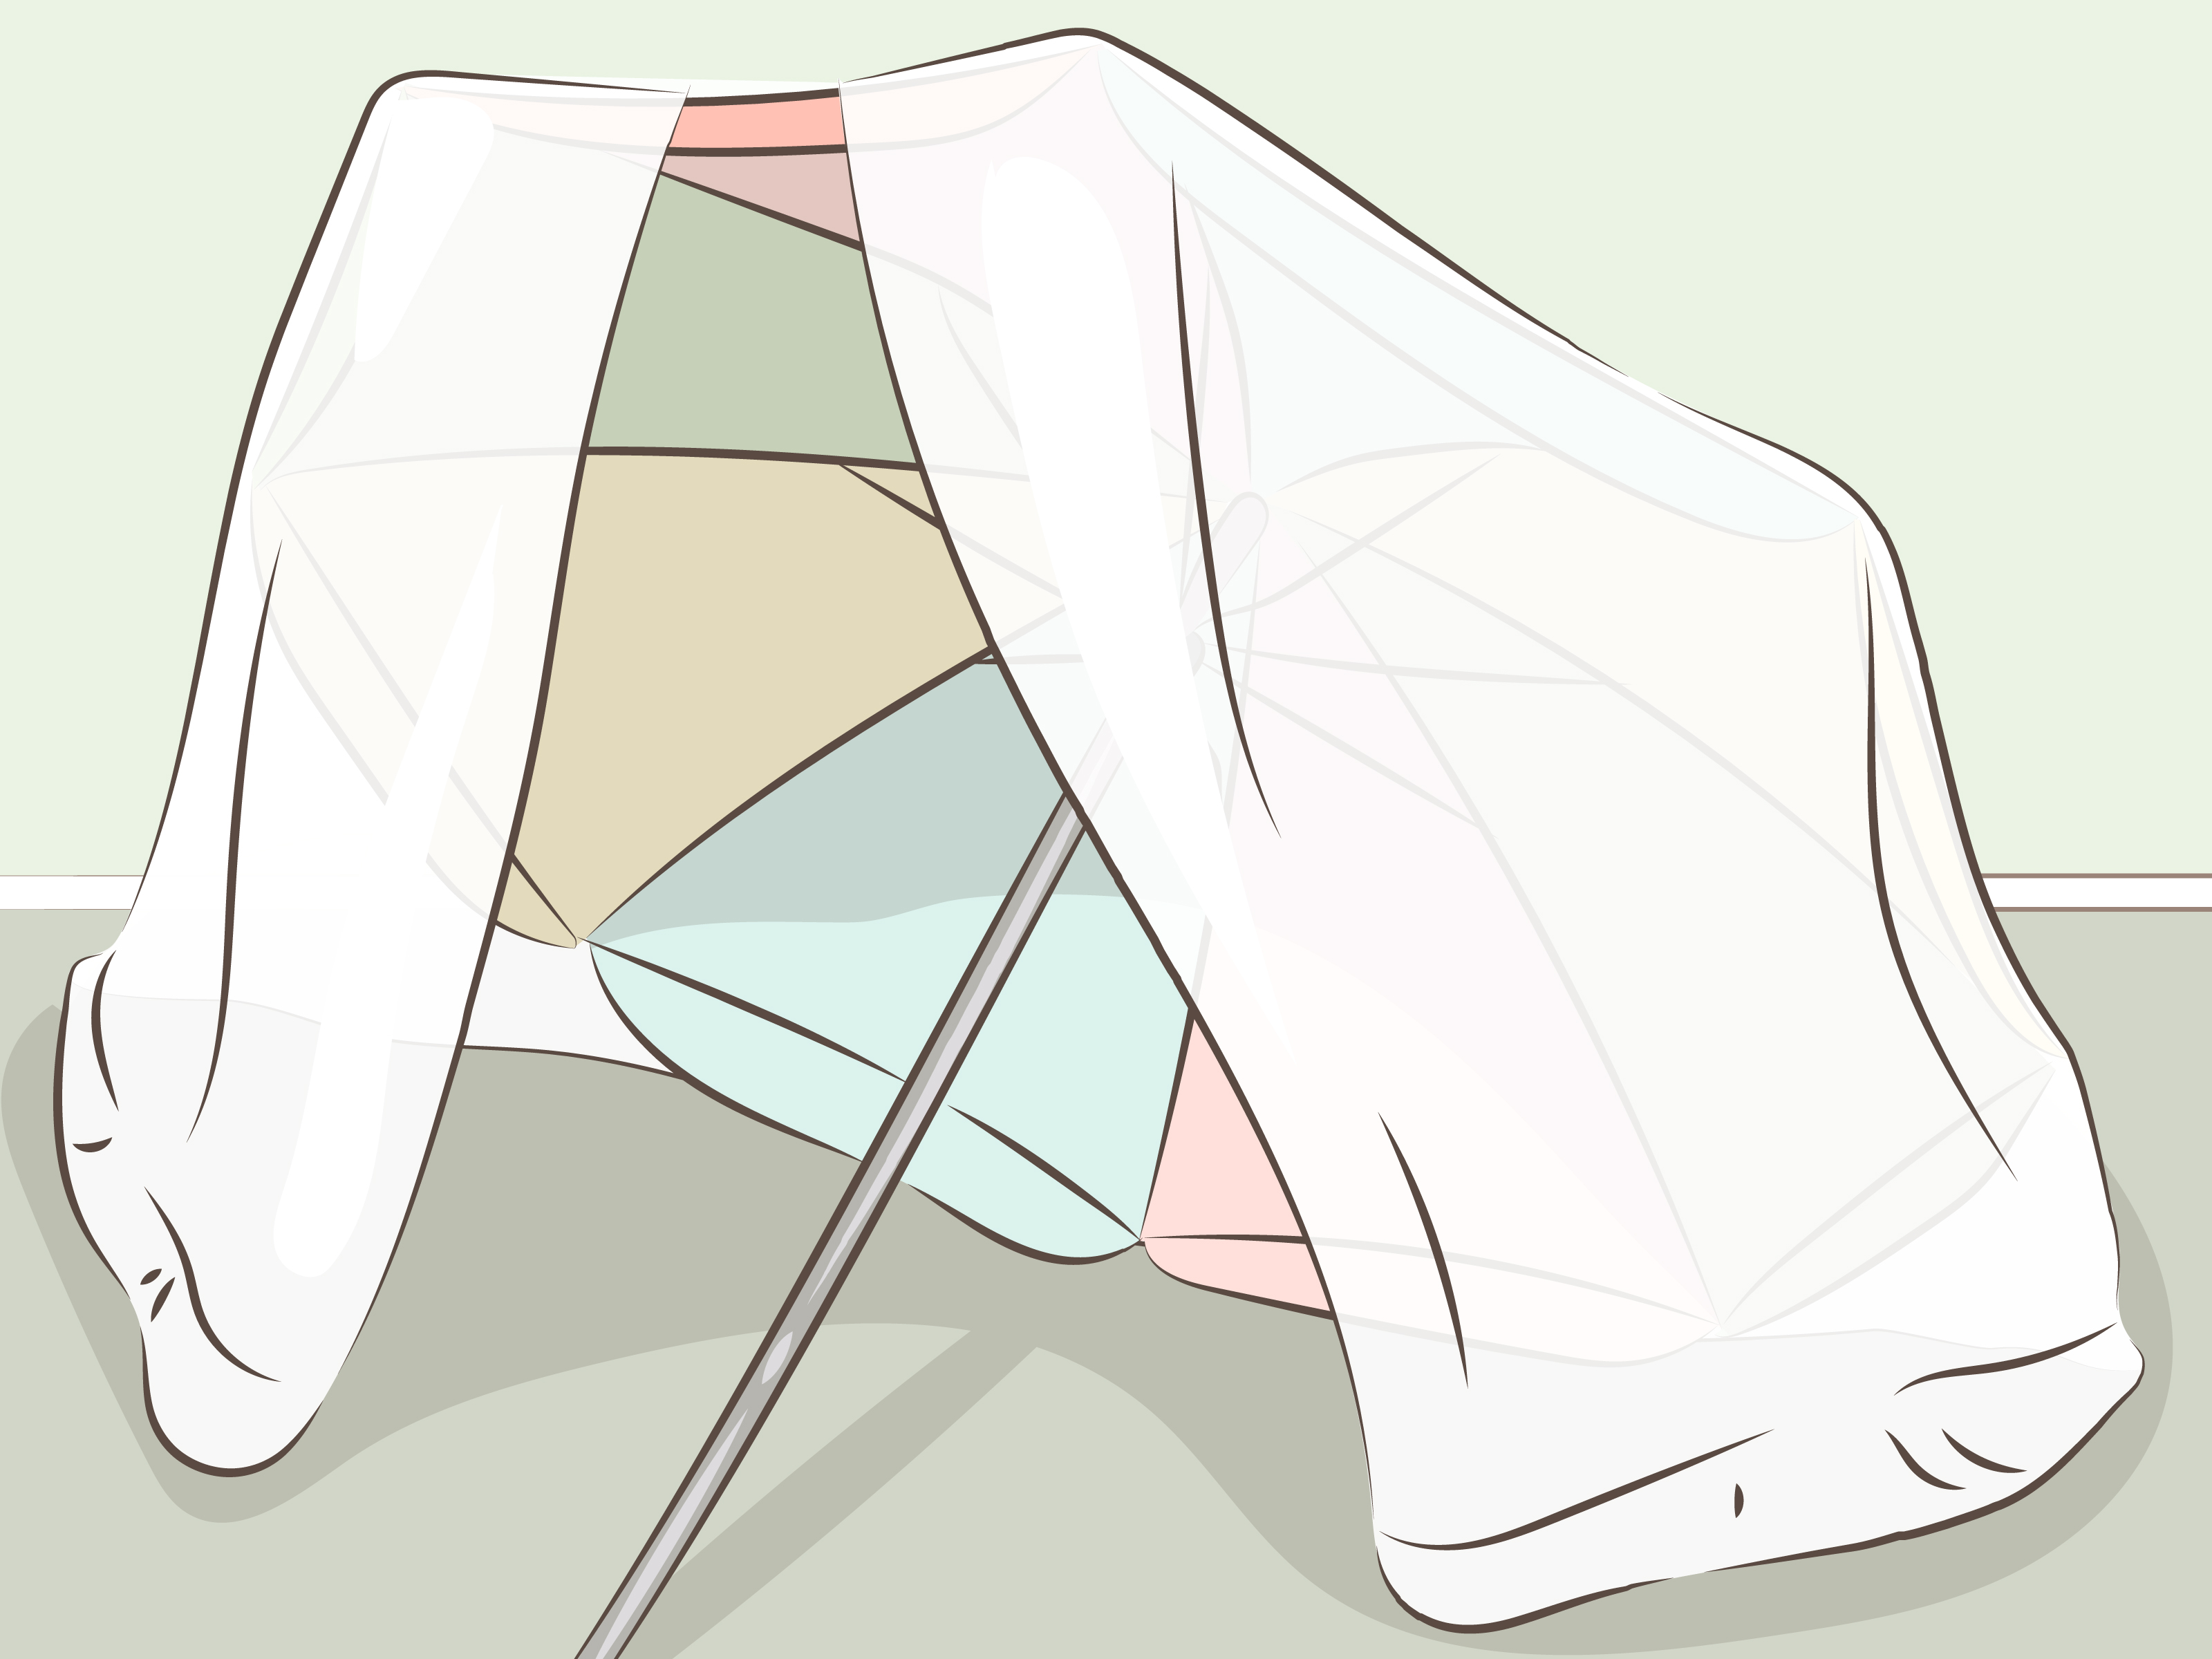
There are ordinary bedrooms, and then there are bedrooms containing secret castles, wilderness camps, reading caves, pirate headquarters, and highly classified snack-storage facilities. The difference is usually a few sheets, several pillows, and one chair that has suddenly been promoted to “structural support.”
Learning how to build a fort in your room is an easy, inexpensive way to transform a familiar space into something completely new. You do not need lumber, power tools, architectural software, or permission from a medieval king. Most indoor forts can be built with blankets, bedsheets, chairs, cushions, clips, and objects already sitting around your home.
This DIY guide explains how to plan a stable blanket fort, choose safe materials, work with a small bedroom, solve common construction problems, and turn the finished hideaway into a cozy place for reading, movies, games, or imaginative play.
Why Build a Fort in Your Bedroom?
A bedroom fort offers more than a temporary hiding place from chores. Designing one requires experimentation: Which objects make reliable supports? How tightly should the roof be stretched? Why does one side remain upright while the other collapses like a dramatic soap-opera character?
Open-ended building activities can encourage creativity, cooperation, communication, and problem-solving. Pretend play also gives children opportunities to invent stories, practice social skills, and turn ordinary objects into imaginative props. A sheet can become a castle wall, a cardboard box can become a control panel, and a laundry basket can finally achieve its destiny as a moon rover.
Indoor forts are equally appealing to teenagers and adults. A well-made fort can become a quiet reading nook, a cozy movie-night setup, or simply a playful change of scenery after a long week. It is difficult to answer stressful emails while wearing a blanket as a cape, which is probably a healthy feature rather than a design flaw.
What You Need to Build a Room Fort
The best fort-building supplies are lightweight, easy to move, and unlikely to cause damage if the structure falls. Start by gathering more materials than you expect to use. Indoor construction has a mysterious way of requiring one additional pillow at all times.
Basic Fort-Building Materials
- Lightweight bedsheets or thin blankets
- Two to four sturdy chairs
- Bed pillows, floor cushions, or sofa cushions
- Clothespins, binder clips, or large chip clips
- Soft blankets for the floor
- Battery-powered lights or flashlights
- Cardboard boxes for walls, tables, or decorations
- Books, games, snacks, and stuffed animals for the finished fort
Choose sheets for the roof whenever possible. A heavy comforter may feel luxurious, but it also pulls harder on supports and traps more heat. Save thick blankets for the floor, where they can provide padding without attempting to flatten the entire kingdom.
Materials to Avoid
- Glass tables or fragile furniture
- Tall, unanchored dressers or bookcases
- Sharp clips, exposed nails, or metal hooks
- Lit candles, incense, or open flames
- Space heaters inside or beside the fort
- Heavy objects balanced above the entrance
- Cords stretched across walking paths
Choose the Best Fort Design for Your Room
Before moving furniture, inspect the available space. Your ideal design depends on the room’s size, the location of the bed, and whether you want a compact reading cave or a sprawling fortress with enough floor area for several people.
The Bed-and-Chair Fort
This is one of the simplest designs for a bedroom. Place two chairs a few feet from the side or foot of the bed, with their backs facing the bed. Drape a sheet from the mattress or headboard across the chair backs. The bed creates one sturdy side, while the chairs support the outer edge of the roof.
This arrangement works well in small rooms because it uses the bed as part of the structure rather than requiring a completely separate floor area.
The Four-Chair Fort
Arrange four chairs in a rectangle with their backs facing inward or outward, depending on which position feels more stable. Stretch one or two sheets across the chair backs and let the fabric hang down to form walls. This design provides more headroom and can accommodate multiple builders.
The Corner Fort
A corner fort uses two walls as natural boundaries. Position a chair, clothes rack, or sturdy freestanding object several feet from the corner. Drape a sheet from the support toward the walls, creating a triangular or wedge-shaped hideaway. It is a smart option when floor space is limited.
The Under-Desk Fort
A sturdy desk can provide a ready-made ceiling. Cover the front and sides with lightweight sheets, leaving one section open as an entrance. Add cushions underneath, but keep computer equipment, power strips, dangling cords, and rolling desk chairs outside the play area.
The Bed-Top Canopy Fort
For a fort that stays mostly on the bed, use the headboard and two chairs placed near the foot of the mattress. Stretch a sheet overhead to create a canopy. This design is comfortable for reading or watching movies, although jumping and energetic play should happen elsewhere.
How to Build a Fort in Your Room Step by Step
Step 1: Clear the Construction Zone
Remove cups, lamps, breakable decorations, toys, shoes, and other objects from the area. Check the floor for anything sharp or uncomfortable. You are trying to create an enchanted hideaway, not an obstacle course featuring one painfully placed building block.
Keep the doorway, windows, and main walking path accessible. Everyone inside the fort should be able to exit easily without crawling through a maze of furniture.
Step 2: Select Stable Supports
Use sturdy chairs, the bed frame, a stable desk, or a freestanding clothes rack designed to hold weight. Test each support with a gentle push before adding fabric. It should not rock, roll, or tip easily.
Never attach the fort to an unanchored dresser, tall shelf, television stand, or other top-heavy furniture. Furniture tip-overs can cause serious injuries, especially when children pull, climb, or place extra weight on drawers and shelves.
Step 3: Build the Highest Part First
Every good blanket fort needs a roof with enough height to prevent occupants from wearing it as a hat. Begin with the tallest, most stable supports and create a central ridge or flat ceiling.
For a tent shape, place two rows of chairs opposite each other and run a tightly rolled sheet, pool noodle, or lightweight cardboard tube along the center as a ridge. For a flat roof, stretch the sheet directly across chair backs or between the bed and chairs.
Step 4: Drape the Roof
Spread a lightweight sheet over the supports. Leave enough fabric on each side to form walls, but avoid excessive overhang that pulls the roof downward. If one sheet is too small, overlap two sheets by several inches and clip them together.
Pull the fabric gently rather than aggressively. A little tension keeps the roof from sagging; too much tension drags chairs inward and begins a chain reaction known scientifically as “everybody grab something.”
Step 5: Secure the Fabric
Attach the sheets to chair backs with clothespins or large clips. Place clips where they will not scratch furniture or poke anyone inside. You can also tuck fabric beneath a mattress or wrap it around a stable bedpost.
When clips are unavailable, place light cushions over fabric resting on a broad chair seat. Do not balance heavy books, lamps, or other hard objects overhead. The fort should fail softly if something comes loose.
Step 6: Add Walls and an Entrance
Use additional sheets to close open sides. Overlap wall panels instead of stretching them tightly so occupants can move without pulling the entire structure apart.
Create an entrance by folding back one corner and securing it with a clothespin. A wide opening improves ventilation and allows adults to see younger children. For extra drama, make a cardboard sign reading “Royal Entrance,” “Space Station Airlock,” or “No Broccoli Beyond This Point.”
Step 7: Make the Floor Comfortable
Cover the floor with a folded comforter, sleeping bag, yoga mat, or thick blanket. Arrange pillows along the walls to create back support. Keep the floor relatively level so people can move without tripping over hidden piles of cushions.
Place a tray, upside-down storage bin, or cardboard box inside as a small table. Avoid unstable drinks and crumb-heavy food unless you enjoy discovering crackers in your carpet several months later.
Step 8: Add Safe Lighting
Battery-powered LED string lights, lanterns, or flashlights can make the interior feel magical. Secure lights where they cannot become tangled around someone’s neck or block the exit.
Do not use candles, hot bulbs, or heating appliances. Bedding and curtains should be kept well away from space heaters, and a portable heater should never operate inside a confined fabric enclosure. If the fort feels cold, add socks and another floor blanket rather than installing central heating in Blanket Castle.
Step 9: Perform the Official Wiggle Test
Before moving in, gently shake each support and inspect every clip. Crawl through the entrance without touching the roof. Sit inside and confirm that nothing is leaning dangerously or blocking airflow.
If younger children will use the fort, an adult should supervise the setup and check it regularly. The safest fort is one built from light materials that can collapse without causing injury.
How to Make a Bedroom Fort Extra Cozy
Create a Reading Fort
Add a stack of books, a reading pillow, and a battery-powered lamp. Choose a theme that matches the book: a jungle cave for an adventure story, a castle for fantasy, or a moon base for science fiction. Reading inside a handmade hideaway can make an ordinary chapter feel like a private expedition.
Plan a Fort Movie Night
Position the entrance toward a television or set a tablet on a stable surface outside the fort. Keeping electronics near the entrance reduces heat and makes cords easier to manage. Add popcorn in containers with lids, because loose popcorn has excellent survival skills.
Turn It Into an Indoor Campsite
Use sleeping bags, flashlights, nature sounds, and a paper campfire made from cardboard. Tell stories, play shadow games, or prepare simple trail mix. You receive the camping atmosphere without mosquitoes, rain, or the mysterious noise outside the tent at 2 a.m.
Build a Secret Headquarters
Make membership cards, coded messages, maps, and cardboard control panels. A notebook can become a mission log, while empty boxes become supply crates. This theme works especially well when several children must cooperate and assign roles.
Design a Calm-Down Hideaway
Use soft textures, comfortable pillows, a favorite book, and quiet activities. Keep the interior uncluttered and leave the entrance open. A fort can provide a temporary change of environment, although it should not replace appropriate support when someone is experiencing ongoing emotional distress.
How to Build a Fort in a Small Bedroom
Limited floor space does not disqualify your room from fort ownership. The key is to use existing furniture and build vertically without attaching anything to ceiling fans, light fixtures, curtain rods, or unstable shelves.
- Use the side of the bed: Create a narrow tunnel between the bed and one or two chairs.
- Build beneath a desk: Add fabric walls rather than constructing a separate frame.
- Use a corner: A triangular design requires fewer materials and less floor area.
- Make a temporary canopy: Build over the bed and remove the chairs when finished.
- Choose thin sheets: They are easier to clip, fold, and store than bulky comforters.
Measure the available area before construction if the room is especially tight. Even a three-foot-wide nook can become a comfortable reading fort when the entrance and floor are planned carefully.
Common Fort Problems and Easy Fixes
The Roof Keeps Sagging
Replace heavy blankets with lighter sheets, shorten the distance between supports, or add another chair near the center. You can also pull the roof fabric tighter and secure it with extra clips.
The Chairs Slide Inward
Reduce tension on the roof and position the chairs on a nonslip rug. Make sure all four legs remain flat on the floor. Do not place heavy weights on chair backs, as this can make the structure less predictable rather than more stable.
The Sheets Separate
Overlap the sheets by at least several inches and clip the layers together. Several small clips usually distribute tension more effectively than one heroic binder clip attempting to hold an entire wall.
The Interior Feels Too Hot
Open another side, enlarge the entrance, remove thick roof materials, and take regular breaks. Never direct a space heater into the fort. A small battery-powered fan may improve airflow when positioned safely outside the entrance with no trailing cord.
The Fort Is Too Dark
Use pale sheets, open a wall panel, or add battery-powered lighting. Never cover a lamp with fabric. Household lamps can generate heat, and blankets are not fashionable lampshades no matter what your interior designer says.
The Fort Collapses Whenever Someone Enters
Widen the doorway and reduce the amount of fabric hanging near it. Build the entrance between two supports instead of cutting through the middle of a tightly stretched wall.
Fort-Building Safety Rules
- Ask permission before moving bedroom furniture.
- Use lightweight sheets for roofs and walls.
- Keep exits, windows, and doorways accessible.
- Do not climb on chairs, desks, shelves, or the fort roof.
- Do not attach materials to ceiling fans or light fixtures.
- Keep the structure away from heaters, candles, and hot lamps.
- Use battery-powered lights instead of open flames.
- Keep blind cords, charging cables, and extension cords outside.
- Make sure tall furniture is properly anchored to the wall.
- Supervise young children and pets.
- Take the fort down before sleeping unless an adult has confirmed that the setup is safe and unobstructed.
These rules may sound less exciting than choosing the fort’s royal flag, but they allow the fun part to remain fun. A blanket fort should be a soft, temporary structurenot an improvised climbing gym or an elaborate electrical experiment.
How to Take Down and Store Your Fort
Remove electronics, food, and small objects first. Next, unclip the walls and roof while another person steadies the supports. Fold each sheet instead of pulling the whole structure down at once.
Return furniture to its original location, check the floor for clips, and shake out blankets before putting them away. Store the main supplies in a labeled basket or bin so the next fort can be built quickly. A dedicated “fort kit” might contain two sheets, clothespins, battery lights, a flashlight, and a cardboard sign.
Taking a photo before cleanup is also useful. It preserves the design and makes rebuilding easier, especially when you have finally discovered a roof configuration worthy of its own engineering patent.
A Realistic Fort-Building Experience: What Usually Works and What Fails
The following account is a composite of common indoor fort-building experiences rather than a claim of personal experience.
The first version of a bedroom fort often begins with great confidence and very little planning. Two chairs are placed near the bed, the largest blanket in the house is thrown over everything, and the builder immediately crawls inside to admire the masterpiece. Approximately nine seconds later, the blanket slides off, one chair rotates sideways, and the roof lands on everyone’s head.
That early collapse teaches the most important lesson in indoor fort construction: bigger and heavier do not automatically mean better. A thick comforter looks cozy, but its weight creates too much pull. Replacing it with a lightweight queen-size sheet usually transforms the entire structure. The chairs remain upright, the clips stay attached, and the ceiling no longer rests directly on everyone’s hair.
A second common discovery involves roof height. Builders tend to focus on creating wide walls, only to realize that nobody can sit comfortably inside. Moving the chairs closer together and using the bed as one side of the structure creates a smaller footprint but a much taller interior. This feels far more spacious than a broad fort with a sagging roof.
The entrance also deserves more attention than it initially receives. A narrow flap may look secretive, but people repeatedly catch their shoulders on it, pulling the sheet loose every time they enter. Folding back a generous section and clipping it to one side solves the problem. The result is less like crawling through a laundry hamper and more like entering an actual room.
Once the structure is stable, enthusiasm tends to move toward decoration. Pillows arrive first, followed by books, stuffed animals, snacks, flashlights, notebooks, and enough accessories to open a small department store. At this stage, the floor becomes crowded surprisingly quickly. Limiting the interior to a few comfortable items makes the fort more usable. A folded comforter, two back pillows, a small box table, and one basket of activities are often enough.
Lighting can produce the biggest visual improvement. Battery-powered string lights clipped around the entrance give the sheets a soft glow and make the fort feel intentional rather than accidental. Pale fabric reflects the light particularly well. Dark blankets may create a convincing cave, but they can also turn reading into an advanced eyesight examination.
Temperature is another lesson learned through experience. Several layers of fabric, cushions, and people can make the interior warm even when the bedroom feels cool. Leaving one side partly open improves airflow without destroying the cozy atmosphere. The entrance should remain clearly visible and easy to reach.
The most successful forts usually evolve rather than appearing perfect on the first attempt. One chair moves six inches. A clip is added to a loose corner. A cardboard box becomes a table. A sheet is folded to shorten a drooping wall. Each small change solves a practical problem, which is part of the activity’s appeal.
The finished fort rarely looks like a professionally designed tent, and that is perfectly fine. Its crooked walls and mismatched blankets are evidence that someone experimented, adjusted, and created a new space from ordinary materials. The real achievement is not building an indestructible fortress. It is turning a familiar bedroom into a place that feels surprising, private, and memorable for an afternoon.
Conclusion
Building a fort in your room is one of the easiest DIY projects you can attempt. Start with stable furniture, lightweight sheets, secure clips, and a comfortable floor. Keep the structure away from heat sources, cords, fragile objects, and unanchored furniture. Then add just enough lighting, pillows, and personality to make the hideaway feel like your own.
Your first fort may lean. Your second may sag. Your third may occupy so much of the bedroom that reaching the closet requires diplomatic negotiations. That is part of the fun. Every adjustment teaches you something about balance, tension, space, and creative problem-solving.
Whether the final creation becomes a reading nook, movie theater, campsite, castle, or secret headquarters, the formula is simple: use what you have, build safely, and let your imagination handle the interior decorating.














