
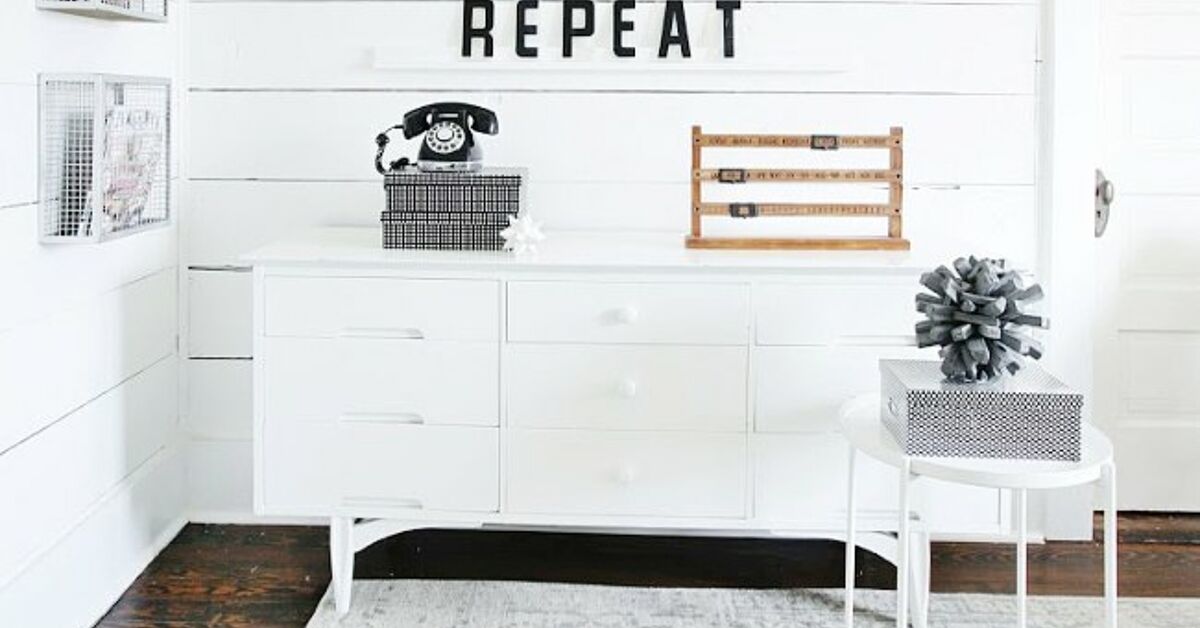
Picture ledges are the magical little shelves that make your wall look curated, flexible, and suspiciously expensivewithout requiring you to commit to 37 nail holes and a gallery wall layout that slowly destroys your will to live. If you love framed prints, family photos, small art, kids’ books, vinyl records, or seasonal décor, a DIY picture ledge is one of the easiest woodworking projects you can build in an afternoon.
The beauty of this project is its simplicity. A picture ledge is basically a narrow shelf with a raised front lip that keeps frames from sliding forward. It does not need complicated joinery, advanced tools, or a full-blown workshop with dramatic lighting. With a few common boards, wood glue, nails or screws, sandpaper, paint or stain, and solid wall installation, you can create a custom display ledge that fits your exact room, style, and budget.
In this guide, you will learn how to build picture ledges DIY from start to finish: planning the size, choosing lumber, cutting the boards, assembling the shelf, finishing the wood, installing it securely, and styling it like you meant to do this all along.
Why Build Picture Ledges Instead of Buying Them?
Store-bought picture ledges are convenient, but they are not always the right length, depth, color, or price. DIY picture ledges let you customize everything. Want a wall-to-wall ledge over the sofa? Build it. Need three short shelves for a hallway? Done. Want the ledge painted the same color as the wall for a built-in look? Easy. Want rustic stained wood with a modern black-and-white photo arrangement? Also easy, and yes, your guests may ask where you bought it.
Picture ledges are also forgiving. Unlike traditional gallery walls, where every frame must be measured, leveled, and hung individually, ledges allow you to rearrange art whenever your mood changes. That means you can swap family photos for holiday prints, rotate kids’ artwork, layer large and small frames, or add small plants and decorative objects without patching the wall every time.
Best Places to Use DIY Picture Ledges
A picture ledge works almost anywhere you have a blank wall and a little imagination. Popular spots include living rooms, hallways, dining rooms, bedrooms, nurseries, home offices, stair landings, and reading corners. In a child’s room, picture ledges can double as forward-facing book shelves. In a kitchen, a shallow ledge can display small art, recipe cards, or pretty cutting boards. In an entryway, it can hold framed photos and a small decorative bowlthough avoid piling heavy daily clutter on it, unless you enjoy hearing objects leap to the floor at 2 a.m.
Tools and Materials You Will Need
The classic DIY picture ledge uses three pieces of wood: a back board, a base shelf, and a front lip. The back board mounts to the wall, the base creates the shelf surface, and the front lip keeps frames safely in place.
Recommended Materials
- One 1×4 board for the back
- One 1×3 or 1×4 board for the base shelf
- One 1×2 board for the front lip
- Wood glue
- Brad nails or finish nails
- Wood screws
- Wood filler or paintable caulk
- 120-grit and 220-grit sandpaper
- Paint, stain, or clear protective finish
- Wall screws and anchors, if needed
Recommended Tools
- Miter saw, circular saw, or hand saw
- Drill and drill bits
- Brad nailer or hammer
- Clamps
- Stud finder
- Level
- Tape measure
- Pencil
- Safety glasses
- Paintbrush, foam brush, or clean cloth
If you do not own a saw, many home improvement stores can cut boards to length for you. Measure carefully before you go, because “about four feet” can become “why is this shelf longer than my sofa?” very quickly.
Step 1: Plan the Size of Your Picture Ledge
Start by deciding where the ledge will go. Measure the wall and think about the size of the frames or objects you want to display. A 24-inch ledge works well in a small nook. A 36-inch or 48-inch ledge is great above a desk, console table, or crib. A longer 60-inch to 96-inch ledge can create a dramatic gallery effect over a sofa, bed, or dining bench.
For depth, most picture ledges are shallowusually around 3 to 5 inches deep. A shallow shelf keeps the look sleek and prevents the ledge from sticking too far into the room. If you plan to layer deeper frames, small books, or vinyl records, consider using a wider base board.
Step 2: Choose Straight, Smooth Boards
Good lumber makes this project easier. At the store, look down the length of each board to check for warping, twisting, cupping, or large knots. A slightly imperfect board can work for a rustic shelf, but a badly twisted board will fight you during assembly and installation. You will not win. The board has been training longer than you have.
Pine is affordable and easy to work with, making it a popular choice for beginner DIY picture ledges. Poplar is smoother and paints beautifully. Oak and other hardwoods cost more but can look stunning with stain. MDF can be useful for a painted ledge, but solid wood is generally more durable for longer shelves and exposed edges.
Step 3: Cut the Boards to Length
Cut your back board, base board, and front lip to the same length. For example, if you want a 48-inch picture ledge, cut all three pieces to 48 inches. Use a square cut so the ends line up neatly. If you are building multiple ledges, cut all matching pieces at the same time to keep them consistent.
After cutting, lightly sand the cut ends to remove splinters. Dry-fit the boards before gluing. The back board should stand vertically, the base should project outward from the bottom, and the 1×2 front lip should sit at the front edge of the base.
Step 4: Assemble the Back and Base
Lay the back board flat on your work surface. Apply a thin, even bead of wood glue along the edge where the base shelf will meet the back. Position the base board at a 90-degree angle to the back board. Clamp the pieces together to prevent shifting.
Now secure the joint with brad nails, finish nails, or screws. If you use screws, pre-drill the holes first to reduce the chance of splitting the wood. Space fasteners every 8 to 12 inches along the length of the shelf. Wipe away excess glue with a damp cloth before it dries.
Step 5: Add the Front Lip
The front lip is what turns a basic shelf into a picture ledge. Apply wood glue along the front edge of the base shelf. Position the 1×2 board so it creates a small raised rail. Clamp it in place, then secure it with brad nails or finish nails from the front or underside.
Keep the lip straight and flush from end to end. This small piece does important work: it stops frames, books, and art from sliding forward. Without it, you have built a very narrow shelf with commitment issues.
Step 6: Fill Gaps and Sand Smooth
Once the glue dries, fill nail holes with wood filler. If you plan to paint the shelf, you can also use a thin line of paintable caulk where boards meet to create a seamless look. Let the filler or caulk dry completely.
Sand the entire ledge with 120-grit sandpaper first, then finish with 220-grit for a smoother surface. Sand in the direction of the grain. Round over sharp edges slightly so the shelf feels finished and not like it was assembled during a caffeine emergency.
Step 7: Paint, Stain, or Seal the Ledge
Your finish depends on the style you want. Paint is great for a clean, built-in look. White picture ledges blend beautifully with light walls, while black ledges add strong contrast and modern drama. Stain highlights the wood grain and works well for farmhouse, rustic, traditional, or organic modern spaces.
For stain, apply it with a cloth or brush, let it penetrate according to the product directions, then wipe away excess. For paint, use primer first if needed, then apply two thin coats. For natural wood, use a clear protective finish for durability. Lightly sanding between coats creates a smoother final result.
Step 8: Mark the Wall and Find Studs
Before installing the shelf, decide the height. A common approach is to place picture ledges around eye level, or about 4 to 5 feet from the floor, depending on the room and furniture below. Above a sofa or console table, leave enough breathing room so the display feels intentional rather than squeezed.
Use a stud finder to locate wall studs. Mark the stud locations with painter’s tape. Whenever possible, drive screws into studs for the strongest hold. If studs do not line up with your shelf placement, use appropriate wall anchors rated for the weight of the ledge plus everything you plan to place on it.
Step 9: Install the Picture Ledge Securely
Hold the ledge on the wall and place a level on top. When the bubble is centered, mark screw locations through the back board. Pre-drill pilot holes in the ledge. If you are attaching to studs, drive screws through the back board and into the studs. If using drywall anchors, install the anchors first, then screw the ledge into them.
For long shelves, use at least three mounting points when possible. A long picture ledge filled with frames can become surprisingly heavy. Secure installation matters, especially in homes with kids, pets, enthusiastic vacuuming, or that one relative who touches everything while saying, “Is this sturdy?”
Step 10: Style Your DIY Picture Ledge
Once the ledge is installed, the fun begins. Start with your largest frame first and place it slightly off center. Add medium frames in front, then layer smaller pieces. Mix vertical and horizontal frames for movement. Use consistent frame colors for a polished look, or combine wood, black, brass, and white frames for a collected style.
Do not feel pressured to fill every inch. Negative space helps the display breathe. Add a small vase, candle, tiny plant, decorative object, or sculptural piece if the shelf is deep enough. For a family photo ledge, combine portraits with landscape shots, handwritten notes, travel prints, or children’s artwork to keep the display personal.
Design Ideas for Different Rooms
Living Room Picture Ledge
Use one long ledge above the sofa or two stacked ledges for a gallery-style wall. Keep the frames visually connected by using a shared color palette, such as black-and-white photography, neutral landscapes, or warm wood tones.
Bedroom Picture Ledge
A ledge above the headboard can replace traditional wall art. Choose calming prints, soft colors, and lightweight frames. Make sure the shelf is securely installed and positioned high enough that pillows will not bump it.
Hallway Picture Ledge
Narrow hallways are perfect for shallow ledges. Use them for family photos, travel memories, or rotating seasonal prints. A picture ledge can make a hallway feel like a mini gallery instead of a place where laundry baskets go to block traffic.
Kids’ Room or Nursery Picture Ledge
Install several low ledges to display children’s books with covers facing out. This makes books more inviting and adds color to the room. Keep heavy objects off ledges in kids’ spaces and make sure everything is anchored securely.
Common Mistakes to Avoid
The first mistake is choosing warped lumber. The second is skipping the level during installation. A slightly crooked picture ledge becomes very obvious once frames are lined up on it. The third mistake is relying only on weak fasteners. A picture ledge may be decorative, but it still needs real support.
Another common issue is making the front lip too low. If the lip barely rises above the shelf surface, frames may slide forward. A 1×2 front lip usually provides enough height without looking bulky. Also avoid overloading the shelf. Picture ledges are best for lightweight display items, not dumbbells, bowling trophies, or your emergency canned soup collection.
Budget Breakdown
A basic DIY picture ledge is budget-friendly. One shelf may cost much less than a store-bought version, especially if you already own tools and leftover paint or stain. Your main expenses are lumber, fasteners, glue, sandpaper, and finish. Building multiple ledges at once often lowers the cost per shelf because you can use materials more efficiently.
For a higher-end look, spend a little extra on smoother lumber, quality stain, or a durable enamel paint. The difference between “homemade” and “custom” often comes down to sanding, filling, finishing, and taking your time with installation.
Maintenance and Long-Term Use
Picture ledges are low maintenance. Dust them regularly, avoid placing wet items on unfinished wood, and check the screws occasionally if the shelf holds several frames. If you want to refresh the display, simply swap the artwork. That is the biggest advantage of picture ledges: your wall can change without a full patch-and-paint operation.
If the ledge gets scratched, touch up painted shelves with a small brush. For stained shelves, use a matching stain marker or lightly sand and recoat the affected area. Over time, you may even decide to repaint the ledge to match a new room color. Because the design is simple, updates are easy.
Extra Experience: What I Learned From Building DIY Picture Ledges
The first thing you learn when building picture ledges is that simple projects are not always the same as careless projects. Yes, this shelf is basically three boards joined together, but the final result depends on the little details. Straight boards matter. Clean cuts matter. Sanding matters. Holding the shelf level on the wall absolutely matters. The project is beginner-friendly, but it still rewards patience.
One helpful experience is to paint or stain the ledge before installing it. Technically, you can finish it after it is on the wall, but that turns a pleasant DIY project into a yoga class with a paintbrush. Finishing the ledge on a workbench or covered surface gives you cleaner edges and fewer accidental wall smudges. It also lets the shelf dry properly before you start stacking frames on it.
Another lesson is that clamps are worth using, even on a small project. When wood glue is wet, boards like to slide around just enough to annoy you. Clamps keep the back, base, and front lip aligned while you nail or screw them together. If you do not have clamps, a second person can help hold the pieces, but clamps do not sigh, blink, or ask when lunch is.
When installing the ledge, do not guess the stud locations. A stud finder and level make the difference between a shelf that feels solid and one that makes you nervous every time someone closes a door. If the shelf is long, mark all studs along the wall and use as many as practical. If you must use drywall anchors, choose anchors appropriate for the wall type and expected weight. Remember to include the weight of frames, books, and decorative objectsnot just the shelf itself.
Styling the ledge is where many people overdo it at first. It is tempting to place every favorite frame on the shelf immediately. A better approach is to start with three to five pieces, then add slowly. Layer frames by height, overlap them slightly, and repeat a color or material so the arrangement feels connected. If the shelf looks cluttered, remove one item. Usually, that one item is the difference between “designed” and “yard sale, but vertical.”
DIY picture ledges are also excellent for renters or anyone who changes décor often. Instead of hanging each frame separately, you create one strong horizontal line and let the artwork move around on top of it. This makes seasonal decorating easier and reduces the number of holes in the wall. You still need to mount the ledge securely, but after that, your art display becomes flexible.
Finally, the most satisfying part is how custom the finished ledge feels. A store-bought shelf may be close to what you need, but a DIY picture ledge can be exactly the length, color, and depth you want. It can match your trim, contrast with your wall, run across an awkward space, or create a focal point where the room previously had nothing but blank drywall and emotional tension. For a simple project, it delivers a big visual payoff.
Conclusion
Building picture ledges DIY is one of the best beginner woodworking projects because it is affordable, customizable, useful, and genuinely stylish. With three boards, basic tools, a smooth finish, and secure wall mounting, you can create a flexible display shelf for photos, art, books, and décor. The project does not require expert skills, but it does reward careful measuring, sanding, leveling, and installation.
Whether you build one ledge for a hallway or a full wall of shelves for a dramatic gallery display, the result is practical and beautiful. Best of all, you can change the artwork whenever you wantno new holes, no complicated measuring, and no staring at the wall wondering whether that frame is one-eighth of an inch too high. Spoiler: it probably is, but with picture ledges, nobody has to know.














