
Note: This guide is intended for legally obtained Dreamcast software only, including homebrew, public-domain releases, translation projects you are authorized to use, and lawful personal backups where allowed. If your plan involves downloading random copyrighted games from the internet and acting shocked when that goes sideways, this article is not your wingman.
The Sega Dreamcast is one of those gloriously weird consoles that still feels like it came from an alternate timeline where the future arrived early, wore translucent plastic, and made a cheerful startup chime. It also happens to be one of the most discussed systems in retro gaming when it comes to burned discs. That is partly because many Dreamcast consoles can boot CD-R media through MIL-CD support, and partly because the Dreamcast scene never really stopped being creative. Homebrew developers, fan translators, preservation fans, and retro tinkerers still care about this machine like it owes them rent.
But burning Dreamcast games is not as simple as dragging files to a blank disc and yelling “retro magic.” The Dreamcast used GD-ROMs for original retail games, and standard CD-Rs have much less space. That means format choice matters, console revision matters, media quality matters, and your burn settings matter. In other words, this is not hard, but it does reward patience more than chaos.
Why Burning Dreamcast Games Is Different
Most original Dreamcast retail games shipped on GD-ROM, a Sega format that holds more data than a regular CD. A blank CD-R usually tops out around 700MB, which means a Dreamcast game image designed for CD-R use is often not a perfect one-to-one copy of the original disc. In many cases, CD-R-friendly releases are distributed as CDI images, which are prepared specifically for disc burning and boot behavior on compatible Dreamcast hardware.
That leads to the first big lesson: not every Dreamcast image should be burned. If you are looking at a GDI image, that is usually meant for optical drive emulators, preservation, or emulation, not standard CD-R burning. If you are looking at a CDI image, that is usually the format associated with Dreamcast disc burning. If you treat a GDI like a CDI, your Dreamcast will likely respond by doing absolutely nothing useful.
What You Need Before You Start
- A Dreamcast console that supports MIL-CD booting
- A CD burner drive for your PC
- Good-quality CD-R media
- A legally obtained Dreamcast-compatible disc image, usually .cdi
- Burning software that understands disc images well, such as ImgBurn
- A tiny amount of patience, which is admittedly the rarest item on this list
Check Your Dreamcast First
Not Every Console Revision Behaves the Same
Before you burn anything, flip your Dreamcast over and look at the bottom label. Many hobbyists check the circled number printed on the label because it often hints at hardware revision. In general, earlier units are more likely to support MIL-CD booting, while later revision 2 systems are commonly associated with reduced or removed support for booting burned discs.
If your console is a revision 0 or 1 unit, you are usually in much better shape for CD-R booting. If it is a revision 2 console, burned discs may not work at all. This is the part where people often blame their burner, media, software, moon phase, and family history, when the real issue is simply that the console revision is not cooperative.
MIL-CD Support Is the Secret Sauce
The Dreamcast’s ability to boot certain burned discs comes from MIL-CD support. That feature is one reason the Dreamcast became such a famous homebrew-friendly machine. It is also why the platform still has a lively scene for indie releases, utilities, fan-made tools, and demo discs. Without MIL-CD support, the rest of this article would be much shorter and dramatically less fun.
CDI, GDI, and ISO: Know the Difference
This is where a lot of beginners get tripped up.
CDI
A CDI file is the format most often associated with Dreamcast discs that can be burned to CD-R and booted on compatible systems. It is commonly used for self-boot releases. If you are burning something specifically intended for a Dreamcast CD-R, CDI is often the file you want.
GDI
A GDI file usually represents a fuller Dreamcast dump that mirrors the original GD-ROM structure much more closely. Great for preservation. Great for optical drive emulators. Not great if your plan is “blank CD-R plus laser equals victory.”
ISO
An ISO is a common disc-image format in general computing, but Dreamcast users need to be careful here. Windows can burn standard ISO images with built-in tools, but that does not mean every Dreamcast-related image will work properly when burned like a normal ISO. Dreamcast-ready CDI images often require software and handling that fits the image format instead of generic “burn disc image” behavior.
How to Burn Dreamcast Games the Right Way
1. Start With a Legal, Correctly Prepared Image
Your first step is choosing the correct image. For a typical Dreamcast CD-R workflow, that usually means a self-boot CDI image. If the release notes mention homebrew, self-boot, or CDI compatibility, that is a good sign. If you only have GDI files, stop there. Those are usually better suited for an ODE setup like GDEMU or MODE rather than a burned disc.
2. Use CD-R, Not CD-RW
Use a decent-quality CD-R. Cheap no-name discs may work, but they also may produce the classic retro-gaming experience known as “Why does the console hate me specifically?” CD-RW media is generally a worse bet for older consoles and optical drives. Dreamcast owners typically have better luck with standard CD-R discs.
3. Install a Burning Program That Handles Image Files Well
ImgBurn is still one of the most commonly recommended tools for writing image files to discs. It is especially popular because it is lightweight, supports many image formats, and gives you enough control to avoid the “burn first, regret later” method. The main thing is to use software that treats the image properly instead of simply copying the file onto the disc as data.
4. Select “Write Image File to Disc”
Open your burning software and choose the option that writes an image file to a disc. Then browse to your Dreamcast image. Do not create a generic data disc. Do not drag the image into a folder compilation. Do not improvise. Optical media is not the place to freestyle.
5. Choose a Conservative Write Speed
Older advice often says “always burn at the absolute slowest speed,” but modern burners and media are a little more nuanced than that. For Dreamcast use, many hobbyists still prefer a modest speed such as 4x to 8x rather than max speed. The goal is not superstition. The goal is consistency. A slower, stable burn often gives older hardware less to complain about.
6. Enable Verification if Available
If your software offers a verify option, use it. Verification checks whether the disc was written correctly. It is not glamorous, but neither is burning the same disc twice because the first attempt was secretly bad. Finalizing the disc properly also helps avoid compatibility headaches.
7. Burn the Disc and Let the Process Finish
This sounds obvious, but let the write process complete without multitasking your system into oblivion. If your PC is ancient, your burner is flaky, and you open 37 browser tabs while burning, do not be surprised if the result looks like a coaster with ambition.
8. Test on the Dreamcast
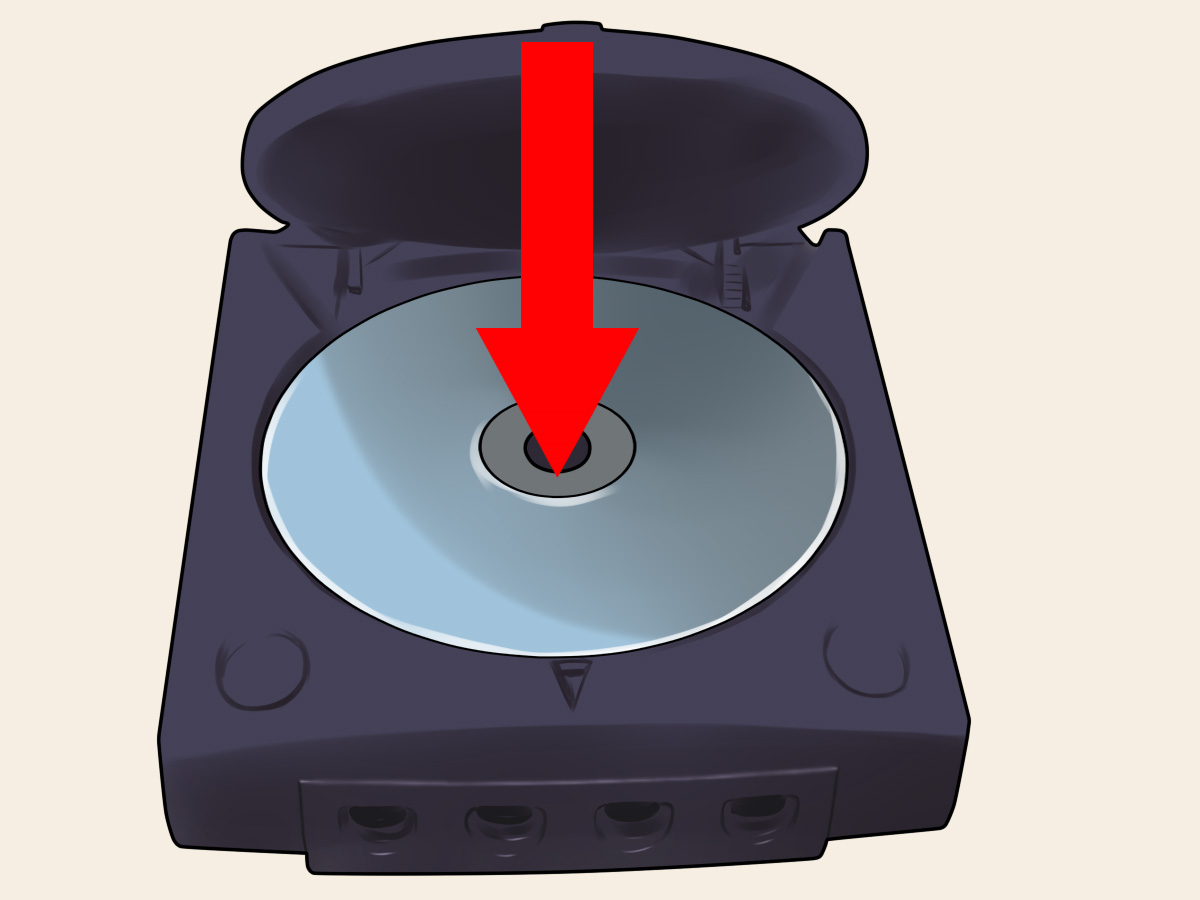
Once the burn is complete, put the disc into your compatible Dreamcast and test it. A properly prepared self-boot disc should launch without extra drama. If it does, congratulations: you and a late-1990s console have successfully cooperated, which is more than some modern apps can say.
Common Problems and How to Fix Them
The Dreamcast Sees the Disc as Audio
This often points to an incorrectly burned image, wrong file format, or a burn method that treated the disc like a standard data write instead of a bootable Dreamcast-ready image. Double-check that you used a proper CDI image and the image-writing mode in your burning software.
The Disc Does Not Boot at All
Check your console revision first. If the machine lacks MIL-CD support, the disc may never boot no matter how carefully you burned it. After that, inspect the media quality, the burner drive, and the image source.
The Game Loads but Runs Poorly
Remember that CD-R Dreamcast images can be compromises. Since original GD-ROMs hold more data, some CDI releases cut or compress assets to fit on a standard CD-R. That can mean altered audio, trimmed videos, slower loads, or missing extras depending on how the release was prepared.
The Burn Fails Near the End
This can happen if the image is too large for the media, if the disc quality is poor, or if the burner does not like the blank disc. Try a different brand of CD-R, a different drive, or a fresh copy of the image from a lawful source.
Best Practices for Better Results
- Use quality CD-R media instead of bargain-bin discs
- Prefer self-boot CDI releases for disc burning
- Burn at a moderate speed rather than the maximum
- Verify the disc after writing
- Keep your Dreamcast lens and hardware in decent condition
- Do not expect every Dreamcast title to fit cleanly on CD-R without compromises
Should You Still Burn Dreamcast Games in 2026?
Honestly, yes, but with realistic expectations. Burning Dreamcast discs is still useful if you enjoy homebrew, testing utilities, trying fan-made projects, or creating lawful backups for a compatible console. It is also part of the hobby’s charm. There is something wonderfully stubborn about using optical media in an age when people complain if a video buffers for three seconds.
That said, burned CD-Rs are not always the best long-term solution. If your goal is the most accurate, convenient, and hardware-friendly way to enjoy a large Dreamcast library, an optical drive emulator is often the better path. Burned discs remain fun, affordable, and surprisingly effective, but they are also a little messy, a little finicky, and extremely on brand for retro gaming.
Experience: What It’s Actually Like to Burn Dreamcast Games
For many retro gamers, the experience of burning Dreamcast games starts with confidence and ends with humility. At first, it seems simple: find a legal image, grab a spindle of CD-Rs, install a burner program, and boom, instant Sega wizardry. Then the Dreamcast reminds you that it is both brilliant and moody. One disc boots perfectly. The next spins, chirps, stares into the middle distance, and dumps you back at the system menu like nothing happened.
There is also a strange thrill to the process. You are working with a console from 1999, a stack of shiny discs, and software that looks like it escaped from the Windows XP era. Somehow that combination still feels magical. When a self-boot disc works on the first try, it feels less like “I wrote an image file” and more like “I just performed a low-budget resurrection ritual for a dead optical format.”
Most people who spend time with burned Dreamcast media quickly develop their own rituals. Some swear by a certain brand of CD-R. Some refuse to burn above 8x. Some trust one PC drive and distrust every other burner like they are all personally plotting against them. And almost everyone eventually learns that not all bad burns are actually bad burns. Sometimes the disc is fine and the console revision is the real problem. Sometimes the image is the issue. Sometimes the lens is tired. Sometimes retro hardware simply wakes up and chooses nonsense.
There is also the emotional side of it that tutorials rarely mention. A working Dreamcast burn is not just a technical success. It is a connection to a very specific era of gaming culture: demo discs, fan translations, hobbyist tools, indie experiments, and the kind of tinkering that modern locked-down platforms often discourage. Burning a disc for a Dreamcast feels hands-on in a way digital storefronts never will. You hear the drive spin up. You wait through the startup animation. You know something physical is happening.
And yes, there is a little comedy in the whole thing. You can spend an hour doing everything correctly, only to realize the blank disc you used was from a dusty spindle you bought years ago for unknown reasons. You can test three settings, clean the console, reburn the image, and then discover the first disc was actually fine and your AV cable was the problem. Retro gaming has a way of turning smart people into detectives, mechanics, and accidental philosophers.
Still, that is exactly why many people love it. Burning Dreamcast games is not just about saving money or avoiding rare disc prices. It is about participation. You are not passively consuming a library. You are learning how the hardware behaves, how the formats differ, and why this oddball console still inspires loyalty decades later. When it works, it is deeply satisfying. When it fails, it is educational. And when it really fails, at least you get a very reflective coaster out of the deal.
Final Thoughts
If you want to burn Dreamcast games successfully, the formula is simple: use a compatible console, start with a legally obtained CDI image, burn to quality CD-R media with proper image-writing software, keep your settings conservative, and understand that Dreamcast disc burning is a charming mix of science and stubbornness. The Dreamcast rewards care, not shortcuts.
Done right, burning Dreamcast games is still one of the most fun retro-tech projects around. It is practical for homebrew, useful for certain lawful backup scenarios, and a great way to appreciate why the Dreamcast remains one of gaming’s most beloved hardware rebels. Just remember: when the console refuses to boot your disc, it is not always personal. It only feels personal.














