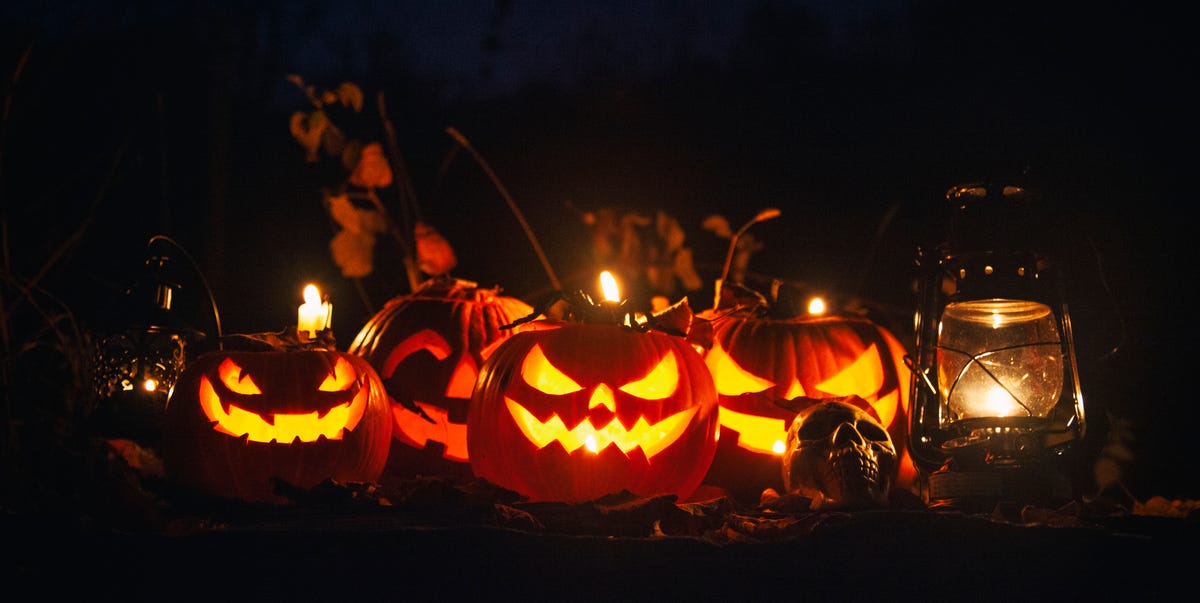
Carving a pumpkin looks wonderfully simple until you are elbow-deep in orange strings, holding a tiny plastic saw and wondering why your jack-o’-lantern has one eye near its forehead. Fortunately, a great pumpkin does not require professional sculpting skills, expensive tools, or the steady hands of a brain surgeon. It requires a firm pumpkin, a sensible design, a safe workspace, and a little patience.
This complete guide explains how to carve a pumpkin step by step, from choosing the right gourd to preserving the finished jack-o’-lantern. It also covers beginner-friendly designs, carving safety, common mistakes, lighting options, and practical lessons learned from real pumpkin-carving sessions.
Choose the Best Pumpkin for Carving
Your carving project begins before the first cut. The pumpkin is your canvas, building material, and uncooperative orange coworker, so choose carefully.
Look for a Firm, Healthy Pumpkin
Select a pumpkin that feels firm and heavy for its size. Avoid soft spots, deep scratches, bruises, cracks, leaking areas, and patches of mold. Minor surface variations are harmless, but damaged skin can allow decay to develop more quickly.
A healthy stem is another positive sign. Look for a pumpkin with at least an inch or two of stem remaining, but never carry it by that stem. A broken stem creates a wound through which moisture can escape and microorganisms can enter. Lift the pumpkin from underneath as though it were a particularly round and silent cat.
Match the Shape to Your Design
A perfectly round pumpkin is not automatically the best pumpkin. A tall pumpkin works well for ghosts, owls, vertical lettering, and long monster faces. A wide, squat pumpkin suits broad smiles, cats, bats, and traditional jack-o’-lantern expressions.
Check that the pumpkin sits securely on a flat surface. A slightly lopsided pumpkin can add character, but one that rolls toward the edge of the table every time you touch it will make carving unnecessarily difficult.
Choose a Manageable Size
Medium pumpkins are usually easiest for beginners. They provide enough space for a recognizable design without requiring an hour of scraping. Very small pumpkins are charming but difficult to hollow and carve. Giant pumpkins offer a dramatic canvas, although cleaning one can feel like excavating a damp cave.
Gather Your Pumpkin-Carving Tools
You do not need an elaborate carving workshop. A basic pumpkin-carving kit is often safer and more controllable than a large kitchen knife because its small serrated saw is designed to move through the rind with short strokes.
Essential Supplies
- One firm carving pumpkin
- A pumpkin saw or small serrated carving tool
- A sturdy metal spoon, scraper, or ice cream scoop
- A washable marker or grease pencil
- A printed stencil, if desired
- Pushpins, tape, or a tracing wheel
- A large bowl for seeds and pulp
- Newspaper, a washable tablecloth, or a rimmed tray
- Paper towels or clean cloths
- A battery-operated candle or LED light
Optional Detail Tools
A linoleum cutter, clay loop tool, craft pick, or specialized etching tool can remove only the outer orange skin. Etching creates glowing details without cutting completely through the pumpkin wall. These tools are useful for fur, lettering, wrinkles, feathers, and layered shadows.
Do not substitute an oversized chef’s knife simply because it looks powerful. Large blades can become stuck in the rind and may slip when force is applied. Pumpkin carving rewards control, not dramatic swordsmanship.
Prepare a Safe Carving Area
Work on a stable table in a well-lit area. Cover the surface, place the pumpkin on a nonslip mat or damp towel, and keep the floor clear of tools and pumpkin pulp. The stringy interior is surprisingly effective at turning a kitchen floor into an autumn-themed skating rink.
Wash the pumpkin’s exterior and dry it thoroughly before carving. Clean your tools before use, especially when several people are sharing them. Dry hands and dry tool handles provide a more secure grip.
Pumpkin-Carving Safety for Children
Young children should decorate rather than cut. They can choose a pattern, draw a face, remove loose seeds with a spoon, attach stickers, or paint the exterior. An adult should perform all cutting and carving.
Older children and teenagers still need supervision. Everyone should carve away from the body, use controlled sawing motions, and keep the supporting hand away from the blade’s path. A cut-resistant glove can add protection, but it does not replace careful handling.
How to Carve a Pumpkin Step by Step
Step 1: Decide Whether to Open the Top or Bottom
The traditional method is to cut a lid around the stem. Angle the blade slightly toward the center so the lid has a sloped edge and cannot fall through the opening. Add a small notch at the back to make the lid easy to reposition.
Alternatively, cut an opening in the bottom. A bottom opening leaves the stem intact, makes the pumpkin easier to lower over an LED light, and can simplify cleaning. Make the hole wider than your fist so your hand and scraper fit comfortably.
Step 2: Remove the Seeds and Stringy Pulp
Pull out the large clumps by hand, then scrape the interior with a sturdy spoon or pumpkin scraper. Place the seeds in a separate bowl if you plan to roast them.
Continue scraping until the interior is relatively clean and dry. Pay special attention to the wall behind your planned design. Thin that section to approximately three-quarters of an inch to one inch. A thinner wall is easier to carve and allows more light to pass through, but scraping it paper-thin can make the design collapse.
Step 3: Choose and Position the Pattern
Beginners should start with large shapes and generous spaces between cuts. Triangle eyes, crescent moons, ghosts, simple cats, bats, and toothy faces are forgiving choices. Tiny islands of pumpkin flesh and narrow bridges are more likely to snap.
Turn the pumpkin until you find its smoothest or most interesting side. Tape the stencil to the surface, folding or trimming the paper as necessary to fit the curve. Then transfer the design by poking small holes along the lines with a pushpin or tracing tool.
For a freehand design, draw directly on the rind with a washable marker. Stand back occasionally and check the proportions. It is much easier to move a marker line than to persuade a missing chunk of pumpkin to return.
Step 4: Carve the Small Details First
Begin with the smallest interior pieces, such as pupils, nostrils, or narrow gaps between teeth. If you remove the largest sections first, the remaining pumpkin wall may flex while you work on delicate areas.
Insert the pumpkin saw perpendicular to the surface and use short, gentle back-and-forth strokes. Let the serrated edge do the work. Do not twist the blade sharply, pry with it, or force it around a tight corner. Remove the tool and reinsert it from a new angle when changing direction.
Step 5: Remove the Larger Pieces
After cutting completely around a shape, push the piece gently from the inside. If it resists, inspect the outline for an uncut section rather than shoving harder. A stubborn eyebrow can quickly become an accidental forehead renovation.
Clean rough edges with the carving saw or a small scraping tool. Slightly beveling the interior edges can help light spread through the opening and make the design appear clearer at night.
Step 6: Add Etched Details
For more depth, remove only the outer skin in selected areas. The pale flesh underneath will glow softly when the pumpkin is illuminated. Combine full cuts, shallow etching, and untouched rind to create three levels of brightness.
Etching works especially well for spiderwebs, fur, feathers, house windows, moonlight, and lettering. Remove a little material at a time. You can always scrape deeper, but pumpkin rind does not offer an undo button.
Step 7: Test the Design
Place an LED light inside and dim the room. Look for blocked sections, overly thick areas, or cuts that need cleaning. Scrape the interior behind dim details until the light becomes more even.
Testing before display also reveals whether the pumpkin sits securely. Trim the bottom opening or place the pumpkin on a stable tray if it wobbles.
Easy Pumpkin-Carving Ideas for Beginners
The Classic Jack-o’-Lantern
Use two large eyes, a simple nose, and a wide mouth with only a few teeth. Change the angle of the eyes to make the expression friendly, worried, mischievous, or spectacularly confused.
Silhouette Designs
A bat, ghost, crescent moon, witch’s hat, or black cat can be created as one bold shape. Silhouettes require fewer cuts and remain recognizable from the sidewalk.
Cookie-Cutter Shapes
Metal cookie cutters can help create stars, circles, leaves, or simple geometric patterns. Press the cutter gently into the rind to mark the outline, then finish the shape with a pumpkin saw. Adults should handle any mallet or cutting tool.
Constellation Pumpkin
Make small holes with a drill bit, skewer, or carving tool to represent stars. Connect selected points with shallow etched lines. The result looks sophisticated even when your artistic experience consists mainly of doodling during phone calls.
Mixed Carving and Painting
Paint large sections and carve only the eyes or mouth. This technique reduces cutting time and lets younger family members contribute safely. Acrylic craft paint or paint pens generally provide better coverage than washable school paint.
How to Make a Carved Pumpkin Last Longer
A whole, undamaged pumpkin can remain attractive for weeks under suitable conditions. Once carved, however, it begins losing moisture and becomes vulnerable to mold and decay. Timing and temperature matter more than any miracle pumpkin potion.
Carve Close to Display Day
For the freshest Halloween appearance, carve only a few days before the event. Warm, humid, wet, or sunny conditions accelerate deterioration. A pumpkin carved far in advance may become a fuzzy science project before the trick-or-treaters arrive.
Remove as Much Pulp as Possible
Loose strings and wet pulp retain moisture and provide material on which microorganisms can grow. Scrape the inside thoroughly, then blot it with paper towels.
Protect the Cut Edges
A very thin coating of petroleum jelly on exposed cut edges may slow moisture loss. Apply it sparingly and use only an electric light afterward. Keep petroleum-based products away from open flames.
Keep It Cool and Dry
Display the jack-o’-lantern in a shaded, protected location. Avoid direct afternoon sun, rain, and warm indoor rooms. When practical, refrigerate the pumpkin overnight in a container or loose bag that prevents it from drying out without trapping excessive condensation.
If the pumpkin begins to shrivel but has no mold or serious decay, a brief soak in cold water may temporarily restore some firmness. Dry it completely before putting it back on display.
Know When to Throw It Away
Discard a pumpkin that becomes soft, slimy, heavily discolored, foul-smelling, or visibly moldy. Do not try to rescue a collapsing jack-o’-lantern. Compost it where local rules allow, place it with approved yard waste, or dispose of it in the trash.
Use Safe Lighting Inside the Pumpkin
Battery-operated candles, puck lights, glow sticks, and compact LED lights are the safest and most convenient options. They produce little heat, stay lit in breezy weather, and reduce the risk of costumes, decorations, dry leaves, or porch materials catching fire.
Color-changing LEDs can make a simple design look more elaborate. A cool white light produces a crisp glow, while amber light creates the traditional candlelit appearance without the flame.
If a real candle is used despite the safer alternatives, an adult must supervise it continuously. Keep the pumpkin away from traffic, steps, curtains, paper decorations, dry plants, and flowing costumes. Extinguish the flame before leaving the area or going to bed.
Common Pumpkin-Carving Mistakes
Carving Too Early
The most beautiful pumpkin cannot negotiate with warm weather. Wait until close to Halloween or the intended display date before cutting it.
Choosing an Overly Detailed Pattern
A design that looks simple on paper may contain dozens of fragile sections. Enlarge the pattern, simplify tiny details, and leave sturdy bridges of rind between openings.
Cutting Before Planning
Sketch the entire face before making the first cut. Otherwise, you may discover that the magnificent mouth leaves no room for the nose.
Forcing the Saw
Fast, aggressive cutting leads to broken tools, torn edges, and unsafe slips. Short sawing motions produce cleaner lines and provide better control.
Making the Design Wall Too Thick
A thick wall is difficult to penetrate and blocks light. Scrape the interior behind the pattern before carving, especially when using small tools.
Using the Stem as a Handle
The stem may break without warning. Carry the pumpkin with two hands supporting its base.
Leaving an Open Flame Unattended
A jack-o’-lantern is decoration, not a tiny unsupervised fireplace. Use an LED whenever possible.
What to Do With Pumpkin Seeds
Separate the seeds from the pulp in a bowl of water. Rinse them, spread them on a towel, and dry them well. Toss the seeds with a small amount of oil and your preferred seasoning, then roast them until crisp and lightly browned.
Classic salt works well, but cinnamon sugar, smoked paprika, garlic powder, chili seasoning, or pumpkin pie spice can create a more interesting snack. Watch the seeds closely during roasting because the difference between toasted and tiny charcoal coins can be surprisingly brief.
Use seeds removed from a fresh, clean pumpkin before it has been displayed outdoors. Do not eat seeds or flesh from a pumpkin that has held a candle, received preservation chemicals, developed mold, or spent days exposed to animals and weather.
Experiences and Lessons From Carving Pumpkins
The first lesson pumpkin carving teaches is that the simplest design often creates the best result. During one family carving night, everyone selected a different level of difficulty. One person chose a classic face with triangle eyes. Another attempted an elaborate haunted mansion containing windows, tree branches, bats, roof shingles, and what appeared to be the ghost of architectural ambition.
The classic face was finished quickly and looked excellent from the sidewalk. The haunted mansion required repeated repairs with toothpicks after several narrow sections broke. Under bright kitchen lights, the complicated design seemed more impressive. Once both pumpkins were placed outside, however, the bold face was easier to recognize. That experience made one rule obvious: design for the distance from which people will see the pumpkin.
Another useful lesson concerns pumpkin-wall thickness. On an early attempt, we began cutting immediately after scooping out the seeds. The saw moved slowly, several corners tore, and the light barely passed through the finished face. The next pumpkin was scraped much more thoroughly behind the design. Carving became easier, the openings looked cleaner, and the entire face glowed more brightly. Spending five extra minutes with a scraper saved considerably more time later.
Transferring a pattern also proved easier with closely spaced pinholes than with heavy marker lines. Thick lines made it difficult to decide which edge to follow, especially around teeth and small curves. Pinholes provided a clear path while leaving room for adjustments. For freehand faces, a washable marker remained the most practical choice because mistakes could be wiped away before cutting.
One year, the pumpkins were carved more than a week before Halloween because everyone’s schedule was busy. The weather then turned unusually warm. By Halloween afternoon, one pumpkin had developed a sunken cheek, a curling mouth, and an expression that suggested it had just reviewed its retirement account. The intentional design was no longer visible, but the natural decay was admittedly terrifying.
Since then, carving has been scheduled closer to display night. Whole pumpkins are purchased earlier and stored in a cool, dry location, but the actual cutting waits. Once carved, they stay outside only during the cooler evening hours and rest in a protected area during warm afternoons or rain.
Lighting experiments produced another clear winner. Traditional candles created attractive movement, but they also generated heat and required constant supervision. Small LED lights were easier to position, remained bright for hours, and allowed the pumpkins to be placed near the walkway without concern about children’s costumes approaching a flame. A color-changing LED even made a basic ghost design look like it had received an expensive special-effects budget.
Carving with children works best when jobs are divided according to age. Younger children can select designs, draw expressions, scoop loose seeds, and decorate with paint or stickers. Adults can handle the cutting. This arrangement keeps everyone involved without placing sharp tools in small, enthusiastic hands.
It also helps to accept imperfections. A crooked tooth can make a monster funnier. Uneven eyes can create personality. A crack may become a scar, and a cut that wanders off course can be transformed into an eyebrow, wrinkle, or decorative border. Pumpkin carving is temporary folk art, not an engineering inspection.
The most enjoyable carving sessions are rarely the neatest or most technically perfect. They involve bowls of slippery seeds, debates about facial expressions, music in the background, and someone inevitably pretending the stringy pulp is monster hair. Prepare the workspace, use safe tools, choose a manageable pattern, and allow the pumpkin’s shape to influence the design. The finished jack-o’-lantern will be memorable because people made it together, not because every curve was mathematically flawless.
Conclusion
Learning how to carve a pumpkin is mostly a matter of preparation and control. Choose a firm pumpkin, clean it thoroughly, thin the design wall, transfer a simple pattern, and cut with short sawing motions. Add etched areas for extra depth, test the design with an LED light, and keep the finished pumpkin cool and dry.
Most importantly, treat carving tools seriously and let adults handle cutting when young children participate. With a safe workspace and a forgiving design, even a first-time carver can create a jack-o’-lantern worthy of the front porch. It may not resemble a museum sculpture, but it will glow, grin, and frighten at least one neighborhood squirrel.
Note: Review tool instructions, product labels, local disposal rules, and adult-supervision needs before publishing or applying this guide.