
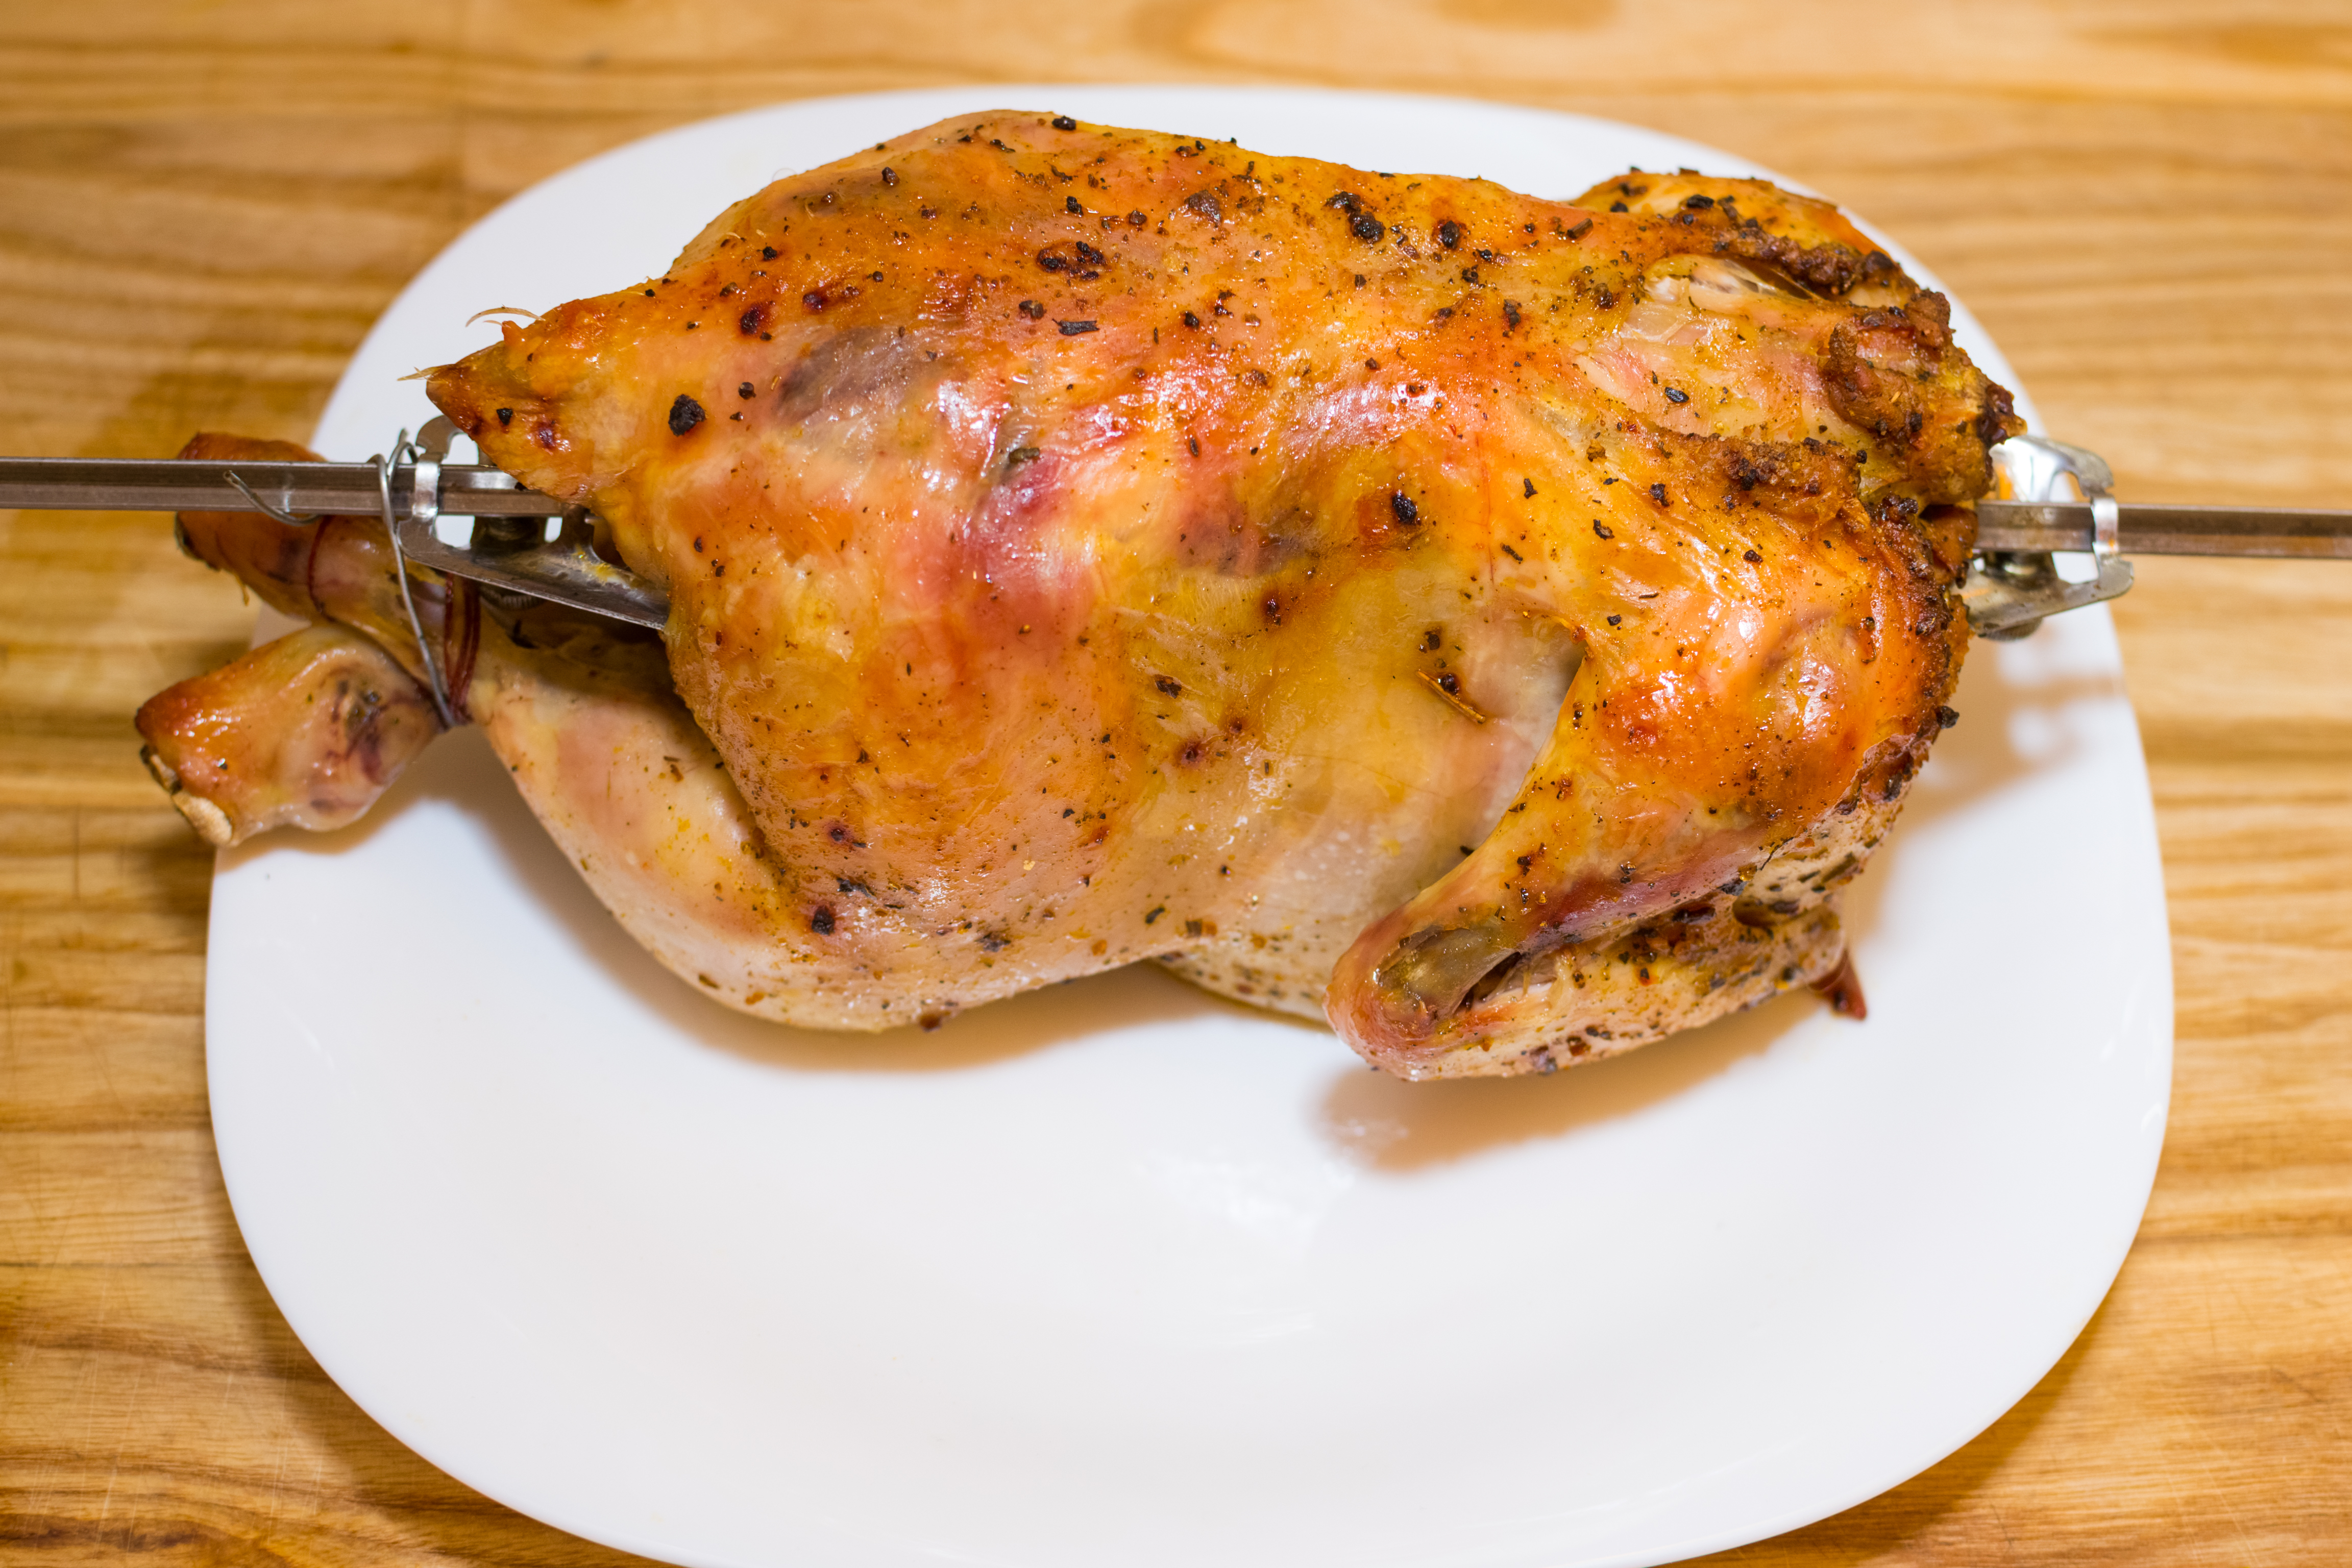
Cooking a whole chicken in a George Foreman rotisserie is one of those wonderfully old-school kitchen tricks that still feels a little magical. You season a bird, secure it on the spit, close the door, and let the machine do its slow-turning, self-basting dance. The result can be juicy meat, golden skin, and the kind of dinner aroma that makes people wander into the kitchen asking, “Is it ready yet?” every six minutes.
The George Foreman rotisserie works differently from a regular oven because the chicken rotates while cooking. That rotation helps the juices move around the bird instead of pooling in one spot. Fat drips away into the tray, the skin browns evenly, and you get a homemade rotisserie chicken without standing in the supermarket checkout line behind someone buying 47 coupons’ worth of cereal.
This guide explains how to cook a chicken in a George Foreman rotisserie in 11 clear steps, including food safety, seasoning, trussing, timing, temperature, resting, carving, and cleaning. The most important rule is simple: use a food thermometer. Cooking time is helpful, but internal temperature is the boss.
What You Need Before You Start
Before you invite the chicken onto the spinning throne, gather your tools. You will need one whole chicken, usually about 3 to 5 pounds depending on your rotisserie model; paper towels; kitchen twine; oil or softened butter; salt; pepper; seasonings; the rotisserie bar; meat tines or forks; the drip tray; oven mitts; and an instant-read meat thermometer.
Always check the manual for your specific George Foreman rotisserie model. Some compact versions handle smaller chickens, while larger models can fit a bigger bird. The chicken must rotate freely without touching the heating elements, cover, tray, or sides. If it bumps like a tiny poultry wrecking ball, stop and adjust it.
How to Cook a Chicken in a George Foreman Rotisserie: 11 Steps
1. Choose the Right Size Chicken
Pick a whole chicken that fits your rotisserie comfortably. For many countertop rotisserie ovens, a 3- to 4-pound chicken is the easiest size to manage. Larger models may hold more, but bigger is not always better. A smaller bird rotates more smoothly, cooks more evenly, and is less likely to scrape the heating element like it is trying to escape.
Look for a chicken with intact skin and no unpleasant odor. If the bird is frozen, thaw it safely in the refrigerator, in cold water while sealed, or in the microwave if you plan to cook it immediately afterward. Do not thaw chicken on the counter. Room-temperature poultry is not “relaxing”; it is giving bacteria a beach vacation.
2. Remove Giblets and Pat the Chicken Dry
Take the chicken out of its packaging and remove any giblets or neck pieces from the cavity. Pat the chicken dry inside and out with paper towels. Dry skin browns better than wet skin, and browning is where flavor starts to get serious.
Do not rinse raw chicken in the sink. Washing poultry can splash bacteria onto counters, utensils, and nearby food. Cooking the chicken to the proper internal temperature is what makes it safe, not a sink shower. After handling raw chicken, wash your hands, sanitize surfaces, and keep raw poultry away from vegetables, salads, bread, and anything else that will not be cooked.
3. Season the Chicken Generously
A basic rotisserie chicken seasoning can be as simple as salt, black pepper, garlic powder, onion powder, paprika, thyme, and a little olive oil. For a richer flavor, rub softened butter under the skin over the breast meat. For a brighter flavor, add lemon zest, rosemary, parsley, or a few crushed garlic cloves.
Use about 1 to 1 1/2 teaspoons of kosher salt per 3 to 4 pounds of chicken, adjusting to taste and the saltiness of your spice blend. Season the cavity too. A whole chicken is not a flat chicken breast; it has corners, curves, and mysterious little folds that all deserve flavor.
4. Let the Seasoning Work
If time allows, season the chicken at least 30 minutes before cooking. For even better flavor, place the seasoned chicken uncovered in the refrigerator for several hours or overnight. This dry-brine style approach helps the salt move into the meat and dries the skin slightly, which encourages better browning.
If you are short on time, do not panic. A last-minute seasoning rub still works. The chicken may not taste as deeply seasoned, but it will still be delicious if you cook it properly and let it rest before carving.
5. Truss the Chicken with Kitchen Twine
Trussing is important in a rotisserie because loose wings and legs can flop around and hit the heating elements. Tie the legs together with kitchen twine, then secure the wings close to the body. The goal is a compact, balanced bird that turns smoothly.
You do not need to perform surgical origami. Just make sure the drumsticks are close together and the wings are tucked or tied down. A tightly trussed chicken cooks more evenly, looks better, and behaves itself in the machine. In poultry terms, that is a major personality improvement.
6. Attach the Chicken to the Rotisserie Bar
Slide one meat tine or fork onto the rotisserie bar, then push the bar through the chicken from the cavity opening toward the neck end. Center the bird on the bar. Slide the second tine onto the bar and press both tines firmly into the chicken so it is held securely from both ends.
Tighten the screws or fasteners on the tines according to your model’s instructions. Then rotate the bar by hand over a cutting board or tray. If the chicken swings heavily to one side, reposition it. Balance matters because an uneven chicken can jerk as it turns, stressing the motor and cooking unevenly.
7. Prepare the Rotisserie Oven
Place the George Foreman rotisserie on a stable, heat-safe surface with plenty of space around it. Do not operate it under low cabinets, on a tablecloth, or near anything that dislikes heat. Insert the drip tray. If your manual recommends adding water to the drip tray for fatty foods, do so carefully to help reduce smoking and cool drippings.
Make sure the cover is in place and closed during cooking. The rotisserie is designed to cook with the cover closed, which helps maintain heat and prevents splatter from redecorating your kitchen in “chicken confetti.”
8. Set the Temperature and Cooking Time
Many George Foreman rotisserie models use temperature settings around 350°F for whole poultry, though some models have different controls or preset ranges. Always follow your model’s manual first. As a general guide, a whole chicken may take about 15 to 20 minutes per pound, but timing varies by bird size, starting temperature, seasoning, trussing, and appliance model.
For a 4-pound chicken, start checking around the 60-minute mark. It may need 75 to 90 minutes depending on your machine. The key phrase is “start checking,” not “declare victory.” The thermometer gets the final vote.
9. Watch the First Few Rotations
After turning on the rotisserie motor, watch the chicken rotate for a few complete turns. It should move smoothly without rubbing, scraping, wobbling dramatically, or bumping the heating elements. If anything looks wrong, stop the unit, unplug it if needed, and adjust the trussing or placement on the bar.
During cooking, avoid constantly opening the machine. Every peek releases heat. You may baste lightly with melted butter or oil if your model allows pausing safely, but it is not required. The rotating action naturally helps baste the bird with its own juices.
10. Check the Internal Temperature
The chicken is done when the thickest part of the breast and thigh reaches 165°F. Insert the thermometer into the meat without touching bone, because bone can give an inaccurate reading. Check more than one spot, especially near the thigh joint, where whole chickens often take longer to finish.
Do not rely only on clear juices, brown skin, or the “it looks done” method. Those signs can help, but they are not as reliable as temperature. If the chicken has not reached 165°F, return it to the rotisserie and continue cooking, checking again in 5- to 10-minute intervals.
11. Rest, Carve, and Serve
When the chicken reaches 165°F, turn off and unplug the rotisserie. Use oven mitts and the rotisserie removal tool to lift the bar out carefully. Let the chicken rest for 15 to 20 minutes before carving. Resting gives the juices time to settle, so they stay in the meat instead of flooding the cutting board like a tiny chicken lagoon.
After resting, remove the twine and carefully slide out the rotisserie bar and tines. Carve the chicken by removing the legs and thighs first, then the wings, then slicing the breast meat. Serve it with roasted potatoes, rice, salad, steamed vegetables, or warm dinner rolls.
Best Seasoning Ideas for George Foreman Rotisserie Chicken
One of the best things about homemade rotisserie chicken is how easily you can change the flavor. For classic deli-style chicken, use paprika, garlic powder, onion powder, thyme, black pepper, and salt. For lemon-herb chicken, use lemon zest, rosemary, thyme, parsley, garlic, and olive oil. For smoky barbecue flavor, use smoked paprika, brown sugar, chili powder, cumin, garlic powder, and a touch of cayenne.
If you use sugar in a rub, keep an eye on browning. Sugar can caramelize beautifully, but it can also darken quickly near heating elements. A small amount is usually enough. The bird should look golden and appetizing, not like it just lost a fight with a campfire.
Common Mistakes to Avoid
Using a Chicken That Is Too Big
If the chicken does not rotate freely, it will not cook properly. Choose a smaller bird or trim excess skin and fat. Never force the cover closed over a chicken that touches the heating element.
Skipping the Trussing
Loose wings and legs are the enemy of smooth rotation. Even a simple tie around the legs and wings can make a big difference.
Guessing Doneness by Time Alone
Cooking charts are useful, but they are estimates. A thermometer protects you from undercooked poultry and dry, overcooked chicken.
Carving Immediately
Freshly cooked chicken needs a rest. Cutting too soon releases the juices too quickly. Give it 15 to 20 minutes, even if the smell is testing your character.
How to Store Leftover Rotisserie Chicken
Refrigerate leftover chicken within two hours of cooking. Remove the meat from the bones if you want faster cooling and easier meal prep. Store it in an airtight container in the refrigerator for up to 3 to 4 days. For longer storage, freeze shredded or sliced chicken in freezer-safe bags or containers.
Leftover George Foreman rotisserie chicken is excellent in sandwiches, chicken salad, tacos, quesadillas, soups, casseroles, fried rice, pasta, and grain bowls. Save the bones for homemade stock if you like getting one more useful thing out of dinner. That is not cheap; that is culinary wisdom wearing comfortable shoes.
Practical Experience Notes: What Really Helps
When people first cook a whole chicken in a George Foreman rotisserie, the biggest surprise is usually how much the balance matters. A chicken that looks centered may still rotate unevenly once the motor starts. The simple fix is to test it before committing to the full cook. Turn the bar by hand and watch where the heavy side falls. If the bird keeps rolling to the same spot, loosen the tines, shift the chicken slightly, and tighten everything again. This small adjustment can be the difference between smooth rotation and a machine that sounds like it is training for a demolition derby.
The second lesson is that dry skin is your friend. Many home cooks focus only on seasoning, but moisture on the surface can slow browning. Patting the chicken dry, salting ahead of time, and letting it rest uncovered in the refrigerator can noticeably improve the color and texture of the skin. A light coating of oil helps spices stick and encourages browning, but too much oil can drip and smoke. Think “thin shine,” not “spa treatment.”
Another useful habit is to season more evenly than you think you need to. A whole chicken has a lot of surface area, and the breast, thighs, drumsticks, wings, and cavity all need attention. Rub seasoning under the skin over the breast when possible. That puts flavor closer to the meat instead of leaving all the excitement on the outside. If you add lemon, garlic, or herbs to the cavity, keep them modest. Overstuffing the cavity can slow cooking and make the chicken harder to balance.
Many cooks also learn that the best rotisserie chicken is not necessarily the largest chicken. A medium bird often cooks more evenly and stays juicier. Large chickens can work, but they require more careful trussing and monitoring. If you are cooking for a crowd, two smaller chickens cooked separately may give better results than one oversized bird trying to scrape its way through the appliance.
Finally, the resting period is not optional if you want juicy meat. It is tempting to carve immediately because the skin is crisp, the smell is incredible, and everyone is circling the kitchen like polite wolves. Wait anyway. Resting lets the meat relax and helps the juices redistribute. While the chicken rests, use the time to make a quick salad, warm bread, or spoon drippings into a small pan for a simple sauce. By the time you carve, the chicken will be easier to handle, cleaner to slice, and much more satisfying to eat.
Conclusion
Cooking a chicken in a George Foreman rotisserie is simple once you understand the basics: choose the right size bird, dry and season it well, truss it tightly, center it on the spit, let it rotate freely, cook it until it reaches 165°F, and rest it before carving. The rotisserie does most of the work, but the small details make the meal shine.
Whether you prefer classic paprika-garlic seasoning, lemon-herb brightness, or smoky barbecue flavor, this method gives you a juicy whole chicken with minimal babysitting. Use a thermometer, respect the appliance, and do not rush the rest. Your reward is tender homemade rotisserie chicken that tastes like dinner with a tiny victory parade attached.
Note: Always follow the manual for your specific George Foreman rotisserie model, and confirm poultry reaches 165°F with a food thermometer before serving.














