A productive vegetable garden does not require a sprawling backya a thoughtful layout.
Whether you have several acres, a suburban lawn, a narrow side yard, a patio, or one sng yourself. The goal is not to squeeze in the greatest possible number of seedlings. The goal is to create a garden that receives enough light, uses water efficiently, remains easy to maintain, and produces vegetables you will actually eat.
This guide explains how to design a vegetable garden layout for practically any space, including raised beds, traditional plots, containers, vertical gardens, and awkward corners. Grab a tape measure, a pencil, and your most realistic gardening ambitions. It is time to turn that empty space into dinner.
Start With the Space You Actually Have
Before buying seeds, study your available growing area. A garden plan based on accurate measurements will always outperform one based on optimism and a blurry memory of the backyard.
Measure the growing area
Record the length and width of the space. Include fences, walls, trees, patios, sheds, air-conditioning units, utility boxes, downspouts, and anything else that cannot be moved. Mark doors and gates so your future tomato jungle does not block the route to the garage.
For balconies and patios, measure usable floor space as well as railing and wall space. Vertical surfaces may support trellises, hanging planters, or wall-mounted growing systems.
Track sunlight throughout the day
Most fruiting vegetables, including tomatoes, peppers, cucumbers, squash, and beans, perform best with at least six hours of direct sunlight. Eight hours or more is even better. Leafy vegetables such as lettuce, spinach, kale, and Swiss chard can often remain productive with four to six hours.
Observe the area in the morning, at midday, and during the afternoon. Remember that nearby trees may cast more shade after they leaf out. Buildings can also create cool, shaded zones that are easy to overlook during winter planning.
Check drainage and water access
A low spot that remains soggy after rain is not an ideal home for most vegetables. Roots need both moisture and oxygen, so consistently waterlogged soil can cause poor growth and disease.
The garden should also be close to a convenient water source. Carrying watering cans across the yard feels charming for approximately three days. After that, it becomes a punishment invented by zucchini.
Choose the Right Type of Vegetable Garden
The best garden system depends on your soil, mobility, budget, available sunlight, and square footage.
Traditional in-ground gardens
An in-ground vegetable garden works well when you have good native soil and enough open land. It generally costs less to establish than a raised-bed garden and retains moisture longer during hot weather.
Divide a large plot into permanent growing beds instead of cultivating one enormous rectangle. Permanent beds reduce soil compaction because you can keep your feet in designated paths.
Raised beds
Raised beds are useful where native soil is rocky, compacted, poorly drained, or potentially contaminated. They also make it easier to control the soil mixture and create an orderly vegetable garden layout.
A bed accessible from both sides should generally be three to four feet wide. This allows most adults to reach the center without stepping on the soil. A bed positioned against a wall or fence should be only 18 to 24 inches wide because it can be reached from one side.
The bed can be as long as your space permits, although extremely long beds may tempt gardeners to step over them instead of walking around. Leave practical breaks or pathways where necessary.
Container gardens
Containers make vegetable gardening possible on balconies, rooftops, decks, driveways, and paved courtyards. Choose pots according to the mature root system of each crop rather than the size of the seedling at the store.
Leaf lettuce, radishes, green onions, and many herbs can grow in relatively shallow containers. Tomatoes, eggplants, peppers, cucumbers, and potatoes need considerably more soil volume. Large containers dry out more slowly and provide better root insulation than tiny decorative pots.
Every container must have drainage holes. Use a quality potting mix instead of dense garden soil, which can compact inside a pot and limit drainage.
Vertical vegetable gardens
Vertical gardening is one of the easiest ways to increase production in a small space. Trellises, arches, cages, stakes, fences, and wall-mounted supports can accommodate pole beans, peas, cucumbers, indeterminate tomatoes, and smaller vining squash varieties.
Growing upward also improves air circulation and makes harvesting easier. Just install supports before the plants become an uncooperative knot of stems.
Draw a Vegetable Garden Layout to Scale
You do not need professional landscape software. Graph paper works beautifully, and a spreadsheet or basic garden-planning application can also help.
Choose a simple scale, such as one square representing six inches or one foot. Draw the boundaries, beds, containers, pathways, water source, compost area, and permanent structures.
Design beds for reach, not maximum width
Narrow, reachable beds are easier to plant, weed, water, and harvest. They also prevent people from stepping into growing areas and compressing the soil around plant roots.
Plan pathways wide enough for their intended use. A basic footpath may be 18 to 24 inches wide. Paths used with wheelbarrows, garden carts, mobility aids, or kneeling equipment should generally be wider. Main access paths may need about three feet of clearance.
Place tall crops where they will not block the sun
In the Northern Hemisphere, place tall crops and trellises along the north side of the garden whenever possible. This reduces the chance that corn, pole beans, or towering tomatoes will shade shorter vegetables.
In very hot climates, controlled afternoon shade can benefit lettuce and other cool-season greens. A cucumber trellis can therefore serve two purposes: producing cucumbers and giving delicate lettuce a tiny botanical umbrella.
Select Crops Based on Space and Eating Habits
Grow vegetables your household enjoys. A perfectly designed bed filled with twelve varieties of turnips is not efficient if everyone in the house treats turnips as a personal insult.
Prioritize crops that offer high value, excellent flavor when freshly harvested, or repeated yields. Tomatoes, herbs, salad greens, pole beans, peppers, and cucumbers can produce substantial harvests from limited space.
Look for compact varieties
Seed catalogs often label varieties as compact, patio, bush, dwarf, determinate, or container-friendly. These plants are bred to remain manageable while still producing a useful crop.
Bush beans require less support than pole beans, although pole beans produce vertically over a longer period. Determinate tomatoes stay more compact than indeterminate types. Bush cucumbers and miniature squash varieties can fit into beds where traditional vines would attempt a hostile takeover.
Use recommended plant spacing
Follow the mature spacing listed on the seed packet or plant label. Seedlings placed too close together compete for sunlight, moisture, and nutrients. Crowded foliage also reduces airflow and can encourage disease.
Intensive planting reduces unused soil, but it does not mean ignoring spacing requirements. Think “efficiently full,” not “rush-hour subway.”
Group Vegetables Strategically
A smart vegetable garden plan groups crops according to height, season, watering needs, growth habit, and botanical family.
Organize crops by season
Cool-season vegetables include peas, lettuce, spinach, radishes, carrots, beets, broccoli, kale, and cabbage. Warm-season crops include tomatoes, peppers, eggplants, cucumbers, beans, corn, melons, and squash.
Place early crops together so their space can be replanted after harvest. For example, spring radishes and spinach may be followed by bush beans. Peas can be replaced with cucumbers that use the same trellis.
Group plants with similar water needs
Leafy greens and shallow-rooted crops may need more frequent irrigation than established tomatoes or deeply rooted herbs. Grouping plants by water demand makes irrigation more efficient and reduces the risk of drowning one crop while another remains thirsty.
Plan for crop rotation
Crop rotation means moving related plants to different beds or zones from year to year. Tomatoes, peppers, eggplants, and potatoes belong to the same plant family and share several pests and diseases. Broccoli, cabbage, kale, radishes, and turnips are another family group.
Using three or four separate beds makes rotation easier. Keep a simple map each season so you do not have to rely on memory. By next spring, every empty bed will look suspiciously identical.
Use Succession Planting to Increase the Harvest
Succession planting allows one growing space to produce more than one crop during the season. It may involve replacing an early crop with a later one or sowing small amounts at regular intervals.
Instead of planting forty radishes on one day, plant a short row every one or two weeks. This creates a steady harvest rather than one dramatic radish emergency.
Useful succession combinations include:
- Spring spinach followed by bush beans
- Peas followed by cucumbers
- Radishes followed by peppers
- Early lettuce followed by summer squash
- Spring carrots followed by fall greens
- Garlic followed by beans or late cucumbers
Check your local frost dates and the number of days each variety requires to mature. Leave enough time for the second crop to produce before cold or extreme heat arrives.
Sample Vegetable Garden Layouts for Different Spaces
A 4-by-8-foot raised bed
Install a trellis along the north eight-foot edge for two cucumbers or a row of pole beans. Place two staked tomatoes in the northern half, leaving adequate space around them. Use the center for peppers or compact eggplants. Plant lettuce, radishes, green onions, basil, or parsley along the southern and eastern edges.
This arrangement combines vertical crops, medium-height plants, and quick-growing vegetables without allowing one group to smother the others.
A 10-by-10-foot backyard plot
Divide the area into three-foot-wide permanent beds separated by narrow paths. Place corn, trellised beans, or tomatoes on the north side. Reserve a central bed for peppers, bush beans, beets, or carrots. Use the sunniest southern edge for low-growing greens, herbs, and strawberries.
Keep perennial crops, such as asparagus or rhubarb, in a separate edge bed so annual soil preparation does not disturb them.
A narrow side-yard garden
Use a long bed no more than two feet wide against a wall or fence. Add a sturdy trellis for peas, cucumbers, or pole beans. Plant herbs, leafy greens, radishes, and compact peppers in front.
Confirm that the area receives adequate sunlight. Many side yards look promising until someone notices that the sun visits for only seventeen minutes around lunchtime.
A balcony container garden
Place the largest containers against a wall where they are protected from strong wind. Grow one patio tomato or pepper in each large pot. Add a trellised cucumber in another container and use railing planters for lettuce, parsley, chives, radishes, or strawberries.
Check building rules and balcony weight limits before adding large volumes of wet soil. Secure trellises and hanging baskets carefully.
A sunny front-yard edible landscape
Vegetables do not have to live in rigid rows. Combine colorful Swiss chard, purple basil, compact peppers, kale, herbs, edible flowers, and ornamental lettuces in curved beds.
Use repeated plant groupings to create visual order. Keep sprawling squash away from sidewalks unless you want pedestrians to participate in an obstacle course.
Add Watering, Mulch, and Support Systems to the Plan
Do not wait until planting day to decide how irrigation will work. Mark hose connections, drip lines, soaker hoses, or watering-can routes on the layout.
Drip irrigation and soaker hoses apply water close to the soil, limiting water loss and keeping much of the foliage dry. Arrange the lines before sowing, especially in intensively planted beds.
Apply organic mulch after the soil warms and young plants become established. Straw, shredded leaves, untreated grass clippings, or other appropriate materials can slow evaporation, suppress weeds, and protect the soil surface.
Include cages, stakes, trellises, and arches in the original design. Supports take up physical space and cast shadows, so they are part of the layout rather than decorative accessories added later.
Design for Comfortable Maintenance
A vegetable garden should fit the gardener as well as the plants. Place frequently harvested crops near the entrance. Herbs and salad greens used several times a week should not be hidden in the farthest corner.
For gardeners with limited mobility, consider taller raised beds, wide stable pathways, seating areas, lightweight tools, and containers positioned at a comfortable height. A bed accessible from a wheelchair may need additional height and knee clearance.
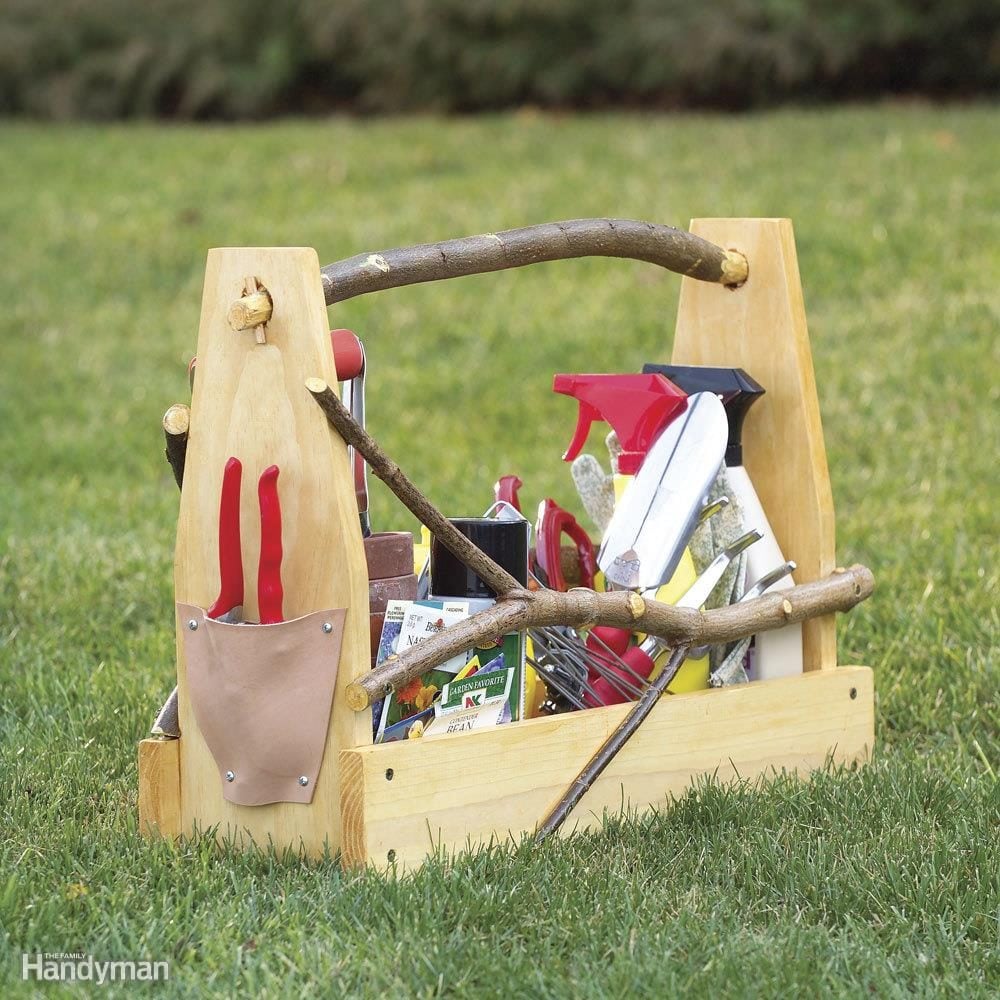
Keep storage nearby for gloves, ties, pruners, and harvesting baskets. Small conveniences determine whether garden care becomes a pleasant routine or an expedition requiring snacks and navigational equipment.
Common Vegetable Garden Layout Mistakes
- Starting too large: A small, well-maintained garden usually produces more usable food than an oversized, weedy plot.
- Ignoring mature plant size: One zucchini plant can become wider than expected and shade several neighboring crops.
- Making beds too wide: Stepping into beds compacts soil and damages roots.
- Forgetting pathways: Plants need space, but gardeners need access.
- Putting tall crops on the sunny edge: Poor placement can shade an entire bed.
- Planting everything at once: Staggered sowing creates a longer and more manageable harvest.
- Skipping crop records: A dated garden map makes rotation and future planning much easier.
- Overfilling containers: Crowded roots and rapidly drying soil lead to stressed plants.
Real-World Experiences That Improve a Vegetable Garden Layout
Garden plans look wonderfully obedient on paper. Real plants, unfortunately, have not read the plan. Practical experience shows that the best vegetable garden layouts are flexible enough to handle weather, plant growth, pest pressure, and the gardener’s changing schedule.
One of the most common first-season lessons is that convenient access matters more than perfect symmetry. A garden placed at the distant end of a property may receive excellent sunlight, but it is easily neglected. Gardens near a door, walkway, or frequently used outdoor area tend to receive more attention. Gardeners notice dry soil sooner, harvest vegetables at the right time, and remove small weeds before they establish a civilization.
Another useful lesson involves plant size. Seedlings create a dangerous sense of available space. Six young tomato plants may fit neatly into a raised bed in May, but by July they can form a solid wall of foliage. Experienced gardeners learn to draw circles representing mature plant width rather than placing tiny dots on a plan. This simple change prevents overcrowding and improves airflow.
Vertical supports also work best when installed early. Pushing a tomato cage over a mature plant often breaks branches. Adding a trellis after cucumber vines begin spreading requires delicate untangling and several apologies to the plant. Installing supports before or immediately after planting protects roots and establishes clear growing zones.
Watering reveals additional design flaws. Containers positioned far from a faucet may be manageable during cool spring weather but exhausting during a hot summer week. Grouping containers together simplifies watering and creates a more humid microclimate around the plants. However, pots should still be spaced widely enough for airflow.
Succession planting usually becomes more realistic after one season of record keeping. Gardeners may discover that spring lettuce bolts earlier than expected, radishes mature all at once, or bush beans finish producing in time for a fall crop. Recording sowing and harvest dates transforms these observations into a customized planting schedule.
It is also wise to reserve a small amount of empty space. New gardeners often fill every square inch on planting day, leaving nowhere for replacement seedlings, surprise purchases, or a second planting. An open section is not wasted land; it is flexible growing capacity.
Finally, successful garden layouts evolve. A bed that receives full sun in spring may be shaded by a tree in summer. A pathway may need to be widened after the first wheelbarrow trip. A household may discover that two cucumber plants are plenty but that no amount of basil is ever enough.
Review the garden at the end of each season. Mark areas that were too wet, too shady, difficult to reach, or consistently productive. Adjust the next layout based on those observations. The strongest garden plan is not the prettiest drawing. It is the one that becomes easier, more productive, and more personal every year.
Conclusion
Learning how to design a vegetable garden layout begins with understanding sunlight, drainage, access, and available space. From there, choose a growing system that fits your conditions, create reachable beds, place tall crops carefully, grow vertically, and leave room for pathways and maintenance.
Small spaces can be remarkably productive when crops are selected thoughtfully and planted in succession. Large gardens become easier to manage when they are divided into permanent beds or rotation zones. Containers can transform a sunny patio or balcony into a legitimate food garden rather than a collection of hopeful flowerpots.
Start with a manageable plan, keep records, and expect to revise the design. Every growing season teaches something new. Sometimes the lesson is about soil health or succession planting. Sometimes the lesson is simply that one zucchini plant was enough.
Note: Planting dates, recommended varieties, irrigation needs, and ideal spacing vary by climate and cultivar. Consult seed packets and your local Cooperative Extension office when adapting this layout guidance to your region.