
Note: Web-ready HTML body only. SEO JSON block is included at the end for easy publishing.
Used shoes can be a great deal. They can also be a great way to bring home mystery odors, old sweat, and the kind of “vintage” you did not ask for. Whether you scored thrift-store sneakers, bought secondhand boots online, borrowed cleats from a friend, or rescued a barely-worn pair from the back of your own closet, disinfecting used shoes is one of those smart little tasks that makes a big difference.
The good news is that you do not need a hazmat suit, a chemistry degree, or a dramatic cleaning montage. You just need the right method for the shoe material, a little patience, and a firm commitment to not shoving damp shoes back on your feet five minutes later. Below, you will find six easy and effective ways to disinfect used shoes, plus practical tips to keep them fresh, safe, and ready for a second life.
Why Disinfect Used Shoes in the First Place?
Shoes trap heat, sweat, skin cells, and moisture. That combination is basically a spa weekend for odor-causing bacteria and fungi. If the previous owner had athlete’s foot, nail fungus, or just very enthusiastic feet, the inside of the shoes may still be holding onto microbes and smell long after the person is gone.
Disinfecting used shoes matters for three main reasons. First, it helps reduce germs on the surfaces that touch your skin. Second, it lowers the chance of reinfecting yourself if you are already dealing with a fungal foot issue. Third, it gives the shoes a true reset instead of just a quick “looks fine from six feet away” makeover.
Before You Start: Cleaning and Disinfecting Are Not the Same Thing
This is the part people skip, and then they wonder why the shoes still smell like a gym bag that lost a custody battle. Cleaning removes dirt, sweat buildup, and visible grime. Disinfecting is what targets germs after the dirt is out of the way. If you spray disinfectant over mud, dust, or oily residue, you are not really winning.
Before trying any method below, always do these basics:
- Remove loose dirt with a soft brush or old toothbrush.
- Take out the laces and removable insoles if possible.
- Check the care label or brand guidance for the shoe material.
- Spot-test any product on a hidden area first.
- Never mix cleaning products.
- Let shoes air-dry completely before wearing them again.
One more important note: suede, nubuck, unfinished leather, and vintage adhesives do not play nicely with harsh disinfectants or soaking. Treat those like delicate houseguests, not like a plastic lunchbox.
How to Disinfect Used Shoes: 6 Easy & Effective Ways
1. Start With a Dry Brush and Mild Soap Wash
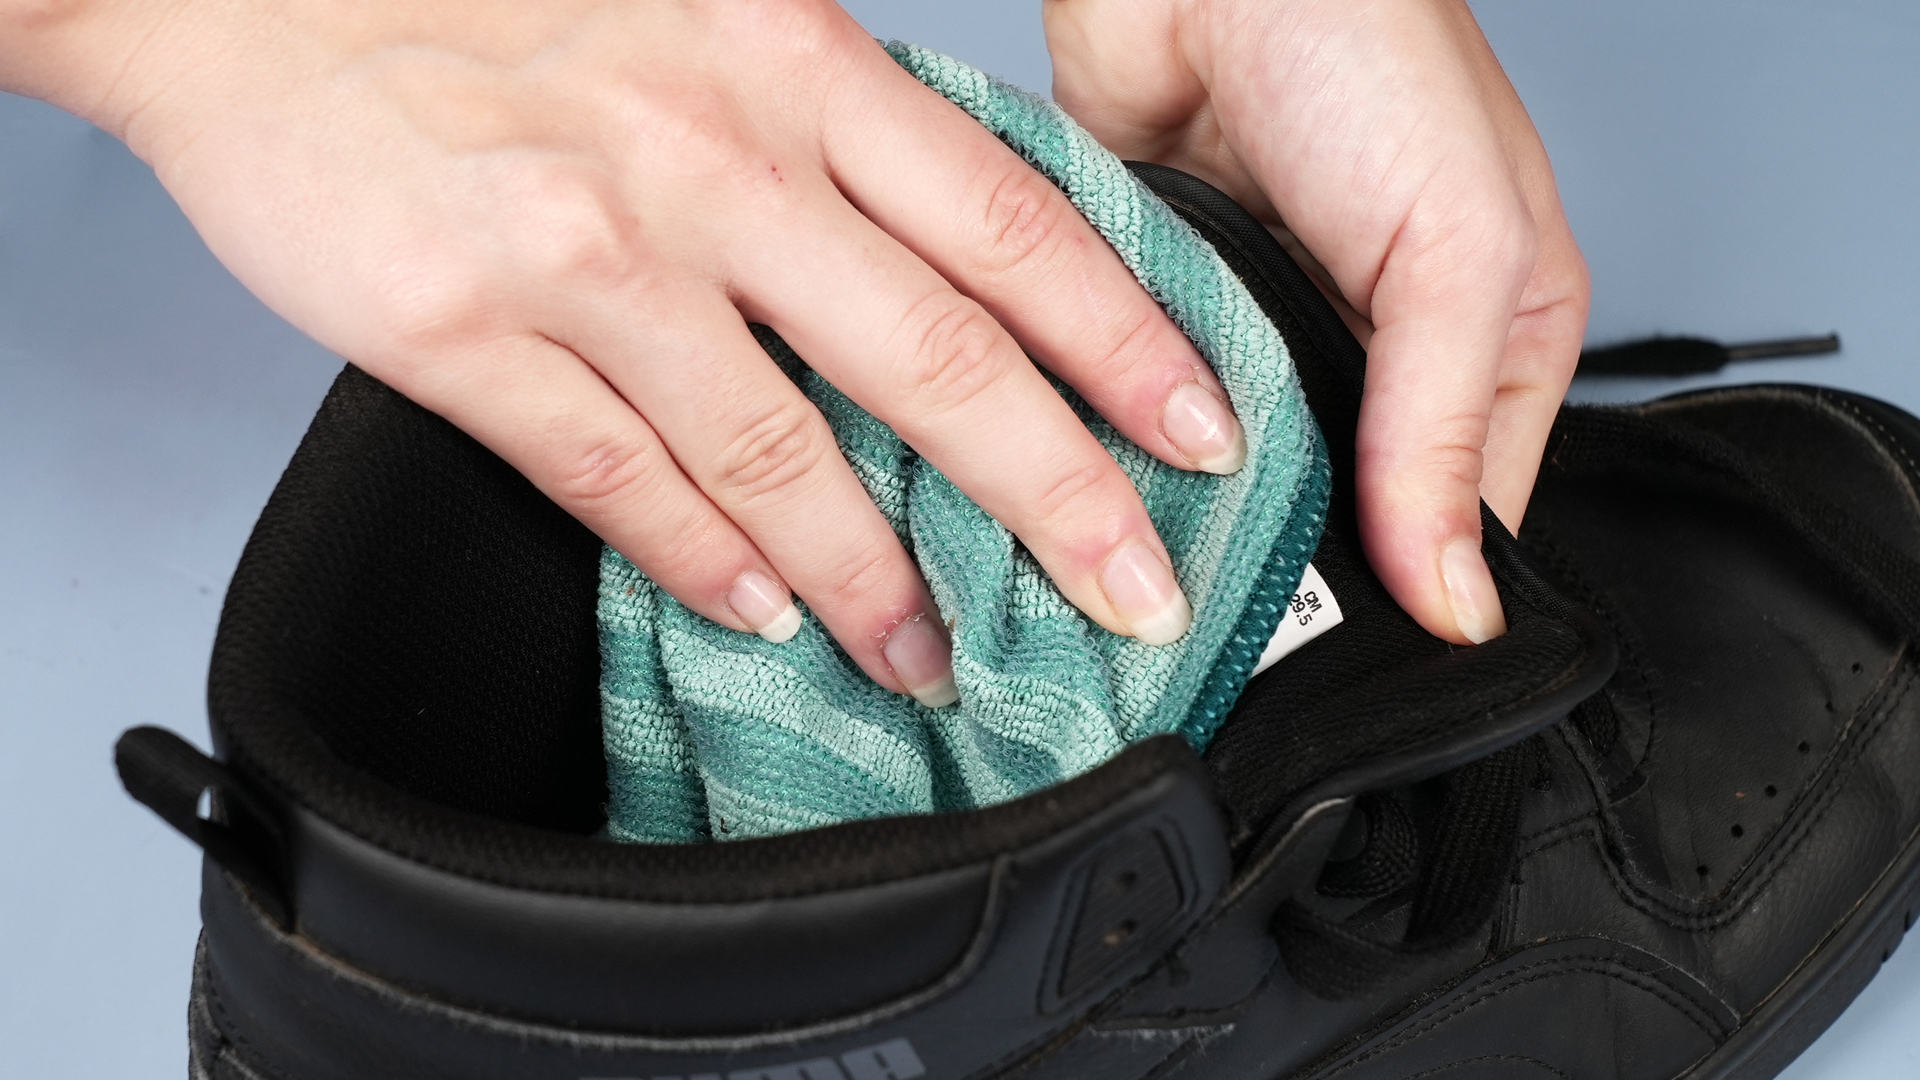
If the shoes are visibly dirty, this is non-negotiable. Use a dry soft-bristled brush to knock loose dirt off the outsole, midsole, seams, and upper. Then make a mild cleaning solution with warm water and a small amount of gentle laundry detergent or dish soap diluted well with water.
Wipe or lightly scrub the surface, especially the inside edge, heel cup, and toe box. These areas collect sweat and friction, which means they also collect grime. Clean laces separately by hand and rinse them well. If the insoles come out, wash those on their own too.
This step does not fully disinfect the shoes, but it clears the runway so your disinfecting method can actually do its job. Think of it as evicting the dirt before calling in the germ police.
2. Use an EPA-Registered Disinfectant Spray or Wipe on Hard, Nonporous Areas
This is one of the easiest and most effective ways to disinfect used shoes with rubber, plastic, finished leather, or coated surfaces. Use an EPA-registered disinfectant that is appropriate for the material, and apply it to hard, nonporous areas such as the outsole, rubber sidewalls, heel counters, and certain finished interiors.
The big rule here is contact time. The surface must stay visibly wet for the full time listed on the product label. That may be 30 seconds, 1 minute, 4 minutes, or longer depending on the product. Wiping it off too early is like microwaving leftovers for seven seconds and acting surprised when the middle is still cold.
A disinfecting wipe can work well for rubber rain boots, slides, clogs, and finished leather surfaces. For sprays, hold the bottle at the recommended distance and avoid over-saturating the shoe. Let the shoes air-dry completely.
Best for: rubber boots, clogs, sneakers with rubber midsoles, finished leather accents, and plastic parts.
3. Use a Fabric-Safe Disinfecting Mist for Cloth Uppers and Insoles
If your used shoes are mostly canvas, knit, mesh, or fabric, a fabric-safe disinfecting mist can be a helpful option. The key phrase is fabric-safe. Not every disinfectant belongs on cloth, and some can stain, stiffen, or weaken delicate materials.
Lightly spray the cloth upper and removable insoles until the fabric is damp but not dripping. Follow the label directions carefully, especially the required wet time. Then let everything air-dry all the way before reassembling the shoe.
This method works well for casual sneakers, slip-ons, and gym shoes that are not made of suede or unfinished leather. If the insoles smell especially rough, spray both sides and let them dry separately outside the shoe. Odor often hangs on there like an uninvited party guest.
Best for: canvas shoes, mesh sneakers, cloth insoles, and fabric-lined casual shoes.
4. Wash Machine-Safe Sneakers, Laces, and Insoles the Smart Way
Some used shoes can be washed, but not all shoes should be tossed into the washing machine like they owe you money. Many footwear brands still recommend hand-washing because it is gentler on glue, shape, and specialized materials. Still, if the care label allows it and the shoes are made from washable materials like canvas, cotton, nylon, or polyester, a wash can be helpful.
First, remove laces and insoles. Put the shoes and laces in a mesh laundry bag or pillowcase. Wash on a gentle cycle with mild detergent and cold or warm water, depending on the care instructions. Insoles are often better washed by hand unless the brand says otherwise.
Do not put shoes in the dryer. Heat can warp soles, weaken adhesive, and turn your bargain sneakers into modern art. Instead, stuff the shoes with paper towels, reshape them, and let them air-dry in a well-ventilated area.
This method is more of a deep clean than a one-step medical-grade disinfection, but for washable athletic shoes it can significantly reduce grime, sweat, and odor while making the next disinfecting step more effective.
Best for: washable sneakers, canvas shoes, and athletic footwear with care labels that allow washing.
5. Try a UV Shoe Sanitizer for Shoes With Fungal Concerns
If you are disinfecting used shoes because of athlete’s foot worries, recurring fungal issues, or shared household footwear, a UV shoe sanitizer is one of the most practical specialized tools available. Dermatology guidance often points to UV shoe sanitizers as an option for disinfecting shoes that may harbor fungus.
To use one, clean the shoes first, make sure the interior is dry, then run the device according to the manufacturer’s instructions. UV sanitizers are especially helpful for shoes that are hard to wash, such as office shoes, loafers, or structured footwear that should not be soaked or sprayed heavily.
UV is not a substitute for cleaning caked-in dirt or replacing ruined insoles, but it can be an easy follow-up step when the shoe looks good and you want extra peace of mind. It is basically the calm, quiet overachiever of shoe sanitation.
Best for: repeat fungal concerns, shared shoes, structured shoes, and pairs that cannot handle heavy moisture.
6. Use Bleach Carefully on White, Bleach-Safe Rubber or Canvas Shoes
Bleach can kill fungi and disinfect certain surfaces, but this is a method for specific shoes only. If the shoes are white, bleach-safe, and made from rubber or sturdy canvas, a diluted bleach solution may help disinfect them. If they are colored, leather, suede, nubuck, or anything remotely delicate, back away from the bleach.
Because bleach products vary, always follow the label directions on the bleach you actually have at home instead of guessing a universal ratio. Wear gloves, work in a ventilated area, and never mix bleach with other cleaners. Apply carefully to the bleach-safe area, allow the required contact time, rinse if the label calls for it, and air-dry fully.
This method is useful for white rubber boots, white canvas slip-ons, and heavily used yard shoes that need a real reset. It is not for fashion sneakers you still love emotionally.
Best for: white rubber rain boots, bleach-safe white canvas shoes, and practical shoes where appearance damage is less of a risk.
What to Use on Different Shoe Materials
Canvas and Mesh
Start with mild soap and water. Follow with a fabric-safe disinfecting mist if needed. Machine washing may be okay if the care label allows it.
Rubber and Plastic
These are the easiest materials to disinfect. Wipes, sprays, and label-approved bleach methods tend to work well here.
Finished Leather
Use a leather-safe cleaner first, then a sanitizer or disinfecting mist that is explicitly safe for finished leather. Go lightly and test in a hidden spot.
Suede and Nubuck
Do not soak them. Do not bleach them. Do not “just see what happens.” Use a suede brush, targeted spot cleaning, and consider a UV sanitizer for the inside instead of liquid disinfectants.
Vintage or Fragile Shoes
When glue is old, foam is crumbling, or leather is dry and cracked, aggressive disinfecting can do more harm than good. Clean gently, replace the insoles if possible, and consider whether the shoe is worth saving.
Common Mistakes to Avoid
- Skipping the cleaning step: Dirt blocks disinfectants from working well.
- Ignoring label contact time: A quick mist-and-dash is not the same as disinfecting.
- Using bleach on the wrong material: Great way to trade germs for damage.
- Wearing shoes before they are dry: Moisture invites odor and fungal growth right back.
- Assuming deodorizing equals disinfecting: Nice smell, same microbes.
- Putting shoes in the dryer: Heat can warp, shrink, or unglue them.
How to Keep Shoes Fresh After Disinfecting
Once the shoes are clean, do a little prevention work so you do not have to repeat the full routine every week. Rotate your shoes instead of wearing the same pair every day. Change socks regularly, especially if your feet sweat a lot. Let the shoes air out after each use. If you are prone to athlete’s foot or nail fungus, use an antifungal powder or spray in the shoes and on your socks as directed.
If the original insoles are deeply worn, replacing them can make a huge difference. Sometimes the smell is less about the shoe and more about the little foam sponge inside it quietly holding on to history.
When You Should Replace the Shoes Instead of Disinfecting Them
Disinfecting is helpful, but it is not magic. If the shoes have visible mold deep inside, cracked inner lining, severe water damage, crumbling foam, or an odor that survives repeated cleaning, replacement may be the better move. The same goes for shoes that repeatedly trigger itching, irritation, or fungal flare-ups even after cleaning.
If you have a persistent foot rash, spreading redness, drainage, pain, or fever, or if you have diabetes and notice a foot problem, do not just keep scrubbing the shoes and hoping for character development. Get medical advice.
Experience-Based Tips: What Disinfecting Used Shoes Looks Like in Real Life
In everyday life, shoe disinfecting rarely happens in a perfect lab-like moment with ideal lighting and a soundtrack. It usually starts with a great deal, an old pair found in storage, or a kid announcing that tomorrow is cleat day at school and these are the only ones that still fit. That is why the best advice is practical, not precious.
A common example is the thrift-store sneaker situation. The shoes look almost new on the outside, but the inside tells a more complicated story. In that case, the smartest move is to remove the laces and insoles, do a full mild-soap cleaning first, then use a fabric-safe disinfecting mist and let everything dry overnight. People often rush this part and wear the shoes while they are still slightly damp. That almost always backfires, because damp shoes trap moisture and start smelling funky again fast.
Then there is the secondhand leather loafer problem. These shoes may be beautifully made, but leather needs restraint. The winning approach is usually a gentle leather cleaner, a light sanitizer that is safe for finished leather, and a full day of drying time with the shoes loosely stuffed to help hold their shape. This is also where replacing the insoles can be a game changer. A fresh insole can make an older shoe feel cleaner, smell better, and fit more comfortably without over-treating the leather.
Shared athletic shoes are another big one. Think bowling shoes, rental skates, old soccer cleats passed down between siblings, or that pair of gym shoes that somehow became “community property.” These are the shoes most likely to benefit from a disinfecting wipe on hard areas, a fabric-safe disinfecting mist inside, and an antifungal powder once they are dry. In real households, prevention matters just as much as cleaning. If one person has athlete’s foot, rotating shoes, changing socks often, and keeping footwear dry becomes part of the strategy.
Outdoor shoes create their own category of chaos. Hiking shoes and work boots often need more than a quick wipe because dirt packs into seams, tread, and lining. People get the best results when they brush first, clean deeply, and then use a disinfecting method suited to the material instead of dumping water all over the pair. Drying matters even more here. Setting boots in a breezy spot, opening them wide, and giving them time can do more for freshness than a gallon of cleaner applied in a panic.
Finally, there is the sentimental pair: the discontinued sneaker, the barely-worn vintage find, the boots that took forever to locate online. With those, the best experience-based advice is simple: go slower than you think you need to. Test first. Use less product first. Choose the gentlest effective method. It is better to clean and disinfect in two careful rounds than to ruin a good pair in one overconfident attack. Shoes, like relationships and avocados, often suffer from impatience.
Final Thoughts
Disinfecting used shoes is not complicated once you match the method to the material. Start by cleaning away dirt and sweat, then use the right disinfecting approach for the shoe: wipes or sprays for hard surfaces, fabric-safe mist for cloth shoes, careful washing for machine-safe pairs, UV sanitizers for fungal concerns, and bleach only for white bleach-safe shoes that can handle it. Finish with good drying habits and a little prevention, and your secondhand score can feel a lot less secondhand.
In other words, your shoes do not need to be brand new. They just need to stop smelling like somebody else’s Tuesday.














