
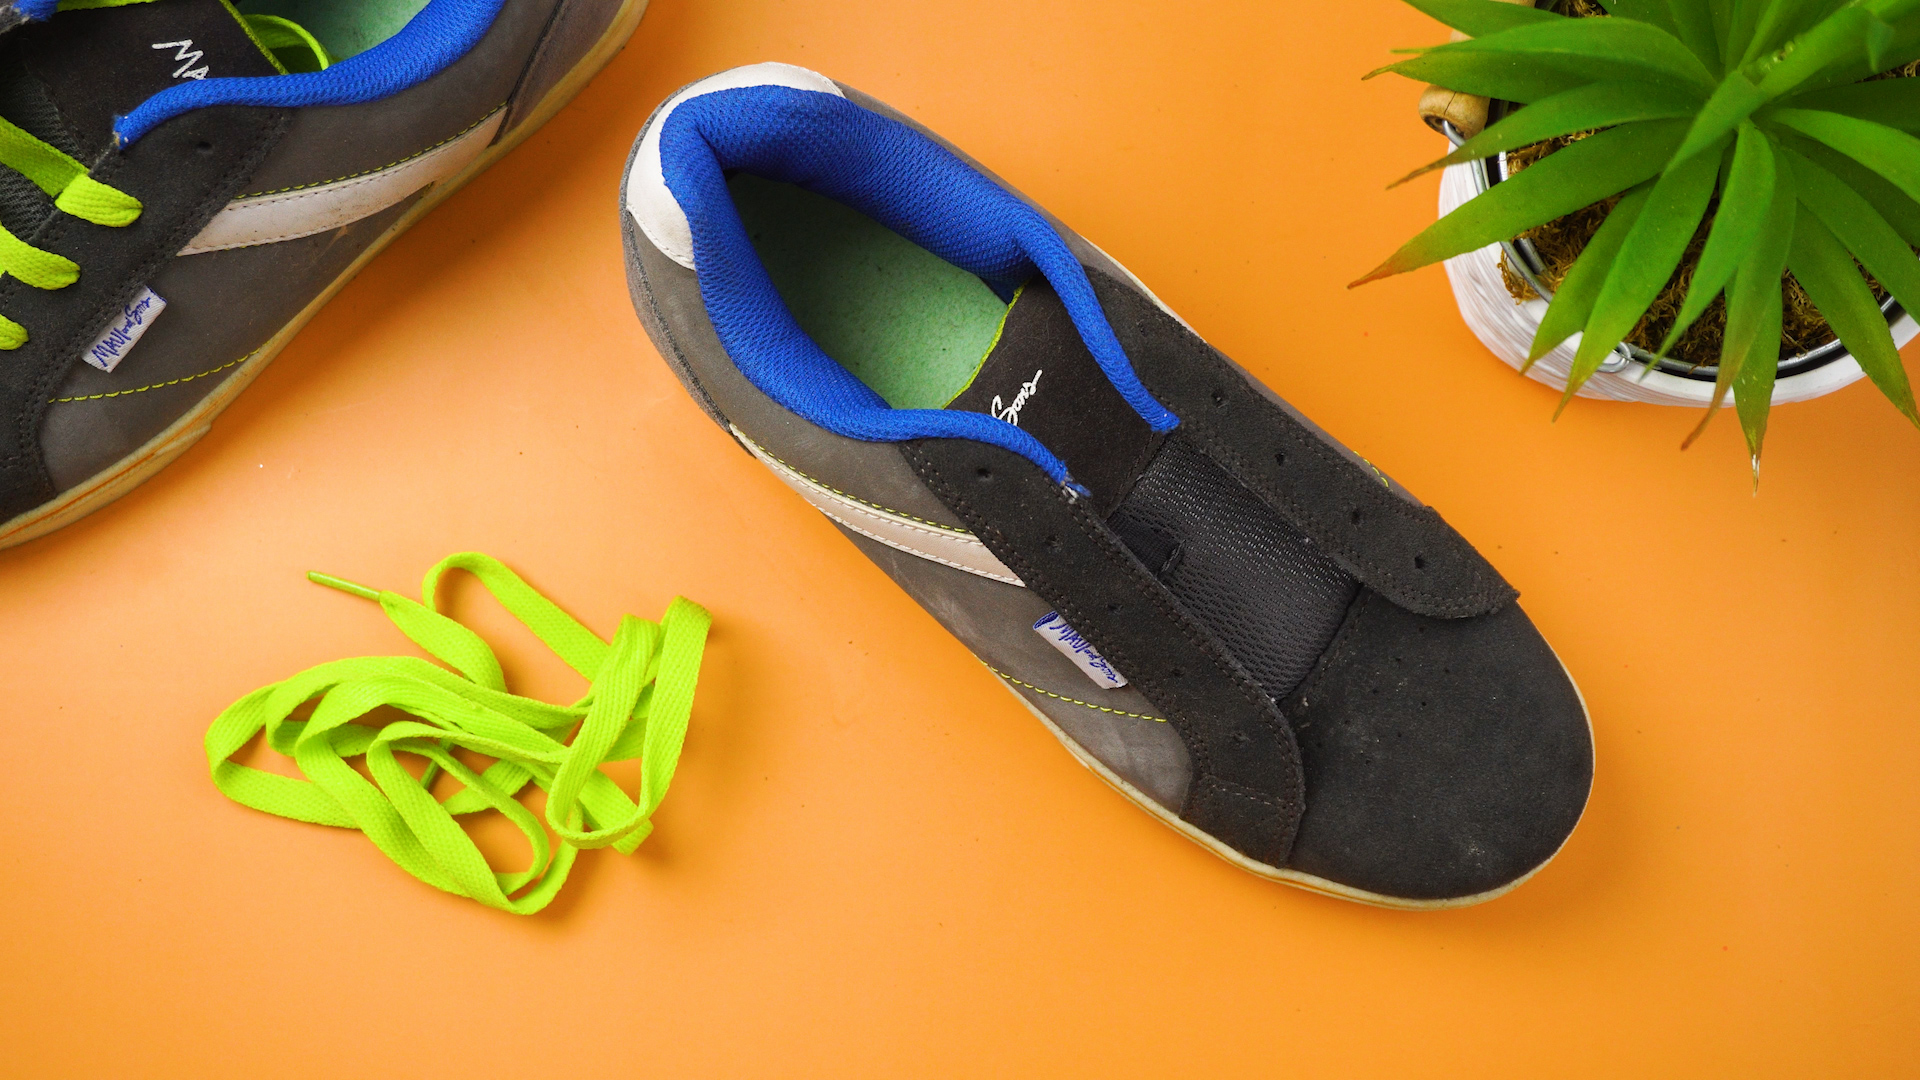
Uneven shoe laces are a tiny problem with an impressive talent for being annoying. One lace end hangs near the floor, the other barely forms a loop, and your finished bow looks as though it lost an argument with gravity. Fortunately, you usually do not need new shoes, replacement eyelets, or advanced knot-tying credentials.
In most cases, uneven shoelaces result from an off-center starting point, inconsistent tension, a missed eyelet, a twisted lace, or repeated quick adjustments that gradually pull more material toward one side. Proper lacing begins with equal lace lengths at the bottom and continues with balanced pressure through every pair of eyelets.
The following nine-step method works for sneakers, running shoes, casual shoes, school shoes, work shoes, and many lace-up boots. It will help you restore equal lace lengths, improve comfort, create a neater bow, and prevent the problem from returning five minutes after you leave the house.
Why Do Shoe Laces Become Uneven?
Shoelaces rarely become dramatically uneven all at once. The imbalance usually develops little by little. You may pull harder with your dominant hand, tighten only the upper rows, remove your shoes without fully loosening them, or accidentally feed more lace through one eyelet while adjusting the fit.
The tongue can also shift toward one side and carry the laces with it. Friction inside the eyelets may allow one side to slide more easily than the other, especially when the lace is worn, flattened, dirty, or twisted. Decorative lacing patterns can make the imbalance harder to spot because part of the lace may be hidden inside the shoe.
A small difference is mostly cosmetic. A large difference, however, can create uneven pressure across the top of your foot, make the shoe feel insecure, or produce a bow that comes undone easily. Laces should be snug enough to hold the foot in place but not so tight that they create painful pressure.
What You Will Need
- The shoe with uneven laces
- A flat surface with good lighting
- A measuring tape or ruler, if you want precise results
- A replacement lace, if the original is stretched, frayed, or damaged
- A few patient minutes
You do not need special tools. The most important ingredient is resisting the urge to yank the shorter end until the problem magically disappears. That approach usually transfers the imbalance to another part of the shoe.
How to Fix Uneven Shoe Laces in 9 Steps
Step 1: Untie the Shoe Completely
Start by undoing the bow, base knot, double knot, and any creative knot that seemed like a good idea earlier that morning. Pull both lace ends upward and compare them without tension.
Check whether one end is genuinely longer or merely appears longer because the opposite side is twisted, trapped under another section, or pulled tightly through the top eyelet. Lay the two ends beside each other. If the difference is less than an inch, you may be able to correct it while loosening the rows. A larger difference usually calls for partial or complete relacing.
Also inspect the aglets, which are the small tips at the ends of the laces. If one aglet is missing, the exposed fibers may catch inside an eyelet and prevent the lace from sliding evenly.
Step 2: Loosen Every Row From Top to Bottom
Do not work only on the top two eyelets. Loosen each crossing gradually, moving downward toward the toe. Pull a small amount of slack into every section until the lace can move freely.
This step redistributes material that may have collected on one side of the shoe. It also releases hidden tension. Footwear specialists recommend relacing athletic shoes from the lowest eyelets upward while applying even pressure through the crisscross pattern.
Keep the tongue centered while you loosen the lace. If the tongue keeps drifting sideways, straighten it and check whether the lace passes unevenly through a tongue loop.
Step 3: Unlace the Shoe Down to the Problem Area
If loosening does not equalize the ends, begin removing the lace from the top eyelets. Continue downward until you reach the row where the lengths become balanced.
For a major mismatch, remove the lace completely. This may feel unnecessarily dramatic, but starting over is often faster than spending ten minutes moving tiny amounts of lace between eight eyelets. It is the shoelace equivalent of restarting a frozen computersimple, effective, and mildly humbling.
As you remove the lace, look for a skipped eyelet, an accidental double pass, or a section threaded from a different direction. Either mistake can use extra lace on one side.
Step 4: Center the Lace at the Bottom Eyelets
Thread the lace through the lowest pair of eyelets using the same direction on both sides. Depending on your preferred appearance, the lace can enter from the outside or the inside. The essential point is symmetry.
Pull the lace until both ends are equal. Hold the tips together or measure each side from the eyelet to the aglet. Standard lacing instructions from major footwear brands consistently begin by creating equal lengths at the bottom before moving upward.
Place one finger over the center section of the lace to prevent it from sliding while you begin the next row.
Step 5: Relace the Shoe Symmetrically
Use a normal crisscross pattern unless the shoe requires a specialized style. Take the left lace across to the next eyelet on the right, then take the right lace across to the corresponding eyelet on the left.
Follow the same sequence throughout the shoe. For example, you might consistently place the left lace over the right lace at each crossing. The exact order is less important than maintaining it. A consistent pattern creates a cleaner appearance and makes mistakes easier to notice.
After every one or two rows, compare the remaining lace ends. If one side is becoming longer, correct the imbalance immediately instead of waiting until the top. Both standard and decorative lacing guides emphasize starting evenly and repeating the same pattern through corresponding eyelets.
Step 6: Balance the Tension Row by Row
Once the lace is threaded, put your foot into the shoe before final tightening. Your foot fills the upper and provides a realistic fit. Tightening an empty shoe can produce neat-looking laces that feel completely different once worn.
Begin near the toe and gently pull each crossing until it feels secure. Work upward one row at a time. Use similar force on both sides, but do not try to make every section rigid. Your toes need room, and the top of your foot should not feel squeezed.
A properly fitted athletic shoe should feel secure around the heel and midfoot while leaving comfortable space near the toes. Uneven pressure, bunching, numbness, or pinching suggests that the tension or shoe fit needs adjustment.
Step 7: Correct Twists, Friction, and Pressure Points
Run your fingers along the entire lace. Flatten any twisted sections before pulling them through the eyelets. A twist shortens the visible length slightly and increases friction, which can make one side resist adjustment.
Check the eyelets for dirt, rough edges, or damage. If one eyelet grips the lace more tightly, guide the lace through it by hand rather than pulling only from the top.
When the lace ends are even but the shoe feels painful, the problem may be pressure distribution rather than length. Window lacing, also called box lacing, can bypass a sensitive area on top of the foot. Heel-lock or runner’s-loop lacing can improve security near the ankle. Excessive lace pressure can irritate tissues on the top of the foot, so comfort matters more than achieving a military-grade pattern.
Step 8: Tie a Balanced Bow
Cross the two lace ends to form the base knot, pull them evenly, and create loops of similar size. If one loop becomes much longer, do not compensate by pulling only the opposite free end. Loosen the bow and retie it using balanced movements.
A standard bow begins with an “X,” followed by wrapping one lace under the other, forming a loop, wrapping the second lace around it, and pulling a second loop through the opening. A double bow adds security but should still begin with roughly equal lace ends.
If your finished bow repeatedly sits vertically instead of horizontally, you may be forming a weak granny knot. Reverse the direction of the first crossover or the final loop wrap and test the bow again.
Step 9: Walk, Recheck, and Fine-Tune
Stand up and walk around for a minute. Flex your feet, climb a step, or make a few gentle side-to-side movements. Watch whether one lace end begins creeping upward while the other becomes longer.
If the imbalance returns, identify the exact row where the lace starts moving. Retighten from that point instead of rebuilding the entire pattern. For athletic shoes, test the fit while wearing the socks you normally use for that activity. Foot size and volume can also increase later in the day, which is why footwear professionals commonly recommend evaluating fit when your feet are at their largest.
Once the bow remains even and the shoe feels secure without pinching, the repair is complete. Congratulations: both lace ends are now participating equally in the relationship.
Common Uneven Shoelace Problems
One Lace End Becomes Longer Every Time You Wear the Shoes
This usually means the lace is sliding gradually through the lower eyelets. Completely loosen the shoe, center the lace again, and tighten from the bottom upward. Avoid putting on or removing the shoe while it is still tightly tied, because forcing your foot through the opening can pull one side out of position.
The Ends Are Even, but the Loops Are Unequal
The lacing is probably fine; the bow is the problem. Form the first loop closer to the shoe, wrap the second lace without pulling away from the center, and tighten both loops simultaneously.
The Lace Is Even Until You Start Walking
Your heel may be slipping or the upper may be too loose. A runner’s loop uses the highest eyelets to create two small loops, through which the opposite laces are crossed and tightened. This technique can help secure the heel without overtightening every lower row.
The Shoe Feels Tight After the Laces Are Even
Equal does not automatically mean comfortable. Reduce tension over the sensitive area or use a lacing pattern that skips one crossing. Do not continue wearing shoes that cause persistent numbness, tingling, rubbing, or pain.
The Laces Are Too Short to Make a Proper Bow
Confirm that no eyelet has been double-threaded and that the lace pattern is not consuming unnecessary length. If both ends remain too short after correct relacing, replace the laces with a longer pair designed for the shoe’s number of eyelets.
How to Prevent Uneven Shoe Laces
- Loosen several rows before removing your shoes.
- Tighten from the bottom instead of pulling only at the top.
- Keep the shoe tongue centered.
- Flatten twisted laces as soon as you notice them.
- Use the same lacing direction on both sides.
- Replace stretched or frayed laces.
- Retie the bow instead of repeatedly tugging one loop.
Regular lace care also makes adjustment easier. Dirt and damaged fibers can increase friction, while worn aglets may catch inside the eyelets. Removing and cleaning the laces occasionally can help them slide and tighten more consistently.
Real-World Experiences With Fixing Uneven Shoe Laces
The most useful lesson from fixing uneven laces is that the visible problem often begins several eyelets below the bow. Consider a typical pair of everyday sneakers. The right lace end may hang three inches lower than the left, so the natural reaction is to pull the left side upward. That creates equal ends for a moment, but it also makes one upper row extremely tight. After a few blocks of walking, the pressure becomes uncomfortable and the longer end returns.
Loosening every row changes the outcome. Once the stored tension is released, it often becomes obvious that one side contains extra lace near the toe. Centering the bottom section and rebuilding the crisscross pattern takes only a few minutes, yet the finished shoe feels more balanced because the adjustment is distributed across the entire upper.
Running shoes provide another common example. A runner may repeatedly shorten one lace because the heel feels loose. The bow becomes crooked, but the heel still moves because pulling one lace end does not target the actual problem. Using the upper eyelets for a runner’s loop creates a more focused heel lock. The lace ends remain closer in length, and the lower part of the shoe can stay comfortably snug rather than painfully tight.
High-top sneakers and lace-up boots create a different challenge. They have more eyelets, which means a small mistake near the bottom can produce a large difference by the time the lace reaches the top. Skipping one hook or wrapping one lace around a speed hook twice may consume several extra inches. The best approach is to compare both sides after every two rows. Catching the error halfway up is much less irritating than discovering it after completing twelve hooks and a double knot.
Children’s school shoes are another frequent battlefield. Kids often step on the heel, pull the shoe off without untying it, and then yank whichever lace end is easiest to reach the next morning. Over time, one end becomes comically long. Marking the center of the lace temporarily with a washable pen can make relacing easier. Once the mark sits beneath the lowest eyelets, a parent or child can quickly see whether the lace begins sliding again.
Dress shoes demonstrate why appearance and comfort must be considered together. Straight-bar lacing can look wonderfully tidy, but hidden lace sections make an imbalance less obvious. When one end becomes shorter, tracing the lace inside the shoe is necessary. The culprit may be a vertical section that was routed to the wrong eyelet. Relacing carefully preserves the clean horizontal bars while restoring enough length for a proportional bow.
One of the most practical experiences is discovering that a perfectly even bow cannot rescue a poorly fitting shoe. If the toes are crowded, the heel lifts dramatically, or the upper presses painfully on the foot, endless lace adjustments become a temporary disguise. Different lacing techniques can fine-tune a nearly correct fit, but they cannot change the basic length, width, or shape of the shoe.
The final lesson is pleasantly simple: slow adjustments last longer than forceful ones. Pulling small amounts of slack through each eyelet may feel fussy, but it creates even tension and helps the laces stay centered. Once you learn to work from the bottom upward, fixing uneven shoe laces becomes a quick maintenance task rather than a daily knot-based crisis.
Conclusion
To fix uneven shoe laces, completely loosen the shoe, trace the imbalance to its starting point, center the lace at the bottom, and rebuild the pattern with equal tension. Check for twisted sections, skipped eyelets, tongue movement, and worn lace fibers. Finish with a balanced bow, then walk around to confirm that the adjustment remains secure.
The process is simple, but it can improve more than appearance. Balanced lacing helps distribute pressure, supports a more consistent fit, and reduces the need to keep stopping and retightening your shoes. Your laces do not need to be mathematically identical, but they should be close enough that both sides can form secure loops without one end attempting to sweep the floor.














