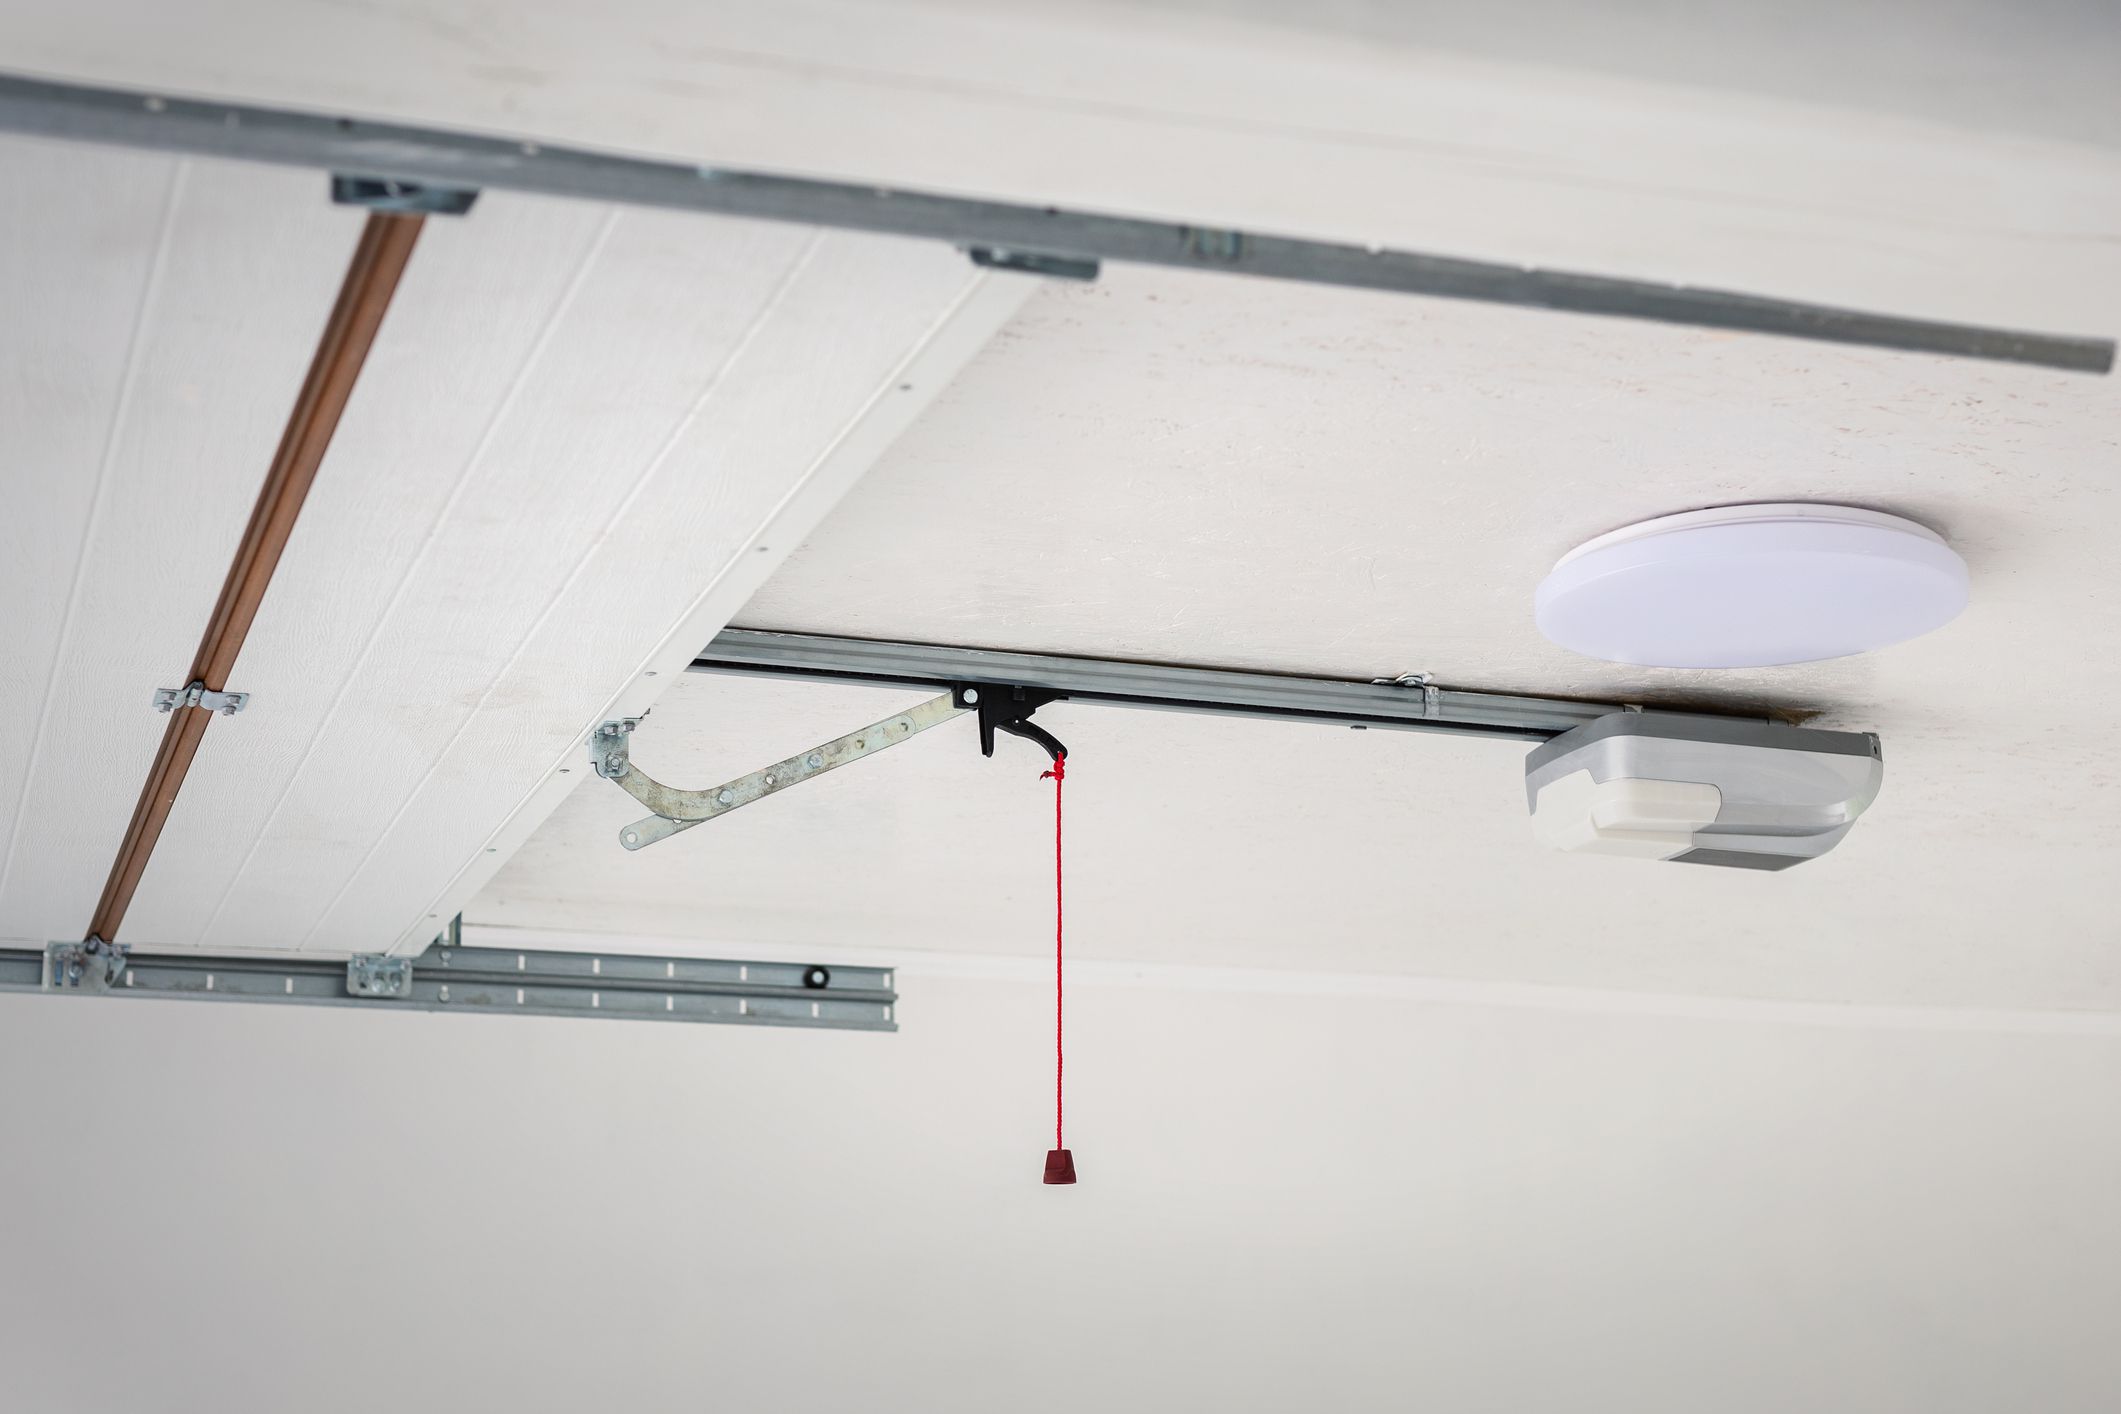
Installing a garage door opener yourself is one of those home improvement projects that feels intimidating until you break it into sensible steps. Yes, the opener hangs above your car. Yes, there are wires, brackets, rails, sensors, and a mysterious trolley that sounds like it belongs in a theme park. But with patience, a helper, the correct tools, and a healthy respect for garage door safety, many homeowners can replace or install a standard ceiling-mounted garage door opener in an afternoon.
The big rule is simple: you are installing the opener, not rebuilding the garage door system. Springs, cables, drums, and heavy door adjustments are professional territory. Those parts hold a lot of tension and can turn a “quick DIY” into a “why is there a ladder-shaped hole in the drywall?” situation. If your door is balanced, moves smoothly by hand, and already has a properly located outlet nearby, installing a garage door opener yourself can be a realistic weekend project.
This guide walks you through the process from planning to testing, using standard American installation practices and safety-focused advice. Always read your specific opener manual first because models vary, but the general workflow is similar for most chain-drive, belt-drive, and screw-drive garage door openers.
Before You Start: Make Sure the Door Is Ready
A garage door opener is not a muscle machine. It is designed to guide a properly balanced door, not bench-press a stubborn one. Before installing anything, disconnect the old opener if there is one, pull the emergency release, and lift the garage door manually. It should move smoothly and stay partially open around waist height without slamming down or shooting upward.
If the door feels extremely heavy, sticks, jerks, sags, or will not stay in place, stop. The issue may be worn rollers, bent tracks, broken springs, or poor balance. Installing a new opener on a bad door is like putting designer sneakers on a shopping cart with one wobbly wheel. It might look better, but the ride will still be chaos.
Check These Items First
- The garage door opens and closes smoothly by hand.
- The door is balanced and does not fall when released halfway.
- Tracks are straight, secure, and free of major damage.
- Rollers move without grinding or popping.
- There is a grounded ceiling outlet near the opener location.
- The header area above the door is solid enough for the bracket.
- The door has no ropes, loose locks, or hardware that could catch during operation.
If you do not have a ceiling outlet, hire a licensed electrician to install one. Do not run an extension cord permanently to power the opener. That is not a clever workaround; that is a future home-inspection comment with attitude.
Choose the Right Garage Door Opener
Before learning how to install a garage door opener yourself, make sure you have the right type. Most residential openers fall into three common categories: chain drive, belt drive, and screw drive. Wall-mounted jackshaft openers are also available, but they have different installation requirements and are often better suited for specific garage layouts.
Chain Drive Openers
Chain drive models are durable, widely available, and usually budget-friendly. They use a metal chain to move the trolley along the rail. The tradeoff is noise. If your garage is detached, that may not matter. If your bedroom is above the garage, a chain drive may become your new 6 a.m. alarm clock.
Belt Drive Openers
Belt drive openers use a reinforced rubber belt instead of a chain. They are quieter and popular for attached garages. They often cost more than chain drives, but the smoother sound can be worth it, especially if your household includes light sleepers, babies, or anyone who believes garage doors should not announce themselves like a parade float.
Screw Drive and Smart Openers
Screw drive units use a threaded steel rod to move the trolley. They have fewer moving parts but may require climate-aware maintenance. Many modern openers also include Wi-Fi, battery backup, LED lighting, automatic locks, cameras, or smart home features. These extras do not change the basic installation much, but they may add setup steps after the mechanical work is done.
Tools and Materials You Will Need
Your opener kit should include the motor unit, rail sections, trolley, belt or chain, header bracket, door bracket, curved and straight door arms, safety sensors, wall control, remote controls, hardware, and installation manual. Before climbing a ladder, lay everything out and compare it with the parts list. Missing hardware is easier to spot on the floor than when you are balancing a motor unit above your head and questioning every life decision since breakfast.
Common Tools
- Stepladder
- Socket wrench set
- Adjustable wrench
- Drill and drill bits
- Screwdrivers
- Tape measure
- Level
- Pencil or marker
- Locking pliers
- Stud finder
- Safety glasses
- Scrap 2×4 for final safety testing
A helper is not technically a tool, but for this job, treat one like essential equipment. The motor unit is awkward to lift and align alone. A second person makes the installation safer, faster, and less likely to include creative language.
Step 1: Remove the Old Opener Safely
If you are replacing an existing garage door opener, unplug the old unit first. Do not simply turn off the wall button and assume everything is safe. Disconnect the opener from the garage door using the emergency release cord, then remove the door arm from the door bracket.
Support the old motor unit before removing ceiling brackets. Once supported, loosen the bolts and lower the unit carefully. Remove the old rail, sensors, wall button, and wiring if your new opener requires new components. Even if old sensors look similar, use the safety sensors included with the new opener unless the manufacturer specifically says otherwise.
Step 2: Assemble the Rail and Trolley
Most opener installations begin on the garage floor. Assemble the rail sections according to the manual, then slide the trolley onto the rail in the correct direction. This matters because the trolley connects the moving opener system to the door arm. Install it backward and the opener may behave like it read the instructions upside down.
After the rail is assembled, attach it to the motor unit. Then install the belt, chain, or screw mechanism. Follow the manufacturer’s tension instructions carefully. A loose chain can rattle and skip. An overtightened belt or chain can stress the opener and shorten its life.
Step 3: Mark and Install the Header Bracket
The header bracket anchors the front of the opener system above the garage door. Close the garage door and mark the vertical centerline of the door on the header wall. Then locate the highest point of door travel. Your manual will tell you how far above that point to mount the bracket.
The bracket must attach to solid framing, not just drywall or thin trim. If there is no suitable wood backing, install a sturdy mounting board across the header and fasten it securely to structural framing. This bracket handles force every time the door moves, so “good enough” is not good enough.
Step 4: Attach the Rail to the Header Bracket
With the header bracket installed, lift the rail into position and connect it to the bracket using the supplied clevis pin or bolts. Rest the motor unit on a ladder while you work. Place padding on top of the ladder if needed to protect the opener housing.
Open the garage door manually and check that the rail has enough clearance. It should sit centered over the door and align straight back into the garage. A crooked rail can cause noisy travel, uneven pulling, and premature wear.
Step 5: Hang the Motor Unit
Most ceiling-mounted garage door openers hang from perforated angle iron or sturdy hanging brackets attached to ceiling joists. Use a stud finder to locate joists, then fasten the hanging supports securely. The motor unit should be level and centered with the door.
Do not attach the opener only to drywall, paneling, or lightweight ceiling material. The motor vibrates, pulls, and shifts slightly during operation. It needs real structural support. Once the opener is hanging, tighten all fasteners and confirm the rail remains straight.
Step 6: Install the Door Bracket and Door Arm
The door bracket attaches to the top section of the garage door. Many steel doors require reinforcement before connecting an opener. Your manual may specify a vertical reinforcement bracket or horizontal support. This is especially important because opener force can bend a thin top panel over time.
Attach the straight arm to the trolley and the curved arm to the door bracket, then connect the two arms according to the manual. With the door closed, the arm should generally form a slight angle rather than sitting perfectly straight. Exact positioning varies by opener model, so follow the diagram provided with your unit.
Step 7: Install the Wall Control
Mount the wall control where adults can reach it easily but children cannot. A common location is inside the garage near the entry door to the house. Run the low-voltage wire from the opener to the wall control, securing it neatly with insulated staples. Do not pierce the wire with staples; the wire is not a vampire, and staking it will not help.
Connect the wire to the terminals on the opener and wall control as directed. Most systems use simple low-voltage wiring, but the terminal layout varies by manufacturer. Keep the wire away from moving parts, sharp edges, and hot light housings.
Step 8: Install the Safety Sensors
Safety sensors, often called photo eyes, are one of the most important parts of the installation. They create an invisible beam across the bottom of the garage door opening. If a person, pet, bicycle, storage bin, or suspiciously brave soccer ball breaks the beam while the door is closing, the opener should stop and reverse.
Install the sensors on both sides of the garage door opening near the floor, following the height specified by your manufacturer. Many common systems place them no higher than 6 inches above the floor. Mount them facing each other, run the low-voltage wires back to the opener, and connect them to the correct terminals.
Sensor Alignment Tips
- Mount both sensors at the same height.
- Keep brackets tight so vibration does not knock them out of alignment.
- Make sure sensor lenses face each other directly.
- Keep wires secure and away from tracks and rollers.
- Check indicator lights after wiring; many systems use solid lights to show proper alignment.
If the opener will not close after installation, misaligned sensors are one of the first things to check. Clean the lenses, verify the wires are seated, and make sure nothing is blocking the beam.
Step 9: Connect Power and Program the Opener
Once the mechanical parts, wall control, and sensors are installed, plug the opener into the ceiling outlet. Follow the manual to program remotes, keypads, Wi-Fi features, and travel limits. Travel limits tell the opener where the fully open and fully closed positions are. Force settings control how the opener responds to resistance.
Modern openers often have electronic buttons for setting travel. Older models may use adjustment screws. Either way, make small changes and test after each adjustment. Do not increase force just to overcome a sticking door. If the door does not move smoothly, fix the door problem first.
Step 10: Test the Safety Reversal System
Testing is not optional. After installation, place a flat 2×4 board on the garage floor under the door path and close the door. When the door contacts the board, it should reverse. Then test the photo-eye sensors by closing the door and interrupting the beam with an object. The door should stop and reverse or refuse to close.
If either test fails, do not use the opener until the issue is fixed. Recheck sensor alignment, wiring, travel limits, and force settings. If you cannot correct the problem using the manual, call a trained garage door technician.
Common Mistakes to Avoid
Skipping the Door Balance Test
A poorly balanced door can ruin a new opener and create a dangerous condition. Always test the door manually before installation.
Mounting the Header Bracket Too Weakly
The header bracket needs solid framing. Drywall anchors are not acceptable for this job.
Reusing Old Safety Sensors Without Approval
Old sensors may not be compatible with the new opener. Use the sensors supplied with your unit unless the manufacturer says otherwise.
Setting Force Too High
High force settings can mask door problems and reduce safety. The opener should reverse properly when it meets resistance.
Ignoring the Manual Release
The emergency release cord should be accessible and properly installed. It allows you to disconnect the opener and operate the door manually during a power outage or malfunction.
How Long Does DIY Garage Door Opener Installation Take?
For a typical replacement, many capable DIYers can install a garage door opener in about three to six hours. First-time installers should plan for extra time, especially for reading instructions, aligning sensors, setting travel limits, and finding ceiling joists. A brand-new installation without existing wiring or mounting supports may take longer.
The most time-consuming parts are usually hanging the motor unit, aligning the rail, and troubleshooting sensors. The easiest part is usually opening the box with great confidence before realizing there are fourteen bags of hardware. Stay organized, label parts if needed, and do not rush.
When to Call a Professional
DIY is satisfying, but knowing when to call a professional is part of being good at DIY. Call a garage door technician if the door is unbalanced, springs are broken, cables are frayed, tracks are bent, panels are damaged, or the door does not move smoothly by hand. Call an electrician if you need a new outlet or electrical repair.
You should also consider professional installation for oversized doors, custom wood doors, high-lift systems, wall-mounted openers, or garages with unusual framing. Paying for expertise is cheaper than repairing a damaged door, opener, car roof, or ego.
Maintenance After Installation
Once your opener is installed, give it a little attention every month. Test the reversal system, check the photo-eye sensors, listen for unusual grinding, and inspect brackets for looseness. Keep the sensor lenses clean and make sure stored items do not block the beam.
Lubricate the garage door rollers, hinges, and bearings according to the door manufacturer’s recommendations. Do not lubricate belts unless the opener manual specifically instructs you to. Keep remote controls away from children, and explain to everyone in the household that the garage door is not a toy, a ride, or a dramatic curtain for driveway entrances.
Real-World Experience: What DIY Installation Actually Feels Like
The first thing many homeowners discover when installing a garage door opener themselves is that the job is not especially complicated, but it is very particular. The steps are logical, yet small details matter. A bracket mounted half an inch off center can make the rail look crooked. A sensor bumped by a broom can stop the door from closing. A wire that seems connected but is not fully seated can cause twenty minutes of head scratching and one deeply suspicious stare at the instruction manual.
One of the best experiences you can give yourself is a clean workspace. Move bikes, storage bins, rakes, trash cans, holiday decorations, and that mystery box labeled “miscellaneous” away from the door area. You need room for the rail on the floor and space for ladders near the opener location. A cluttered garage turns every step into an obstacle course, and nobody wants to align safety sensors while stepping over a plastic flamingo and three extension cords.
Another lesson: read the manual twice before tightening everything permanently. Many opener kits are designed for several door heights or installation conditions, so the manual may show alternate holes, bracket positions, or arm configurations. It is easy to assume you know where a bolt goes because it “looks right.” Unfortunately, garage door opener hardware has a talent for looking right in two places and working correctly in only one.
Having a helper makes the biggest difference when raising the motor unit. The opener is not usually extremely heavy, but it is awkward. You are holding it above shoulder height, lining it up with the rail, checking level, and trying not to bonk the ladder. A helper can steady the unit, pass tools, confirm alignment, and provide moral support in the form of saying, “No, it is not crooked,” even when it absolutely is.
Sensor alignment is often the final boss of garage door opener installation. The opener may run beautifully with the door open, the remote may pair perfectly, and then the door refuses to close. Before assuming the motor is defective, check the sensors. Are they at the same height? Are the lenses clean? Are the indicator lights solid? Is a shovel handle blocking the beam? Most “new opener will not close” problems are less dramatic than they feel.
The most satisfying moment comes during the final safety test. The door moves down, touches the 2×4, reverses smoothly, and suddenly the whole project feels worth it. The new opener is quieter, the remotes work, the wall button lights up, and your garage has joined the modern age. You may even open and close the door a few extra times just because you can. This is normal. It is the homeowner version of applauding yourself.
The best practical advice is to work slowly, keep the manual open, and never force a step that does not make sense. If a bracket does not line up, a wire seems too short, or the opener strains during travel, pause and troubleshoot. Garage door openers reward patience. They punish guessing. And they are surprisingly good at reminding people that “measure twice, drill once” is not just something uncles say while holding coffee.
In the end, installing a garage door opener yourself is a manageable project for a careful homeowner with a properly working door. It saves labor costs, teaches you how the system works, and gives you confidence for future maintenance. Just respect the parts of the system that are dangerous, especially springs and cables. Do the opener installation; leave high-tension repairs to the pros. That balance is the real DIY victory.
Conclusion
Learning how to install a garage door opener yourself is a practical way to upgrade convenience, security, and daily comfort. The project is not about brute strength. It is about preparation, alignment, safe mounting, correct wiring, careful adjustment, and thorough testing. Start with a balanced garage door, choose an opener that fits your needs, follow the manufacturer’s manual, and take safety sensors seriously.
If everything goes well, you will finish with a smoother, smarter, more reliable garage entrance. If something feels unsafe or confusing, call a professional. Good DIY is not about doing every single thing alone; it is about knowing which parts you can handle and which parts deserve expert hands. Your garage door is the largest moving object in your home, so treat it with respect. It will return the favor by opening politely instead of acting like a haunted drawbridge.