
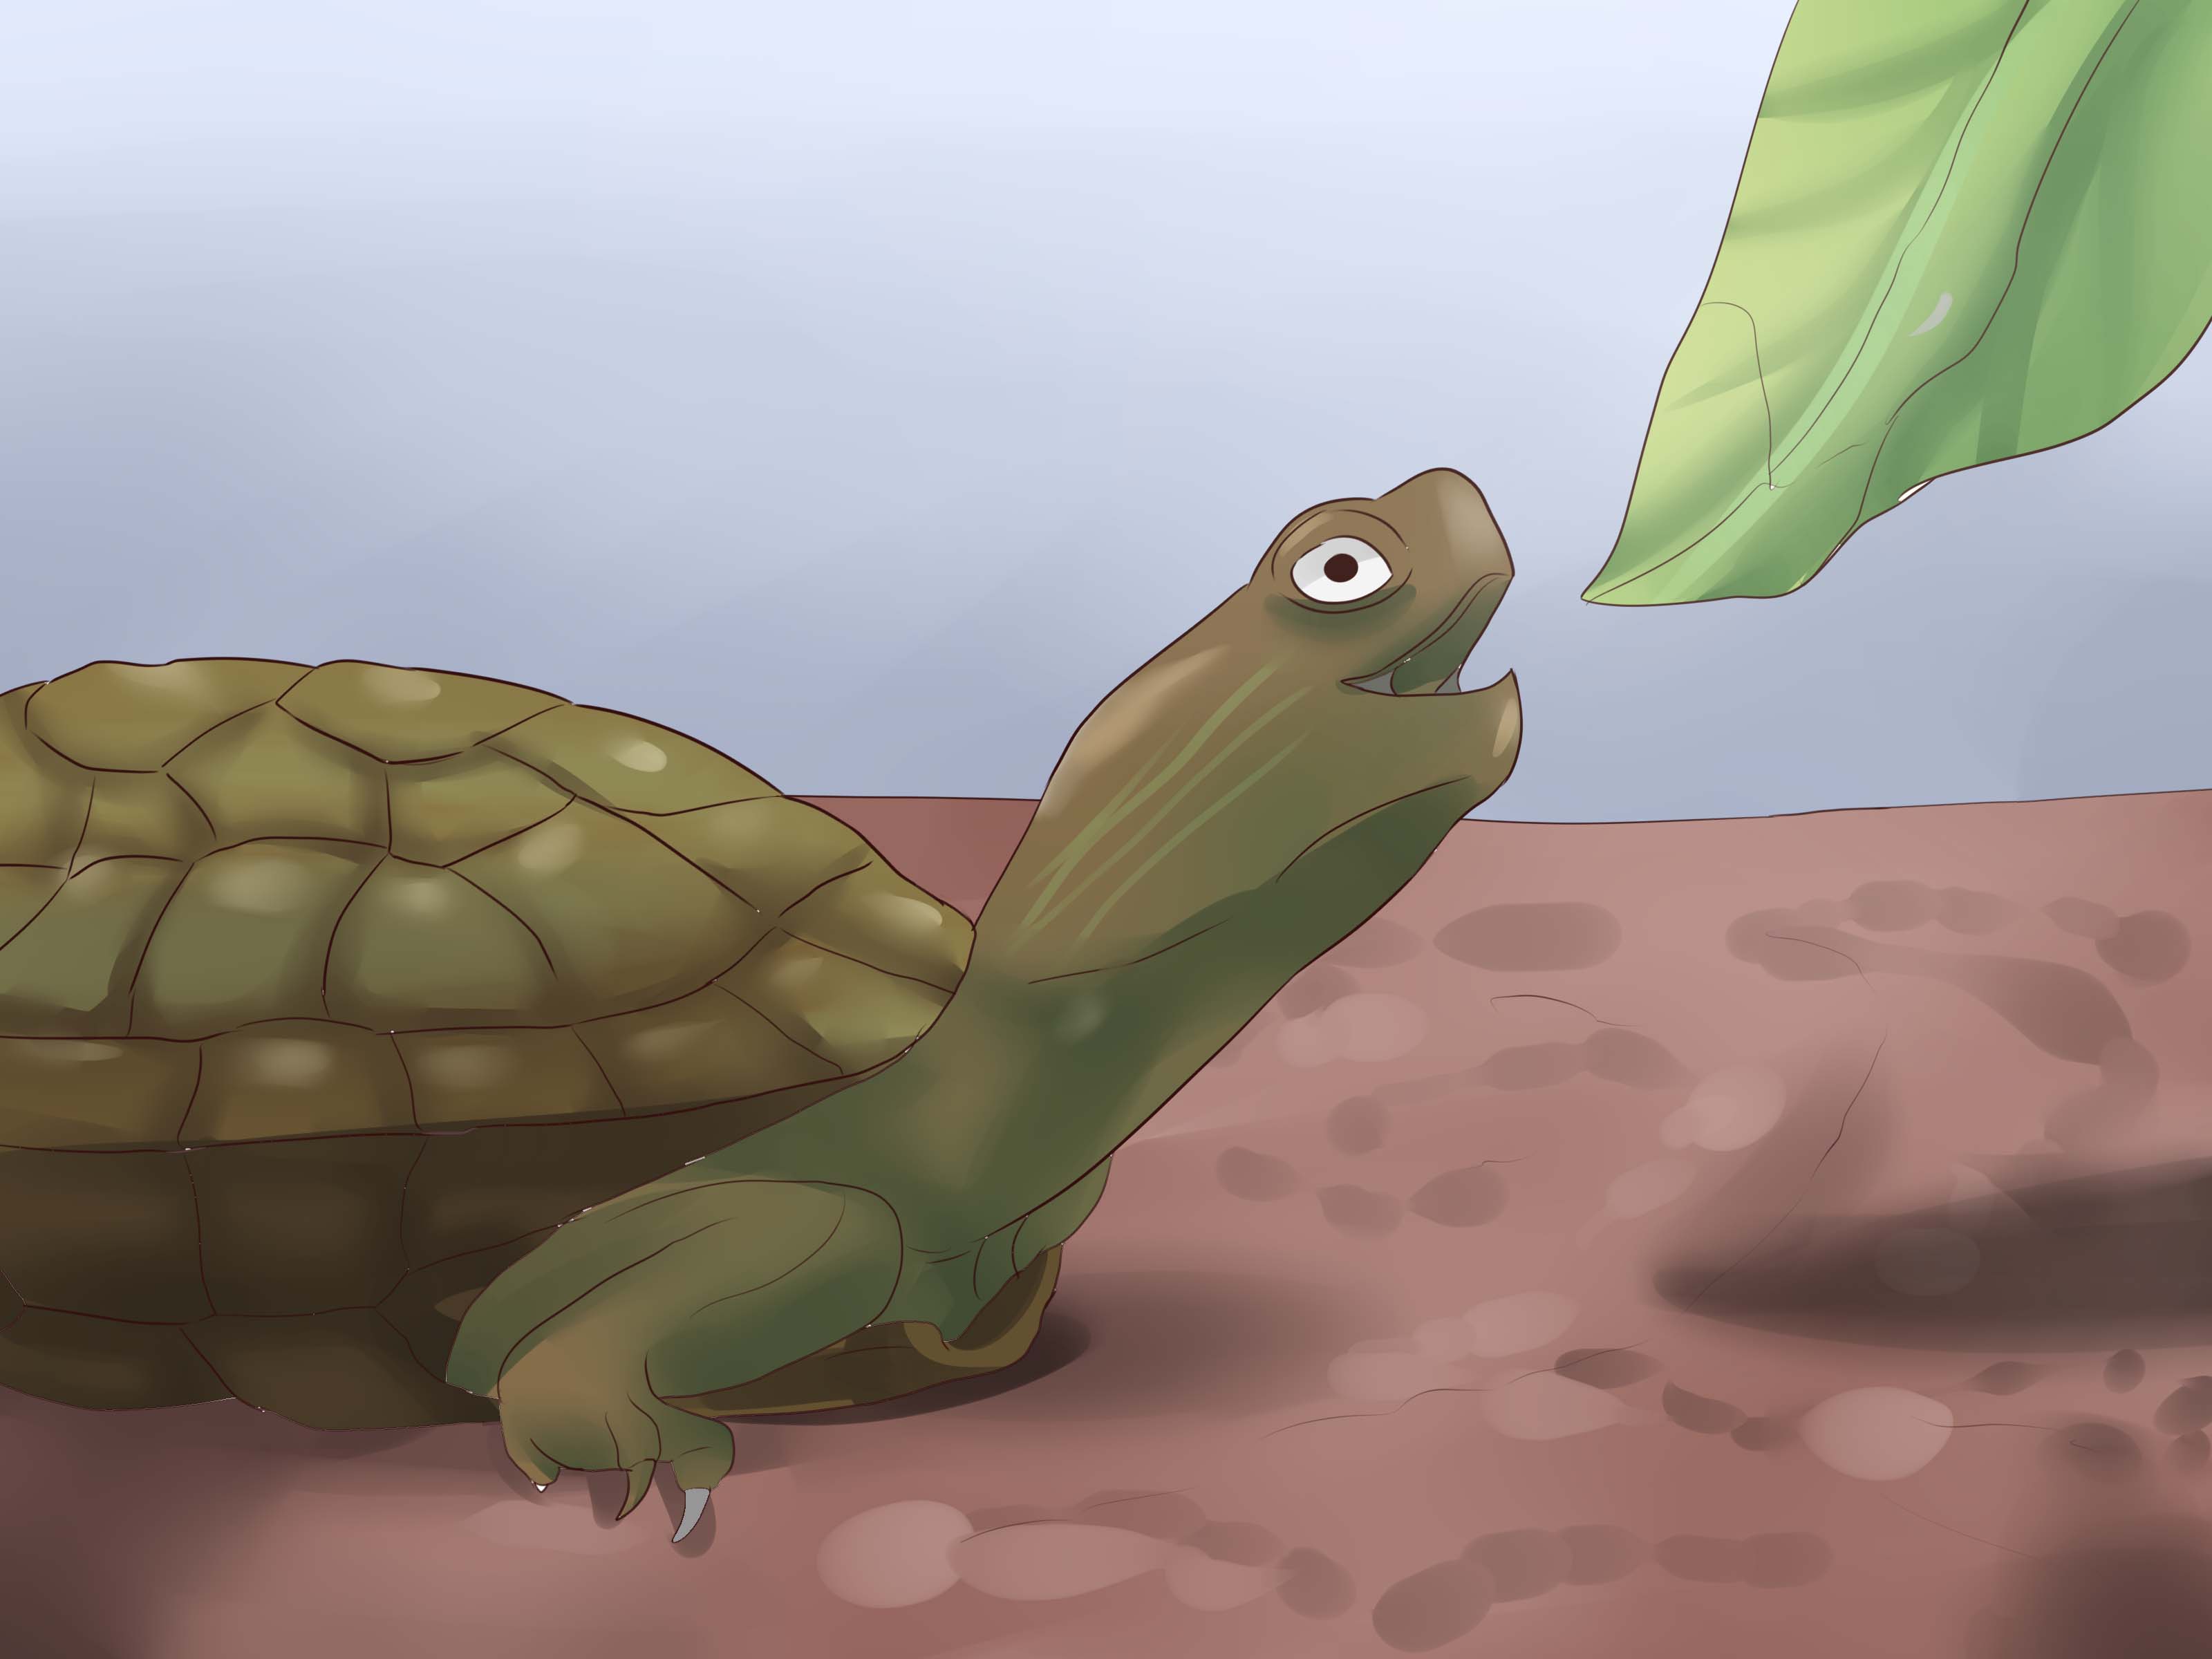
Important note before you build anything: This guide is for humane, temporary live-capture situations onlysuch as checking whether turtles are entering a private pond, helping with an authorized wildlife survey, or preparing for professional removal under local rules. It is not a guide for harming turtles, trapping protected species, catching sea turtles, selling wildlife, or relocating animals illegally. Before setting any turtle trap, check your state wildlife agency’s rules, confirm whether you need a permit, and make sure every captured turtle can breathe, stay shaded, and be released exactly as local law allows.
Turtles are charming little armored tanks. They bask on logs like tiny retirees, patrol ponds with ancient seriousness, and occasionally show up exactly where you wish they would notinside ornamental ponds, garden water features, fish ponds, or drainage areas. When that happens, many people search for how to make a turtle trap. The better question is: how do you make a safe, legal, humane turtle trap that reduces stress and prevents injury?
The answer starts with respect. Turtles are slow-growing reptiles, and many species cannot handle heavy removal from the wild. Some are protected. Others may be legal to capture in one state but illegal in another. Even common turtles can bite, scratch, carry germs, and suffer if trapped underwater without air. A good turtle trap is not a “set it and forget it” gadget. It is a carefully monitored live-capture tool.
Below is a practical 14-step framework for planning, building, setting, monitoring, and safely ending a turtle-trapping project. The focus is on a simple floating basking-style live trap and humane field practicenot on commercial harvest or permanent removal.
What Is a Humane Turtle Trap?
A humane turtle trap is a temporary live-capture device designed to hold a turtle without injuring it, drowning it, overheating it, or trapping non-target wildlife for long periods. For many homeowners, the safest DIY concept is a floating basking trap: a floating frame with a dry or partly dry platform where turtles climb to bask, then gently drop into a holding area with air access. This design avoids fully submerged confinement, which is one of the biggest dangers in turtle trapping.
Professional researchers and permitted wildlife workers often use hoop nets, basking traps, or modified cage traps, but those methods require training, permits, and frequent checks. For a home project, keep everything simple, temporary, and easy to inspect. The moment you cannot check the trap often, remove it from the water.
Before You Start: Legal and Safety Checklist
Confirm the law first
Wildlife laws are local. Some states allow limited take of certain freshwater turtles; others restrict trap types, seasons, sizes, protected species, transportation, or relocation. In some places, moving a turtle from one property to another is illegal because it can spread disease, harm local populations, or disorient the animal. If you are unsure, call your state fish and wildlife agency, county extension office, or a licensed wildlife rehabilitator.
Never trap sea turtles
Sea turtles are protected animals. Do not chase, feed, touch, encircle, trap, or attempt to capture them. If a sea turtle is injured, entangled, stranded, or in danger, contact local marine wildlife authorities immediately.
Protect yourself from bites and germs
Turtles may look calm, but snapping turtles and large aquatic turtles can bite with surprising speed. Turtles can also carry Salmonella germs even when they appear healthy. Wear gloves, keep your hands away from the head, avoid touching your face, and wash thoroughly after handling the trap, water, bait, or any equipment.
Materials for a Basic Floating Basking Turtle Trap
Use smooth, sturdy, non-toxic materials. Avoid sharp wire ends, rusty metal, treated lumber that may leach chemicals, and anything that can collapse around an animal.
- Plastic storage tote, smooth livestock tub, or sturdy floating box with drainage and air access
- PVC pipe or sealed foam pool noodles for flotation
- Plastic-coated hardware cloth or smooth rigid mesh for ramps
- Zip ties or stainless fasteners
- A removable basking board or textured ramp
- Rope for anchoring
- Small anchor, brick, or cinder block
- Work gloves and eye protection
- Shade cloth or partial cover
- Trap label with your name and contact information if required locally
Do not use hooks, snares, sticky substances, spring-loaded devices, or anything that tightens around a turtle. A turtle trap should hold, not injure.
How to Make a Turtle Trap: 14 Steps
Step 1: Decide whether trapping is truly necessary
Before building a trap, ask why you need one. Is the turtle actually causing damage, or is it simply living where turtles naturally live? A turtle in a pond is often part of a healthy ecosystem. If your concern is a turtle crossing a road, trapping is usually the wrong solution. Help it cross in the direction it was already heading, only when it is safe for you to do so.
Step 2: Identify the situation, not just the turtle
Look at the setting. Is this a backyard pond, farm pond, drainage ditch, natural wetland, or public waterway? Public waters often have stricter rules. Also consider whether the turtle may be nesting. Female turtles often travel over land during nesting season, and removing them can do more harm than good.
Step 3: Contact the right authority
Call your state wildlife agency or local animal control office before you set a trap. Ask three simple questions: Is it legal to trap turtles here? What trap types are allowed? What must I do if I catch a turtle or non-target animal? This step may feel less exciting than sawing PVC, but it can save you from fines, injured wildlife, and a very awkward conversation with a conservation officer.
Step 4: Choose a live-capture design with air access
Pick a floating basking design rather than a fully submerged trap. Turtles breathe air. Any trap used around water must allow captured animals to surface easily. A trap that can sink, roll over, or keep turtles underwater is unsafe and should not be used.
Step 5: Build a stable floating frame
Create a rectangular frame with PVC pipe or a sturdy floating base. Attach sealed foam or pool noodles along the sides to keep the trap buoyant. Test it in shallow water before adding ramps or a holding tub. The frame should float level, resist tipping, and stay stable when weight is added.
Step 6: Add a smooth holding area
Place a smooth plastic tote or tub inside the floating frame. The sides should be high enough that a turtle cannot easily climb out, but the top must remain open to air. Drill small drainage holes only if they do not create sharp edges. Sand every rough spot. A turtle shell is tough, but skin, eyes, and feet are not.
Step 7: Make an easy-entry basking ramp
Attach one or two ramps leading from the water to the top edge of the trap. Use textured plastic, smooth mesh, or a board with shallow grip strips. The ramp should not pinch toes or scrape the shell. Think “gentle boat dock,” not “medieval obstacle course.”
Step 8: Create a one-way drop zone
The basic idea is simple: a turtle climbs the ramp to bask, reaches a slightly unstable platform, and drops gently into the open holding area. Keep the drop short. Add water or damp padding only if it does not create a drowning risk. The holding area must remain ventilated, shaded, and easy to inspect.
Step 9: Avoid dangerous bait choices
Many turtle traps use bait, but bait can attract raccoons, snakes, fish, birds, pets, and other animals. For a basking trap, location and sun exposure may be enough. If bait is legal and necessary, use a small enclosed bait container so the turtle cannot swallow hooks, plastic, or packaging. Never use bait that violates local rules or creates a mess in the water.
Step 10: Place the trap in a safe location
Set the trap near a known basking area, such as a sunny bank, log, or pond edge. Avoid strong currents, deep water, public swimming areas, boat lanes, and places where children or pets may disturb the trap. Anchor it securely so it cannot drift away.
Step 11: Keep part of the trap shaded
A trapped turtle can overheat quickly in direct summer sun. Add partial shade with a breathable shade cloth or place the trap where morning sun gives way to afternoon shade. Do not cover the trap completely, because airflow matters.
Step 12: Check the trap often
Frequent checks are the heart of humane trapping. Many regulations require checks at least every 24 hours, but more often is better, especially in hot weather. If you cannot inspect the trap early, midday, and before evening, do not set it. Remove it overnight unless you are legally authorized and prepared to monitor it properly.
Step 13: Release non-target wildlife immediately
If you catch anything other than the turtle you are legally permitted to handle, release it at the capture site as soon as it is safe. Do not relocate frogs, fish, snakes, birds, mammals, or turtles to a new area unless a wildlife authority specifically tells you to do so.
Step 14: Handle and end the project responsibly
When you capture a turtle, keep your hands away from its head, support its body, and follow the plan approved by your local authority. If the turtle appears injured, weak, overheated, or tangled, contact a licensed wildlife rehabilitator. When the project is finished, remove the trap, clean it safely, dry it in the sun, and store it away so it cannot accidentally capture animals.
Common Mistakes to Avoid
Leaving the trap unchecked
This is the biggest mistake. A trap that seems harmless can become dangerous if weather changes, water rises, the trap flips, or an animal panics. Checking often is not optional; it is the responsibility that comes with using a live trap.
Building a trap with sharp edges
Cut mesh, wire, screws, and cracked plastic can injure turtles. Run your gloved hand over every surface. If it can scratch your glove, it can hurt an animal.
Relocating turtles without permission
Relocation sounds kind, but it can be harmful. Turtles may try to return home, cross roads, spread disease, or compete with local animals. In many areas, releasing wildlife in a new location is illegal.
Assuming every turtle is common
Some protected turtles look ordinary to non-experts. Young snapping turtles, sliders, cooters, painted turtles, musk turtles, and rare species can be confused by beginners. When in doubt, take a photo from a safe distance and ask a wildlife professional.
Humane Alternatives to Turtle Trapping
Sometimes the best turtle trap is no trap at all. If turtles are entering a decorative pond, try habitat adjustments first. Add protective netting over valuable koi areas, install pond ledges that make fish less vulnerable, remove food scraps, and avoid feeding wildlife. If a turtle is basking in a harmless location, let it be. Turtles are not freeloaders; they help clean up aquatic ecosystems and play a role in natural food webs.
If your concern is a snapping turtle in a swimming area, post temporary warnings and contact local wildlife authorities. If the turtle is nesting, give it space. If it is crossing a road, help only when you can do so safely. Move it in the direction it is already traveling, and never pick up a snapping turtle by the tail.
Cleaning and Storing Your Turtle Trap
After use, wear gloves and rinse the trap outdoors. Do not wash turtle equipment in a kitchen sink, bathtub, or food-preparation area. Scrub debris away, disinfect according to product directions, rinse thoroughly, and let the trap dry completely. Wash your hands with soap and water after touching the trap or pond water.
Store the trap indoors or upside down in a locked shed. A trap left outside can accidentally catch wildlife, become a mosquito hotel, or turn into the mysterious object your neighbor asks about for the next three summers.
When to Call a Professional
Call a licensed wildlife control operator, rehabilitator, or state agency if the turtle is large, aggressive, injured, trapped in fencing, located in a public area, or possibly protected. Also call for help if children, pets, or livestock are involved. A professional can identify the species, understand local rules, and use approved equipment.
Professional help is especially important for snapping turtles. They deserve respect, distance, and careful handling. They are not villains; they are native animals doing turtle things with impressive commitment.
Experience-Based Tips for Making and Using a Turtle Trap
Here is the practical wisdom that rarely shows up in neat instruction lists: turtle trapping is mostly patience, observation, and responsibility. The building part may take an afternoon. The monitoring part takes discipline. Before you ever set the trap, spend a few days watching the pond. Notice where turtles climb out to bask, what time they appear, whether they prefer the sunny log or the muddy bank, and how people or pets move around the area. A trap placed where turtles already feel comfortable is safer and more effective than one dropped randomly in the deepest part of the pond.
In real use, stability matters more than clever design. A wobbly trap may scare turtles away or, worse, flip over. Test your trap with weight before using it. Place a rock or water jug inside the holding area and watch how the frame responds. If one side dips too low, add flotation. If the ramp twists, reinforce it. If the anchor line pulls the trap at an angle, adjust the rope. Tiny problems in a driveway test can become big problems in pond water.
Another lesson: shade is not decoration. On a hot day, plastic heats up quickly. A turtle stuck in a sunny box can become stressed, even if it has air. Partial shade, frequent checks, and short trapping windows make a major difference. Early morning setup and early removal are often better than leaving a trap active through the hottest part of the day.
Plan your release or next step before capture, not after. People sometimes build a trap, catch a turtle, and then ask, “Now what?” That is backwards. Your legal, humane outcome should be decided before the trap enters the water. If local rules require release at the capture site, do that. If a professional must handle removal, arrange that first. If the turtle is injured, know which rehabilitator to call.
Keep notes. Write down the date, time, weather, trap location, checks, captures, releases, and any problems. This helps you improve your setup and provides useful information if you consult a wildlife officer. Notes also remind you that trapping is not a casual prank or a backyard shortcut. It is wildlife handling, and wildlife handling deserves care.
Finally, be ready to stop. If the trap catches non-target animals, tips over, attracts pets, causes stress, or creates confusion about the law, remove it. Success is not just catching a turtle. Success is solving the original problem without harming animals, breaking rules, or turning your pond into a reptile-themed escape room.
Conclusion
Learning how to make a turtle trap is less about building a box and more about making responsible choices. A safe turtle trap must be legal, temporary, stable, breathable, shaded, frequently checked, and used only for a clear humane purpose. Turtles are long-lived animals with important roles in freshwater ecosystems, so trapping should never be casual or careless.
If you need to manage a turtle situation, start with identification, local regulations, and non-trapping alternatives. If trapping is allowed and truly necessary, use a live-capture design that keeps the turtle above water with plenty of air, prevents injury, and allows quick release or professional handling. The best turtle trap is not the one that catches the most turtles. It is the one that solves a problem while keeping wildlife safe.














