
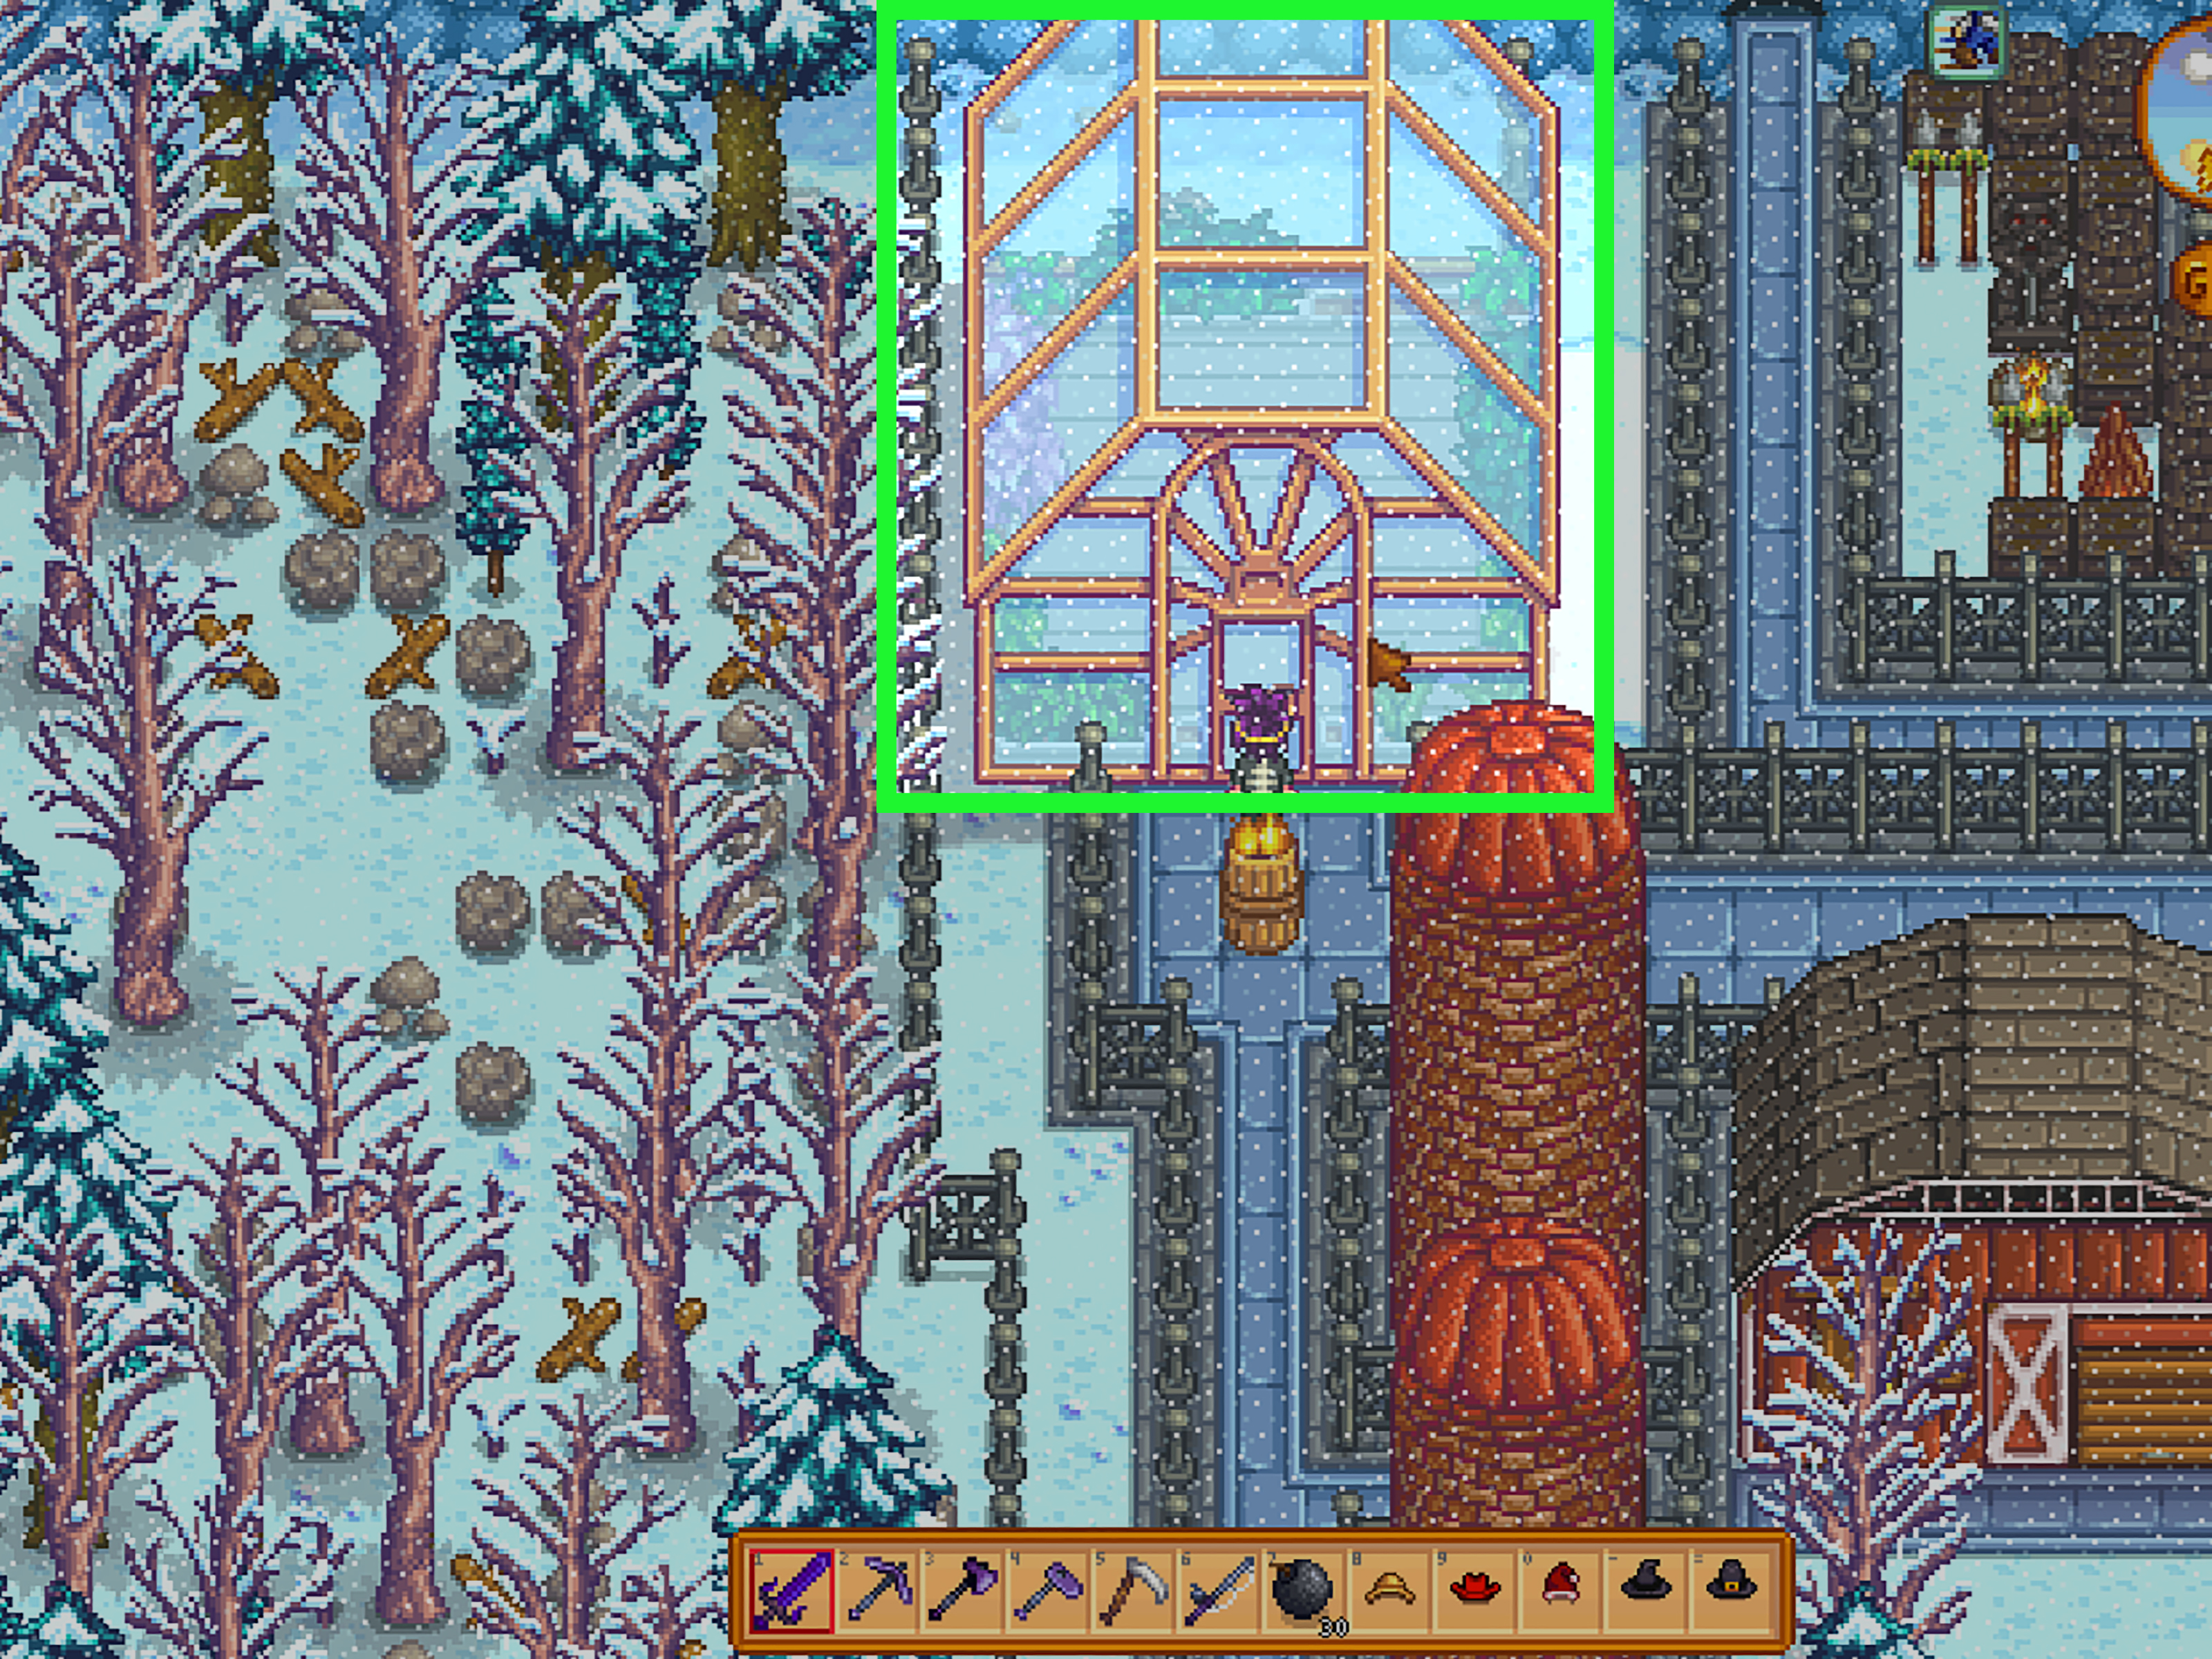
Grandpa left you a farm, fifteen Parsnip Seeds, 500g, and approximately seven thousand chores. Welcome to Stardew Valley, where financial freedom begins with a rusty watering can and ends with an industrial wine operation that would make Pelican Town’s zoning board nervous.
Making money quickly is not simply about choosing the crop with the highest selling price. Successful farms balance immediate income, energy, planting costs, processing capacity, and long-term upgrades. A field full of expensive produce is not particularly helpful when you cannot water it, process it, or afford tomorrow’s seeds.
The following 16 tips cover reliable strategies for earning gold during the early game, scaling production in later seasons, and taking advantage of profitable mechanics introduced or improved in the 1.6 era.
The Fastest Ways to Make Money in Stardew Valley
1. Protect Your Starting Capital
Your first 500g is seed money, not decorative-hat money. Plant the free Parsnip Seeds immediately, then spend most of your available gold on crops that mature quickly enough to fund another planting.
Potatoes are a practical early-spring choice because they grow relatively quickly and may produce extra potatoes at harvest. Cauliflower is more valuable per crop, but its longer growth period delays your next payday. A mixture gives you both cash flow and a larger future harvest.
Avoid planting more than you can comfortably water. An enormous field may look ambitious on Spring 1, but by Spring 4 it can feel like you have accepted an unpaid internship with your own vegetables.
2. Go Fishing While Your Crops Grow
Fishing is one of the best early-game money-making activities because it requires little land, no seed purchases, and no waiting several days for a harvest. After receiving the Bamboo Pole from Willy, spend crop-free hours fishing at the mountain lake, river, or ocean.
Sell most ordinary catches during the first week, but keep inexpensive fish for food when necessary. Eating a low-value catch can restore enough energy to catch several more valuable fish, making it worth more as fuel than as merchandise.
The fishing minigame can be frustrating at first. The Training Rod makes beginner fish easier to catch, although it limits what you can hook. Once the green fishing bar becomes manageable, switch to a better rod and start pursuing higher-value species.
3. Treat Rainy Days as Profit Events
Rain waters outdoor crops automatically, effectively returning part of your day and energy bar. Use that bonus to fish, mine, gather forage, or process a production backlog.
Rain also makes certain valuable fish available. Catfish, for example, can provide excellent early income when caught in the river during appropriate seasons and weather. They are difficult for new players, so bring food and consider using fishing buffs once they become available.
Later in the game, Targeted Bait from the Bait Maker can improve your chances of hooking a chosen fish. That turns a lucky fishing opportunity into a more deliberate business plan.
4. Double Fishing Revenue With a Fish Smoker
The Fish Smoker is one of the strongest additions for players who enjoy fishing. It processes one fish with one piece of Coal, doubles the fish’s selling price, and preserves its quality. Processing is also fast enough to smoke multiple catches during the same day.
Do not automatically smoke every tiny fish. Coal is valuable for crafting, smelting, and several machines, so reserve it for catches whose increased value justifies the resource. Gold- and iridium-quality fish are especially attractive because the smoker retains their quality.
Smoked Fish is considered an artisan product and can benefit from relevant fishing professions as well as the Artisan profession. With the right setup, an afternoon at the lake can become considerably more lucrative than tossing raw fish directly into the shipping bin.
5. Forage With a Purpose
Foraging provides free items, but selling everything you pick up is not always the most profitable choice. Spring Onions, Salmonberries, Blackberries, and other inexpensive foods can power longer fishing or mining sessions. The additional resources gathered during those sessions may be worth far more than the forage itself.
Repair the wooden bridge on the beach when you can spare 300 Wood. The tide-pool area regularly provides Coral, Sea Urchins, and other items that can be collected without spending energy.
Check the forest, mountain, bus stop, beach, and town as part of an efficient route. A long scenic hike for a single Daffodil is not a financial strategy; gathering multiple items while completing errands is.
6. Spend Money on Upgrades That Produce More Money
The first backpack upgrade is often more valuable than it appears. Additional inventory space means fewer trips home, fewer abandoned fish, and more room for ore, forage, and monster drops.
Tool upgrades are also economic investments. A stronger axe opens access to Hardwood and new areas, while a better pickaxe helps you descend through the Mines faster. Upgrading the watering can reduces daily labor, although sprinklers eventually deliver the greatest time savings.
Schedule watering-can upgrades before rain, during winter, or after watering crops for the day. An upgrade that leaves an entire field thirsty can turn financial progress into expensive compost.
7. Rush the Mines for Ore and Sprinklers
Mining is not just another way to find items to sell. It supplies the Copper, Iron, Gold, Quartz, and Coal required to build the infrastructure that makes your farm profitable.
Quality Sprinklers are a major turning point. Each one waters eight adjacent tiles every morning, allowing you to expand crop production without spending half the day waving a watering can around. Iridium Sprinklers later increase the automated area even further.
Avoid selling large amounts of ore, Coal, Stone, or Wood for quick cash. These resources are usually more valuable when converted into sprinklers, tappers, Bee Houses, Preserves Jars, Kegs, and farm buildings. Selling your construction materials to finance crops is a little like selling your oven to buy cookie dough.
8. Choose Crops by Profit, Timing, and Labor
The “best crop” depends on when it is planted and how you intend to use it. Before buying seeds, count the remaining days in the season. Most crops die when their season ends, and Pierre does not offer refunds for optimism.
| Season | Reliable Choices | Best Use |
|---|---|---|
| Spring | Potatoes, Cauliflower, Strawberries | Fast reinvestment and festival-based expansion |
| Summer | Blueberries, Melons, Hops, Starfruit | Repeat harvests, jars, Kegs, and Pale Ale |
| Fall | Cranberries, Pumpkins, Fairy Roses | Repeat harvests, Pickles, and premium Honey |
| Winter | Winter forage, Powdermelon when available | Supplemental crops while mining and processing |
High-value crops are excellent for processing, while fast or repeat-harvest crops support steady cash flow. The ideal farm usually grows more than one type rather than betting the entire season on a single harvest.
9. Save Gold for Strawberries at the Egg Festival
Strawberry Seeds are sold at the Egg Festival on Spring 13. Planting them that night allows two harvests before the end of the season if they are watered properly.
Arrive with enough gold to buy a meaningful quantity without emptying your account completely. You still need money for other seeds, upgrades, and emergencies. In later years, planting Strawberries on Spring 1 produces additional harvests, so some players save seeds or use a Seed Maker.
The festival purchase is one of the first moments when planning ahead creates a noticeable jump in income.
10. Use Repeat-Harvest Crops to Build Reliable Cash Flow
Blueberries, Cranberries, Hops, and other regrowing crops do not need to be replanted after every harvest. That reduces seed expenses and lets you maintain a predictable production schedule.
Blueberries and Cranberries are beginner-friendly because each harvest produces multiple berries. Hops can be even more valuable when processed into Pale Ale, but they create frequent harvesting and processing work. Plant trellis crops in accessible rows so they do not trap you inside a leafy maze of your own design.
Repeat-harvest crops are especially useful when your farm has sprinklers. Once planted, they generate multiple paydays with relatively little daily effort.
11. Match Each Crop With the Right Processing Machine
Processing ordinary-quality crops is one of the most reliable ways to increase their value. Preserves Jars turn fruit into Jelly and vegetables or eligible forage into Pickles. Kegs create Wine, Juice, Pale Ale, Coffee, and other artisan goods.
As a general rule, Kegs are best for expensive fruit such as Starfruit and Ancient Fruit. Preserves Jars process goods faster and work well with vegetables or lower-value crops. A crop’s quality does not improve the price of its Wine, Jelly, Juice, or Pickles, so process normal-quality items first and sell high-quality produce raw when machine space is limited.
The correct machine is not always the one with the highest final price. Processing time matters. Ten occupied Kegs cannot help the next 300 pieces of fruit waiting in a chest.
12. Choose Tiller and Then Artisan
At Farming Level 5, Tiller raises the selling price of crops. At Farming Level 10, it leads to Artisan, which increases the value of artisan goods.
For farms built around Wine, Cheese, Mayonnaise, Truffle Oil, Jelly, Pickles, Honey, Smoked Fish, and similar products, Artisan is usually the most powerful general profit profession. It strengthens several income streams simultaneously instead of improving only one crop or animal.
Professions should still match your preferred play style. A player who spends every day fishing may initially benefit more from fishing-focused choices, but an established processing farm can earn enormous value from Artisan.
13. Turn Animal Products Into Artisan Goods
Animals provide dependable ingredients that can be processed throughout the year. Eggs become Mayonnaise, Milk becomes Cheese, and Wool can become Cloth. These products offer steadier income than waiting for one enormous seasonal crop harvest.
Chickens are a relatively accessible starting point. Cows add valuable Cheese, while Goats produce less frequently but create higher-value Goat Cheese. Pigs require a larger investment, yet adult pigs can find Truffles outdoors during suitable weather and seasons. A Truffle Oil Maker converts those Truffles into a premium artisan product.
Keep animals fed and happy to improve product quality. Auto-grabbers and upgraded buildings reduce daily labor, turning the barn into an income source rather than a second full-time job.
14. Build a Flower Honey Operation
Bee Houses produce Honey every four nights outside winter in the Valley and year-round on Ginger Island. A mature flower within range changes Wild Honey into more valuable flower-specific Honey.
Fairy Rose Honey is the premium option, with a base selling price of 680g before profession bonuses. One carefully positioned flower can influence multiple Bee Houses, so protect the flower instead of harvesting it accidentally.
Do not automatically place expensive flower Honey into a Keg. Mead has a fixed base value, meaning premium Honey can lose value when converted. Wild Honey and inexpensive flower varieties are better candidates for Mead.
15. Combine Mushroom Logs With Dehydrators
Mushroom Logs offer a low-maintenance income stream after you reach the required Foraging level. They produce mushrooms every few days, work in every season, and perform especially well when surrounded by suitable trees. Rain can also shorten the production cycle.
The Dehydrator processes five matching fruits or eligible mushrooms into Dried Fruit, Raisins, or Dried Mushrooms. It is particularly useful for handling large stacks of normal-quality produce because one machine processes five items in roughly one day.
The mushroom farm-cave option includes a Dehydrator in the 1.6 content set, making it easier to start this production chain. Avoid dehydrating premium-quality fruit without checking the numbers, since the finished product is based on the ingredient’s base value rather than its star quality.
16. Scale Into Year-Round High-Value Production
The Greenhouse and Ginger Island remove the largest limitation on farming: seasons. Fill these areas with crops that continue producing or generate highly valuable artisan goods.
Ancient Fruit is popular because it regrows after its first harvest and creates valuable Wine. Starfruit must be replanted, but its high base price produces extremely valuable Wine. Many profitable farms use Ancient Fruit for convenience and Starfruit when maximizing the value of limited Keg space.
Expand production gradually with sheds full of Kegs or Preserves Jars. Add Fish Ponds for Roe and other resources, Crystallariums for repeat gems, and Casks for aging selected Wine and Cheese. Legendary-fish ponds available under 1.6-era mechanics can also provide valuable Roe, although placing an irreplaceable catch in a pond is a decision worth considering carefully.
Late-game wealth comes from synchronized systems: crops feed machines, machines produce artisan goods, and automated tools free you to gather materials for even more machines. Eventually, the shipping bin stops being a box and becomes a nightly financial press conference.
Common Money-Making Mistakes to Avoid
- Overplanting: More crops are not profitable when watering them consumes the entire day.
- Selling all raw materials: Wood, Coal, ore, Fiber, and Stone are essential for profitable infrastructure.
- Ignoring the calendar: Seeds planted too late may die before producing anything.
- Processing high-quality goods first: Normal-quality produce usually gains more relative value from machines.
- Buying upgrades without a return plan: Purchase tools, buildings, and machines that expand production or save meaningful time.
- Following outdated tricks blindly: Updates have adjusted strategies such as Tea Sapling sales, so old guides may exaggerate their current profitability.
Practical Experience Notes: How a Profitable First Year Develops
A representative profit-focused farm rarely looks impressive during its first week. The initial field may contain only a small patch of Parsnips and Potatoes, while most of the farmer’s time is spent fishing. That modest beginning is intentional. A manageable field preserves energy, and fishing produces the daily cash needed to buy seeds without waiting for a major harvest.
The first useful lesson is that liquidity matters more than theoretical profit. Cauliflower may deliver a satisfying payday, but faster crops and fish pay for the next planting. Keeping a small reserve of gold also prevents the farm from becoming stuck after an upgrade or festival purchase.
By the Egg Festival, the farm should ideally have enough cash for Strawberry Seeds. Planting them immediately creates two spring harvests, but the real win is entering summer with money for a larger field. At this stage, many players make the mistake of buying hundreds of seeds before building sprinklers. The result is a profitable farm that leaves no time to fish, mine, socialize, or remember what sunlight looks like.
A more comfortable summer combines Blueberries with a smaller Hops section. Blueberries provide simple repeat income, while Hops are stored until enough Kegs are available. This reveals another important lesson: crops are easy to scale, but processing machines are not. Kegs require materials, Oak Resin, space, and time. Planting based on future machine capacity prevents chests from filling with produce that cannot be processed for several seasons.
Mining becomes the real engine of growth during this phase. Reaching deeper levels supplies better ore, allowing Quality Sprinklers to replace daily watering. Once watering is automated, the same farm suddenly has time for fishing, resource collection, and Skull Cavern preparation. The profit increase comes from reclaimed hours as much as from larger fields.
Fall is where the systems begin working together. Cranberries provide regular cash, Pumpkins feed Preserves Jars, and Fairy Roses can support a compact Honey operation. Animals add Mayonnaise and Cheese every day. Rather than depending on one giant sale, the farm now earns money from several production cycles.
Winter initially appears unprofitable, but it is often the season that determines how rich the farm becomes in year two. With fewer outdoor crops to water, winter is ideal for mining ore, chopping Wood, collecting Hardwood, crafting machines, upgrading tools, and processing stored harvests. Selling every saved crop immediately in fall may produce a dramatic number on the earnings screen, but storing normal-quality produce for winter processing frequently creates more total value.
When the Greenhouse is restored, the profit curve changes again. Ancient Fruit offers a convenient weekly harvest after establishment, while Starfruit offers extraordinary Keg value. The farm’s bottleneck shifts from land to machines. At this point, adding Kegs often increases revenue more effectively than planting another outdoor field.
The most practical takeaway is that fast money does not come from one magical item. It comes from a sequence: earn active income through fishing, reinvest in seeds, unlock sprinklers, build processors, choose profitable professions, and move valuable crops into year-round growing spaces. Every step should reduce labor or increase the value of something already being produced.
A successful Stardew Valley farm therefore grows in layers. The first layer pays today’s bills. The second buys infrastructure. The third creates passive or semi-passive production. Once those layers operate together, spending 100,000g no longer feels like a financial emergency. It feels like Tuesday.
Conclusion
The fastest way to make money in Stardew Valley is to combine immediate income with intelligent reinvestment. Fish while early crops grow, use rainy days aggressively, and save enough gold for profitable seasonal opportunities. Then direct your earnings toward sprinklers, buildings, animals, and artisan equipment.
As the farm expands, process normal-quality goods, choose professions that support your main products, and unlock year-round growing areas. Fish Smokers, Dehydrators, Mushroom Logs, Bee Houses, Kegs, and Preserves Jars all have different strengths; the richest farm is the one that uses each tool where it performs best.
You do not need to turn Pelican Town into a joyless spreadsheet. Build around activities you enjoy, automate the chores you do not, and let the gold accumulate while you fish, explore, decorate, or attempt once again to remember everyone’s birthday.












