
Note: This article is written as original, publish-ready web content and is based on practical guidance commonly recommended by U.S. paint manufacturers, home-improvement retailers, and established DIY publishers.
Glass end tables are sneaky little decorators. One minute they look light, modern, and “I totally have my life together.” A few years later, the metal frame is scratched, the glass has mysterious cloudy spots, and the whole thing looks like it survived three apartment moves, two coffee spills, and one dramatic plant-watering incident. The good news? You do not need to toss them, hide them in the garage, or pretend the smudges are “vintage character.” With the right prep, primer, paint, and patience, you can turn dated glass end tables into updated statement pieces that look intentional, polished, and far more expensive than they are.
This DIY guide walks you through how to paint updated glass end tables the smart way. We will cover what parts of the table should be painted, how to prepare glass and metal frames, what paint works best, how to avoid peeling, and how to finish the project so it survives real life. Because let’s be honest: a pretty table that chips the first time someone sets down a remote is not a makeover. It is a tiny furniture tragedy.
Can You Really Paint Glass End Tables?
Yes, you can paint glass end tables, but glass is not as forgiving as wood. Wood has pores. Glass has the personality of a polished ice cube. Paint does not naturally grip slick, non-porous surfaces, which is why prep matters so much. The key is to clean thoroughly, lightly scuff where appropriate, use a bonding primer or paint designed for glass, and apply several thin coats instead of one heroic, drippy coat that looks like frosting on a nervous cupcake.
For end tables, you have several design options. You can paint only the metal or wood frame and leave the glass clear. You can paint the underside of the glass so the top surface stays wipeable and smooth. You can create a frosted, mirrored, matte, black, white, gold, bronze, or stone-inspired look. You can even stencil the underside of the glass for a patterned effect. The best choice depends on how much use the table gets and whether you want the piece to be subtle, bold, or “look what I did while everyone else was scrolling.”
Best Paint Options for Updating Glass End Tables
Spray Paint for a Smooth Modern Finish
Spray paint is often the easiest route for glass end tables because it creates a smoother finish than brushing. It is especially helpful on metal frames, curved legs, narrow supports, and decorative details. Choose a spray paint that lists glass, metal, or multi-surface use on the label. For the frame, a durable enamel spray paint or paint-and-primer product can work well. For the glass itself, look for specialty glass paint, frosted glass spray, mirror-effect spray, or multi-surface paint rated for slick surfaces.
The secret to spray paint is restraint. Hold the can the recommended distance from the surface, move in steady passes, and use light coats. Start spraying slightly before the table and stop slightly after it so paint does not pool at the edges. If your first coat looks unimpressive, congratulations. You are doing it correctly. Spray paint is a layering game, not a one-coat magic trick.
Bonding Primer for Better Adhesion
If you are painting the glass in an opaque color, a bonding primer can make a major difference. Glass, glossy metal, laminate, and other slick surfaces often need a primer designed to grip difficult materials. A high-adhesion primer gives the topcoat something to hold onto and helps reduce peeling, scratching, and flaking.
There is one important design note: primer usually makes glass opaque. That is fine if you want a painted tabletop, faux marble look, or solid color underside. It is not fine if you want a transparent stained-glass effect. For a clear or translucent finish, skip regular primer and use products specifically made for transparent glass effects.
Acrylic Enamel or Glass Paint for Decorative Details
For small accents, patterns, borders, or painted designs, acrylic enamel and paints labeled for glass or tile are good options. These can be brushed on with foam brushes, detail brushes, or stencils. They are better for decorative glass painting than for heavy-use tabletops unless protected properly. If the end table will hold drinks, books, lamps, and the occasional snack plate, paint the underside of the glass whenever possible. That keeps the design visible while protecting it from daily abuse.
Tools and Supplies You Will Need
- Glass cleaner or mild dish soap and water
- Microfiber cloths
- Rubbing alcohol for final wipe-down
- Painter’s tape
- Masking paper, newspaper, or plastic sheeting
- Fine-grit sandpaper or sanding sponge
- Tack cloth or lint-free cloth
- Bonding primer, if using an opaque finish
- Spray paint or glass-safe paint
- Clear protective topcoat, if suitable for your paint system
- Drop cloth
- Gloves and eye protection
- Respirator or mask recommended for paint fumes
Before buying paint, inspect your end tables. Are the frames metal, wood, plastic, chrome, brass, or laminate? Are the glass tops removable? Is the glass tempered? Is the underside accessible? Your answers will shape the method. Removable glass tops are easiest because you can paint them separately, flip them over, and avoid awkward angles that make you question your life choices.
Step-by-Step: How to Paint Updated Glass End Tables DIY
Step 1: Take the Table Apart
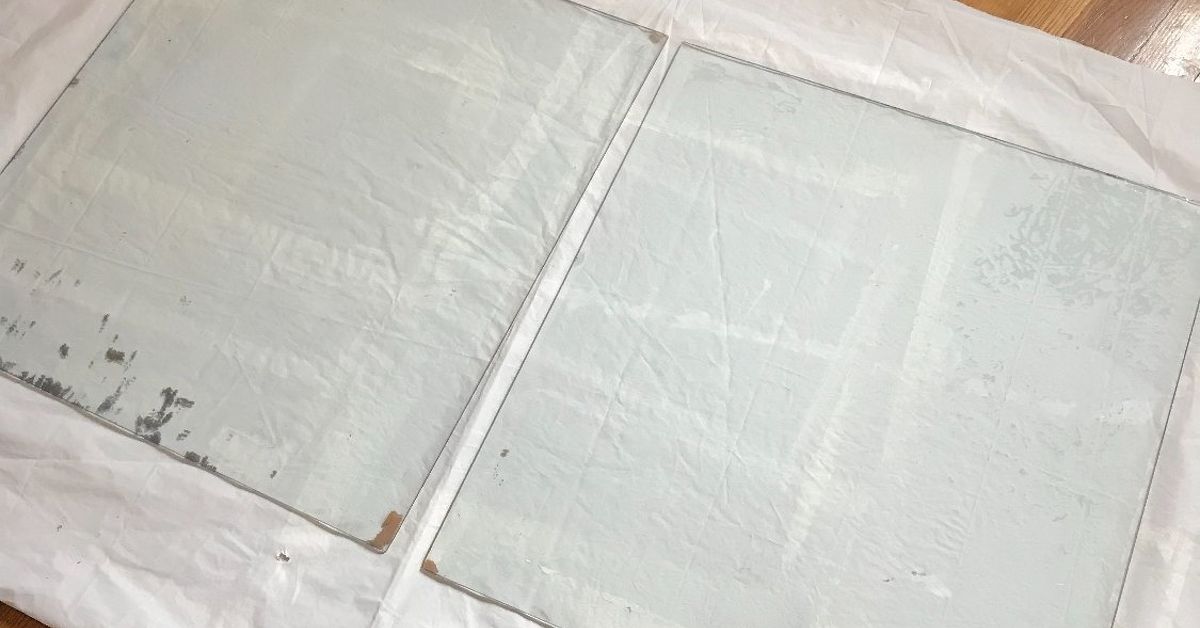
If possible, remove the glass top from the frame. Many glass end tables use suction cups, clips, screws, or a simple gravity-based setup. Place the glass on a padded surface such as a folded blanket or cardboard. Keep screws, caps, pads, and tiny mystery parts in a labeled bag. Future you will be grateful. Future you does not want to crawl around looking for one missing rubber bumper.
Step 2: Clean Every Surface Like You Mean It
Paint hates dirt, oil, wax, silicone polish, fingerprints, and old furniture cleaner. Clean the glass with glass cleaner or mild dish soap and warm water. Dry it with a microfiber cloth. Then wipe it with rubbing alcohol to remove residue. For the frame, use a degreasing cleaner if it feels oily or grimy. Let everything dry completely. “Mostly dry” is not dry. Paint can trap moisture and cause bubbling or poor adhesion.
Step 3: Decide Which Side of the Glass to Paint
For most glass end table makeovers, painting the underside of the glass is the smartest choice. The top remains smooth and easy to clean, while the color or design shows through. This method works beautifully for black, white, gold, bronze, faux stone, mirror-effect, and frosted looks. If you paint the top surface, you will need a much tougher finish and more careful use because keys, cups, lamps, and decor can scratch the paint.
Step 4: Lightly Scuff Slick Surfaces
If you are painting an opaque finish on the underside of the glass, lightly scuff the surface with fine-grit sandpaper to improve grip. Do not grind into the glass. You are not trying to carve your initials into it. The goal is to dull the surface slightly. Wipe away dust with a tack cloth or lint-free cloth. For metal or glossy frames, sanding is even more important. A few passes with fine or medium sandpaper can help primer and paint bond better.
Step 5: Mask the Areas You Do Not Want Painted
Use painter’s tape and masking paper to cover anything that should stay clean. If you are painting only the frame, cover the glass completely. If you are painting the underside of the glass, tape off edges if you want a clean border. Press tape firmly so paint does not sneak underneath like it has a personal mission.
Step 6: Prime the Frame or Glass if Needed
Use bonding primer on glass only when you want an opaque painted look. Apply a thin coat and allow it to dry according to the label. On metal or wood frames, primer can improve durability, especially if the old finish is glossy, chipped, rusty, or uneven. For metal frames, choose a primer compatible with metal. For wood frames, choose a primer that supports your final paint type.
Step 7: Paint in Thin, Even Coats
Apply paint in several light coats. For spray paint, use smooth side-to-side passes with slight overlap. Do not aim the can at one spot and hope for the best. That is how drips are born. Let each coat flash off or dry as directed before applying the next. A typical glass tabletop may need three to five light coats for even color, while a frame may need two to four coats depending on the paint and original finish.
If you are brushing glass paint, use a soft brush or foam brush and avoid overworking the paint. Brush marks become more obvious on glass because the surface is so smooth. For a more modern finish, spray paint usually wins.
Step 8: Add a Protective Clear Coat
A clear topcoat can help protect painted frames and some painted glass surfaces, but it must be compatible with your paint. Use the same brand system when possible, and always test first. Some clear coats can react with metallic, mirror, or specialty glass paints and change the finish. If you painted the underside of the glass, a clear coat may not be necessary unless the underside will be handled frequently.
Step 9: Let the Paint Cure
Dry paint and cured paint are not the same thing. Dry paint can feel ready in an hour. Cured paint is fully hardened and more durable, which can take several days or longer depending on the product, humidity, and temperature. Avoid reassembling too quickly. If you place painted glass against rubber pads, clips, or metal brackets before it cures, the finish can stick, dent, or peel.
Step 10: Reassemble Carefully
Once everything is fully dry and cured enough to handle, reassemble the table. Replace worn rubber bumpers or suction cups if needed. This small upgrade can prevent rattling, protect the paint, and make the table feel sturdier. Clean the top glass surface gently, then style your updated end table with a lamp, books, a plant, or a coaster that says, “Please do not ruin my hard work.”
Design Ideas for Painted Glass End Tables
Matte Black Frame with Clear Glass
A matte black frame is the little black dress of furniture makeovers. It works with modern, industrial, farmhouse, and transitional spaces. Paint only the frame and leave the glass clear for a crisp, updated look.
Gold or Brass Frame for a Boutique Look
Metallic gold or warm brass spray paint can make inexpensive glass end tables look like they came from a fancy showroom where nobody admits the price out loud. Use light coats and avoid heavy spraying, because metallic paint shows every drip and uneven patch.
Painted Underside for a Lacquered Effect
Painting the underside of glass in black, navy, cream, charcoal, or forest green creates a sleek lacquered appearance. The glass surface gives the color depth and shine while protecting the paint from daily wear.
Frosted Glass for a Soft Modern Update
Frosted glass spray gives clear tabletops a softer, more diffused look. It is great for hiding small scratches and creating a calm, modern style. Apply it evenly in thin coats, and avoid touching it until it has dried fully.
Faux Marble or Stone Finish
For a creative upgrade, paint the underside of the glass with a faux marble effect. Start with a white or soft gray base, add thin gray veining, blur selected lines lightly, and finish with a protective layer if compatible. The result can look surprisingly upscale when viewed through the glass.
Common Mistakes to Avoid
Skipping the Cleaning Step
Even new-looking glass can have oils, dust, or cleaner residue on it. If the surface is not clean, paint may bead, fisheye, or peel. Cleaning is not glamorous, but neither is repainting the whole thing because you rushed.
Using Thick Coats
Thick paint coats dry unevenly and are more likely to drip, wrinkle, or stay soft. Thin coats give better control and a smoother finish. They also make your project look less like a craft accident and more like a furniture makeover.
Ignoring Cure Time
Handling painted pieces too soon is one of the fastest ways to damage the finish. Give the paint time to harden before reassembly and styling. The table may look finished, but the paint still needs time to become tough.
Painting the Top Surface Without Protection
If you paint the top of a glass tabletop, expect more wear. End tables are high-touch surfaces. For the most durable result, paint the underside or use a glass-safe product with a compatible clear coat.
How to Maintain Painted Glass End Tables
After the makeover, treat the tables gently for the first couple of weeks. Use coasters, avoid dragging objects across the surface, and clean with a soft cloth. Skip abrasive pads and harsh chemicals. For painted frames, dust regularly and wipe with a damp cloth when needed. If the frame gets a small chip, touch it up with matching paint using a tiny brush.
If the glass top is removable, check the contact points occasionally. Rubber bumpers and suction cups can collect dust or press into uncured paint. Replacing old pads is inexpensive and helps preserve the finish. A beautiful DIY project deserves better than crusty old suction cups doing their worst.
Experience Notes: What This DIY Project Feels Like in Real Life
Painting glass end tables is one of those DIY projects that looks simple on paper and then teaches you patience in real time. The first lesson is that glass shows everything. A fingerprint, a speck of lint, a tiny hair from a pet who was absolutely not invited to help it all becomes visible once paint goes on. That is why cleaning and wiping down the surface right before painting makes such a big difference. It feels excessive until you see how smooth the first coat looks.
The second lesson is that the best results often come from painting less than you originally planned. Many people start out thinking they need to paint the entire table, glass and frame included. But sometimes the frame is the real problem. A chrome frame that feels dated can look completely different in matte black or champagne bronze. A scratched brass-tone frame can become clean and modern with satin white or charcoal. Leaving the glass clear keeps the piece light and makes the makeover feel more expensive.
If you do paint the underside of the glass, the transformation can be surprisingly satisfying. A black underside creates a deep, glossy look that almost resembles lacquer. A soft white underside can make the table feel fresh and coastal. A muted green or navy underside adds color without screaming across the room. The glass naturally adds shine, so even a simple color can look layered and polished.
Another real-world tip: spray painting is not the time to be brave indoors. Overspray travels. It lands on floors, walls, shoes, and objects you forgot were nearby. Work outside or in a very well-ventilated area with a proper drop cloth and protective covering. Cardboard boxes can create a simple spray booth for small parts, while larger frames need more space. Wind is also not your friend. A light breeze can turn a smooth spray pattern into abstract art on your driveway.
Drying time is the emotional test of this project. Once the table looks good, the temptation to reassemble it immediately is powerful. Resist. Letting the paint cure gives the finish a better chance of surviving daily use. If you rush, rubber pads may stick to the paint, glass may shift, and the frame may chip while you are tightening screws. Waiting is boring, but it is cheaper than starting over.
The final experience worth mentioning is how much this project can change a room for very little money. Glass end tables are common in thrift stores, online marketplaces, guest rooms, and basements. Many have good shapes but outdated finishes. Paint lets you keep the useful structure while changing the mood completely. A tired table can become modern, glam, minimalist, moody, or playful depending on the color and finish. That is the beauty of a good DIY furniture makeover: you are not just painting an object; you are rescuing it from the land of “almost donated.”
Conclusion
Learning how to paint updated glass end tables DIY is all about preparation, product choice, and patience. Glass and glossy frames need extra help because they are slick, non-porous surfaces. Clean thoroughly, scuff lightly when needed, choose bonding primer or glass-safe paint, and build the finish with thin coats. For the most durable makeover, paint the underside of the glass or focus on refreshing the frame. Add proper curing time, gentle reassembly, and smart styling, and your old end tables can look fresh, custom, and completely intentional.
Whether you choose matte black, warm brass, frosted glass, faux marble, or a glossy painted underside, this project proves that small furniture can make a big design impact. Best of all, it does not require a professional workshop, a giant budget, or a mysterious talent gene. It just needs a clean surface, steady hands, and the willingness to let paint dry without poking it every ten minutes.














