
Pointing a wall sounds like something you do when you are arguing with your house: “You, brick wall, explain yourself.” In reality, pointing is the neat, practical process of filling and finishing the mortar joints between bricks or stones. When the old mortar cracks, crumbles, or disappears like snacks during a football game, the wall becomes vulnerable to moisture, loose masonry, and long-term damage.
The good news? Learning how to point a wall is a manageable project for careful DIYers, especially on small areas of brickwork. The not-so-good news? It is slow, dusty, detailed work. Pointing rewards patience, not speed. Rush it, and you may end up with smeared bricks, weak joints, or mortar that falls out faster than your New Year’s resolutions.
This guide breaks the project into 11 clear steps, from inspecting the wall to curing the finished mortar. Whether you are repairing a garden wall, touching up exterior brick, or improving an older masonry surface, these steps will help you work cleanly, safely, and confidently.
What Does It Mean to Point a Wall?
Pointing is the visible finish of mortar between masonry units. In new construction, it refers to shaping the fresh mortar joints after laying brick or stone. In repair work, the process is often called repointing because you remove damaged mortar and replace it with new mortar. Many people also use the term tuckpointing, although traditional tuckpointing is a more decorative technique involving contrasting mortar colors.
For most homeowners, “pointing a wall” means removing loose or deteriorated mortar from the joints, packing in fresh mortar, and shaping it so the wall looks tidy and sheds water properly. Done well, pointing protects the wall and improves curb appeal. Done badly, it can trap water, damage bricks, and make the wall look like it was frosted with a butter knife.
Tools and Materials You Will Need
Before starting, gather your tools. You do not need a Hollywood-sized masonry truck, but you do need the right basics:
- Safety glasses
- Work gloves
- Dust mask or respirator
- Hammer and masonry chisel
- Joint raker or grout saw
- Stiff brush
- Spray bottle, hose, or bucket of clean water
- Pointing trowel or tuckpointing trowel
- Brick jointer or joint finishing tool
- Mortar hawk or large trowel
- Mortar mix compatible with your wall
- Mixing bucket or wheelbarrow
- Drop cloths
- Soft brush for cleanup
For most modern above-grade brick walls, Type N mortar is commonly used because it offers good workability and moderate strength. Older homes, especially those built before the mid-20th century, may need a softer lime-based mortar. This matters because mortar should usually be slightly softer and more breathable than the brick. Using mortar that is too hard can cause older brick faces to crack, crumble, or spall.
How to Point a Wall: 11 Steps
Step 1: Inspect the Wall Carefully
Start by studying the wall before you touch a tool. Look for crumbling mortar, gaps, deep cracks, damp areas, loose bricks, white mineral deposits, bulging sections, or areas where the mortar has receded significantly. A little surface wear is normal, but mortar that falls out when scratched with a key or screwdriver needs attention.
Also check whether the problem is only in the mortar or part of a bigger issue. If the wall is leaning, moving, heavily cracked, or separating from the structure, stop and call a mason or structural professional. Pointing is a repair for mortar joints; it is not magic glue for a failing wall.
Step 2: Choose the Right Mortar
Mortar compatibility is one of the most important parts of the job. Newer brick walls often work well with preblended Type N mortar. Stone walls, soft brick, or historic masonry may require lime mortar or a custom mix. The new mortar should match the old mortar in color, texture, hardness, and permeability as closely as practical.
If you are unsure, remove a small sample of the old mortar and compare it with available mixes. For historic buildings, a professional mortar analysis may be worthwhile. Yes, that sounds fancy. But it is cheaper than turning a charming old wall into a crumbly science experiment.
Step 3: Prepare the Work Area
Place drop cloths along the base of the wall to catch dust and falling mortar. Move furniture, planters, grills, or garden decorations out of the way. Cover nearby plants if you are working outdoors. Close windows and doors near the work area because mortar dust loves sneaking indoors and settling on everything you own.
Choose the right weather. Mortar generally behaves best in mild temperatures. Avoid freezing conditions, extreme heat, direct blazing sun, heavy wind, and rain. A cloudy, mild day is ideal. Basically, mortar likes weather that feels like a good picnic without the ants.
Step 4: Remove the Damaged Mortar
Use a hammer and masonry chisel, joint raker, or grout saw to remove loose and damaged mortar. Work slowly. The goal is to remove failing material without breaking the edges of the brick. For many brick walls, a common rule is to rake out the joint to a depth of about two to two-and-a-half times the width of the joint, or until you reach sound mortar.
Remove mortar from both horizontal bed joints and vertical head joints. Do not simply smear new mortar over cracked old mortar. That is like putting a bandage over a muddy knee and calling it surgery. The new mortar needs a clean, stable cavity so it can bond properly.
Step 5: Brush Out Dust and Debris
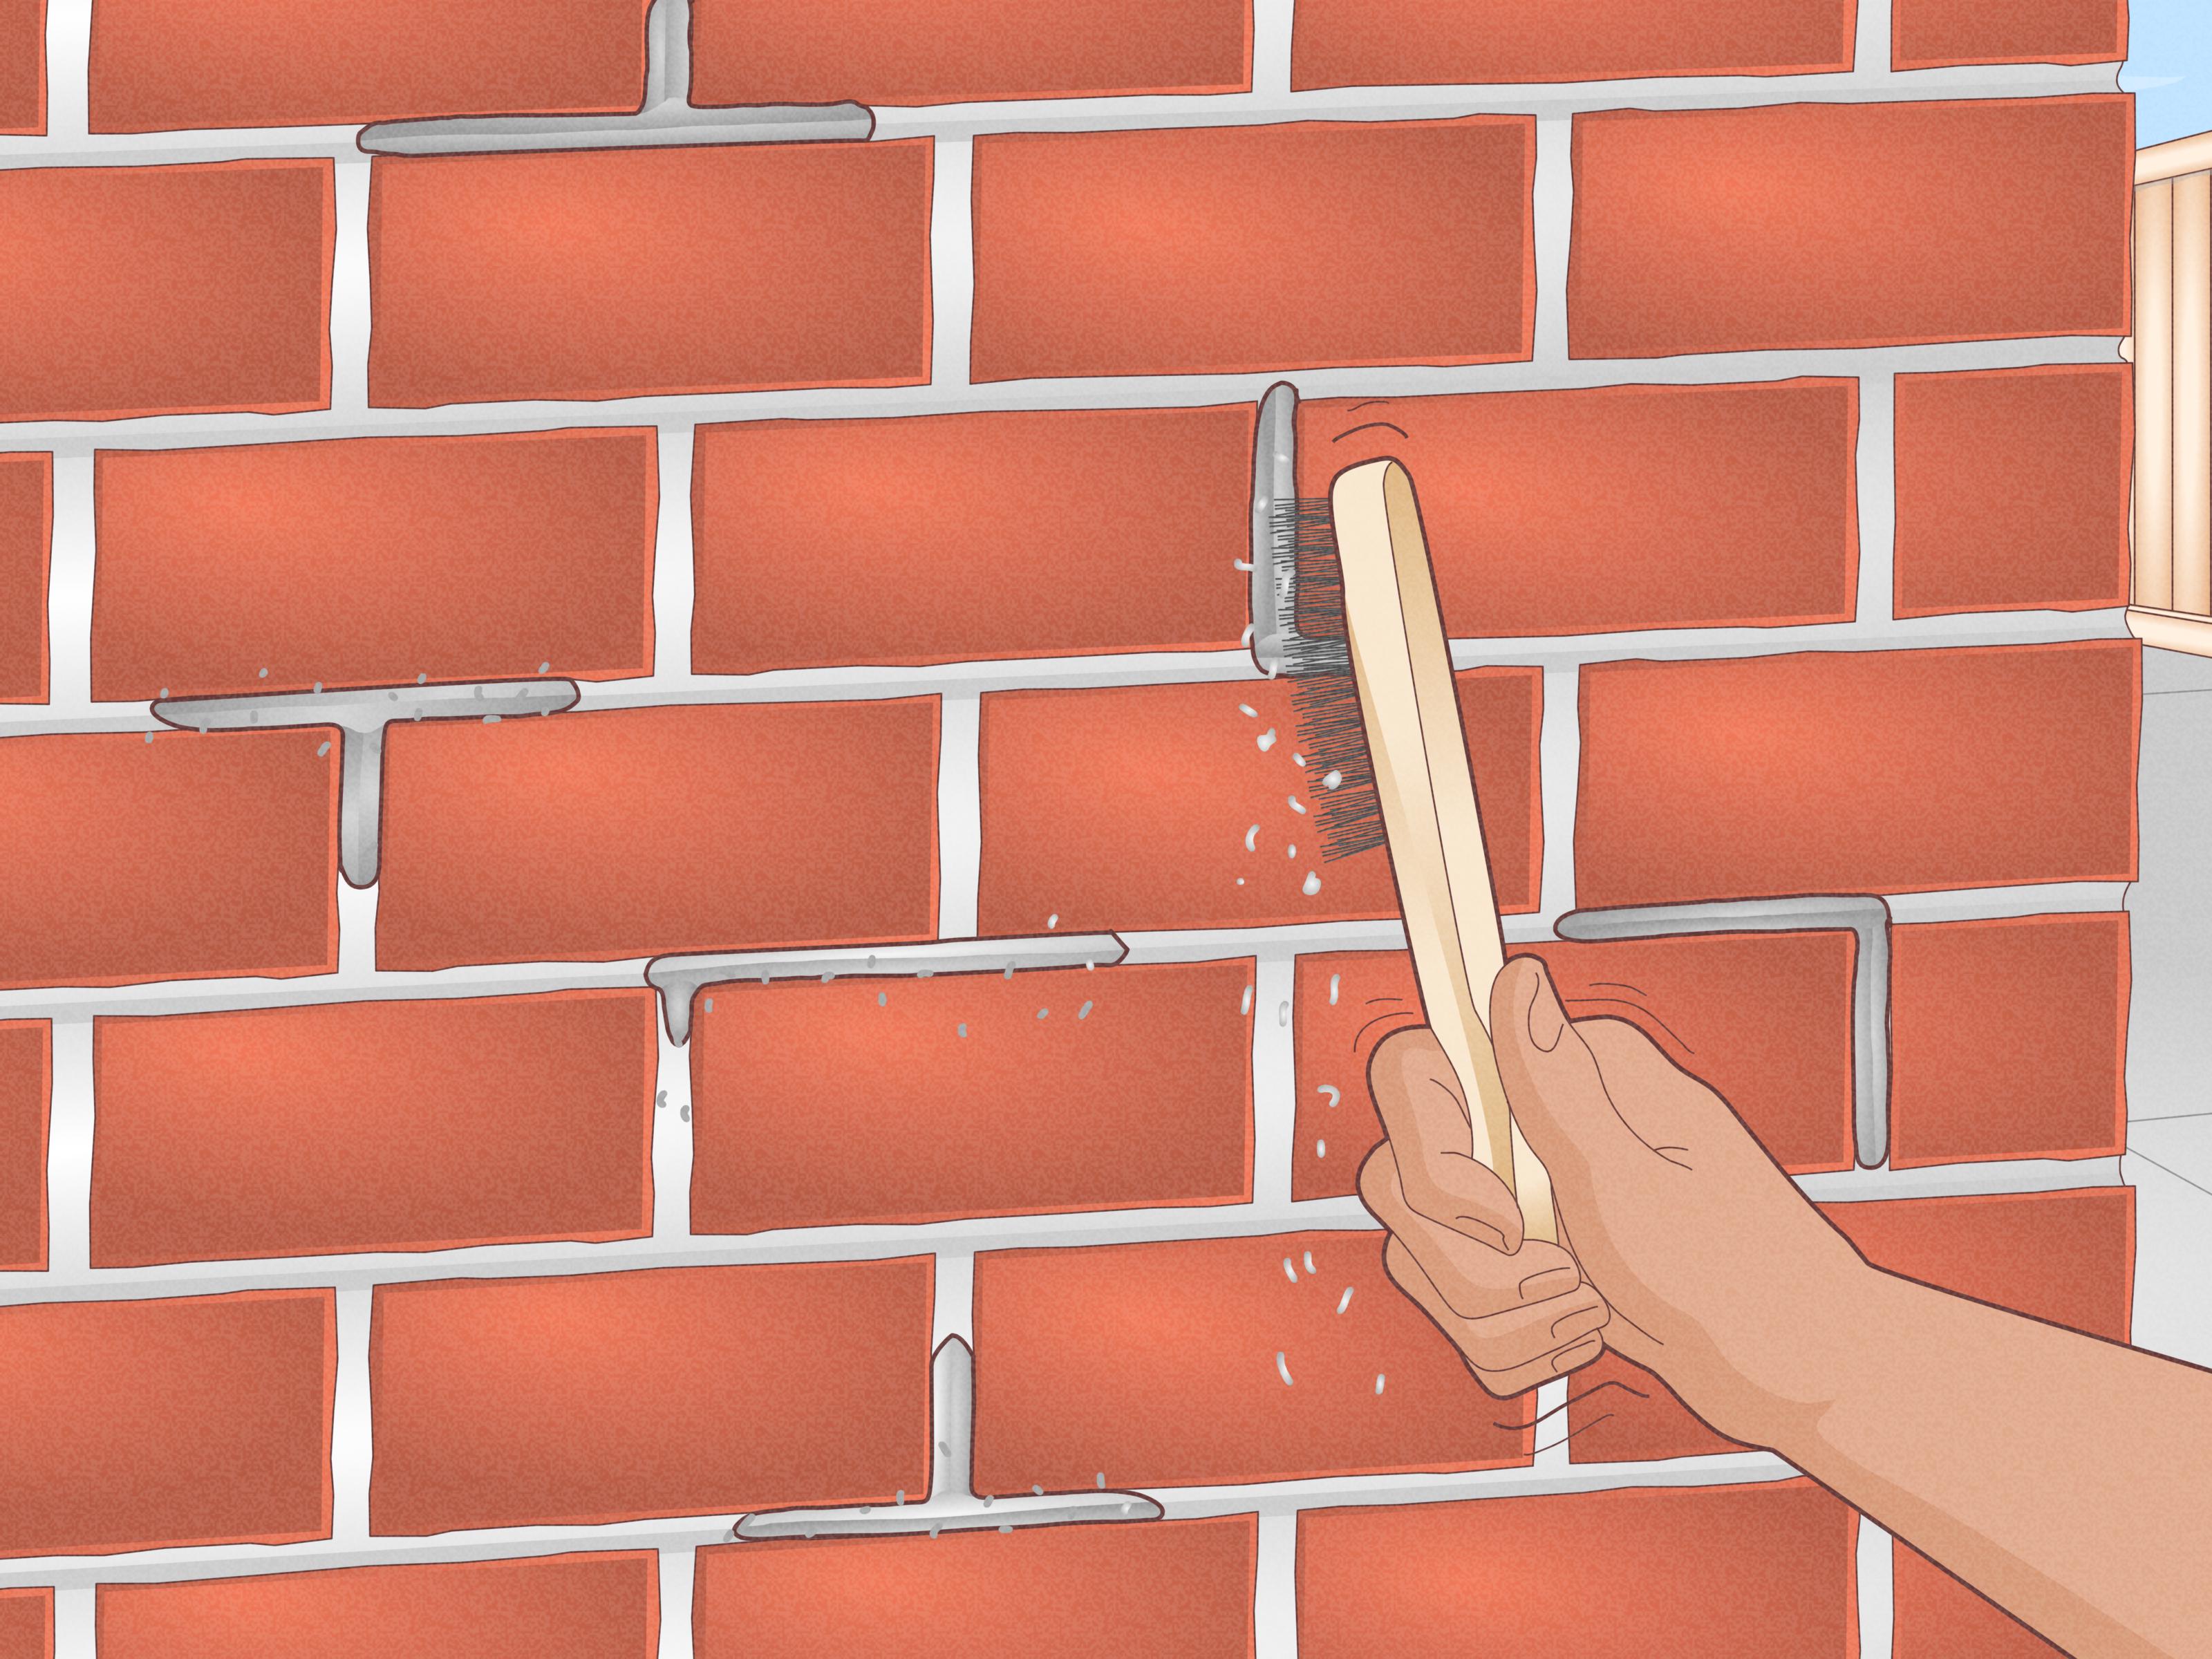
After raking out the joints, use a stiff brush to remove dust, crumbs, and loose particles. This small step makes a big difference. Mortar does not bond well to powdery debris. If dust remains in the joint, the new mortar may separate later.
Avoid aggressive brushing that scratches soft brick faces. You want clean joints, not a wall that looks like it lost a fight with a wire brush.
Step 6: Dampen the Wall
Lightly mist the joints and surrounding masonry with clean water. The wall should be damp but not dripping. This prevents dry bricks from sucking water out of the fresh mortar too quickly. If the mortar dries too fast, it can become weak, sandy, or cracked.
For very absorbent brick, you may need to mist more than once. Give the water a few minutes to soak in before applying mortar. The goal is controlled moisture, not a backyard water park.
Step 7: Mix the Mortar Properly
Follow the product instructions for your mortar mix. Add water gradually and mix until the mortar has a firm, workable consistency. Many pros describe good pointing mortar as peanut butter-like: soft enough to press into the joint, stiff enough to stay on the trowel.
Mix small batches. Mortar has a working time, and once it starts stiffening, adding extra water can weaken it. If you are new to pointing, smaller batches are your friend. They give you time to work carefully without racing against a bucket of rapidly hardening gray paste.
Step 8: Pack Mortar Into the Joints
Load mortar onto a hawk or large trowel. Use a pointing trowel to press mortar firmly into the joints. Start with horizontal joints, then fill the vertical joints. Push the mortar deep into the cavity so there are no hidden air pockets.
For deeper joints, apply mortar in layers rather than trying to fill the entire depth in one heavy glob. Compact each layer before adding the next. Proper compaction is what gives the joint strength and weather resistance.
Step 9: Tool the Joint
Once the mortar becomes firm enough to hold a thumbprint, shape it with a jointer or pointing tool. Match the existing joint profile if you are repairing only part of a wall. Common joint styles include concave, flush, weather-struck, and slightly recessed.
For exterior walls, concave and weather-struck joints are often good choices because they help shed water. Deeply recessed joints may look dramatic, but they can hold moisture on exterior walls. Beauty is nice, but dry bricks are nicer.
Step 10: Clean the Brick Faces
After tooling the joints, gently remove excess mortar from the brick surface with a soft brush. Brush diagonally or lightly across the wall rather than dragging fresh mortar out of the joints. Do not use harsh acids, especially on old or historic masonry, unless directed by a qualified professional.
The best cleanup is prevention. Keep your trowel neat, work in small sections, and wipe mistakes before they harden. Mortar smeared across brick is much less charming after it cures.
Step 11: Cure the Mortar Slowly
Fresh mortar needs time and moisture to cure properly. For the next few days, protect the wall from harsh sun, wind, freezing temperatures, and heavy rain. Light misting can help prevent rapid drying, especially in warm or dry weather.
Do not rush this stage. Slow curing improves strength and reduces cracking. Think of mortar like bread dough: it needs time to become what it was born to be. Except, please do not eat it.
Common Mistakes to Avoid When Pointing a Wall
Using the Wrong Mortar
The biggest mistake is choosing mortar that is too hard for the masonry. Hard cement-rich mortar can damage soft brick or stone by trapping moisture and forcing the masonry units to absorb stress. Always match the mortar to the wall, not just to whatever bag is closest at the store.
Not Removing Enough Old Mortar
New mortar needs depth to grip. Thin surface patches often fail because they do not have enough contact area. If you only skim the surface, the repair may look good for a little while, then flake off like a bad sunburn.
Working in Bad Weather
Hot sun, freezing temperatures, rain, and high wind can all ruin a pointing job. Plan for mild conditions and protect the wall while the mortar cures.
Overworking the Joint
Tool the mortar once it is firm but not hard. If you tool too early, the joint smears. If you tool too late, the surface may crumble or resist shaping. Good timing creates a dense, clean finish.
How Long Does Wall Pointing Last?
A properly pointed wall can last for decades, depending on exposure, mortar quality, masonry condition, and climate. Exterior walls that face heavy rain, freeze-thaw cycles, or strong sun may need attention sooner than sheltered walls. Regular inspections help catch small failures before they become large repairs.
Once or twice a year, walk around your brick or stone walls and look for gaps, cracks, loose mortar, and damp patches. Early repair is cheaper, easier, and much less dramatic than waiting until bricks start moving around like they are planning an escape.
When Should You Call a Professional?
Pointing small, accessible sections of wall is a reasonable DIY project for a careful homeowner. However, some situations call for a professional mason. Hire help if the wall is tall, structurally unstable, historically significant, made of soft old brick, or badly deteriorated. Also call a pro if you need scaffolding, extensive grinding, color-matched mortar, or repairs near chimneys and load-bearing walls.
A skilled mason can also match joint profiles and mortar color more accurately. That matters when repairing a visible front wall where mismatched mortar would stand out like a white sock with a tuxedo.
Extra Experience: Real-World Lessons From Pointing a Wall
The first thing most beginners learn about pointing a wall is that the job looks easier in photos than it feels in real life. In a neat step-by-step guide, the mortar slides politely into the joints, the bricks stay clean, and the finished wall looks like it belongs on a home-improvement magazine cover. On an actual Saturday morning, the old mortar may crumble in one spot, fight back in another, and somehow land in your shoes. This is normal. Pointing is not difficult because the concept is complicated; it is difficult because the details are stubborn.
One useful experience is to start in a less visible area. A side wall, garden wall, or lower section behind shrubs is a great training zone. Your first few joints may be uneven. Your trowel may feel too big. You may discover that vertical joints are oddly annoying. By the time you reach the most visible part of the wall, your hand will be steadier and your confidence will be much higher.
Another lesson is that preparation determines the final result. If you leave dust in the joint, the fresh mortar will not bond well. If you skip pre-wetting, the brick may steal moisture from the mortar. If you mix the mortar too wet, it will smear everywhere. If it is too dry, it will crumble instead of packing tightly. The sweet spot feels firm, workable, and slightly sticky. Once you feel it, you will understand why masons talk about mortar consistency the way bakers talk about dough.
Color matching can also surprise homeowners. Fresh mortar usually looks darker when wet and lighter after curing. It may take days or weeks to settle into its final appearance. That is why testing a small batch is smart. A small mismatch on a hidden area is a lesson. A large mismatch across the front of the house is a neighborhood conversation starter you did not request.
Tooling the joint is where the wall starts looking professional. At first, it is tempting to smooth the mortar immediately, but patience helps. Wait until the mortar is thumbprint firm. Then use a jointer to compress and shape the surface. This creates a tighter joint and a cleaner finish. If the tool drags mortar out, wait a little longer. If the mortar feels rock-hard, you waited too long. Timing is the quiet skill in pointing.
Cleanup is another practical lesson. The cleaner you work, the less cleanup you need. Keep the trowel controlled, fill small areas at a time, and brush gently once the mortar has stiffened. Scrubbing aggressively while the mortar is fresh can ruin joints you just shaped. Scrubbing after it hardens can damage the brick face. The middle path is best, as with most things in home repair and family group chats.
Finally, curing is not optional. A newly pointed wall should be protected from fast drying. Light misting and shade can make a big difference. The wall may look finished when the joints are tooled, but the mortar is still developing strength. Treat it gently for several days. Do not pressure wash it, paint it, seal it, or admire it so intensely that you forget to keep it damp in hot weather.
The reward is real. Pointing a wall makes old masonry look cared for again. It sharpens the lines, closes gaps, reduces water entry, and gives the wall a quiet sense of strength. It is slow work, but every finished section feels satisfying. You are not just patching mortar; you are giving the wall a longer life, one joint at a time.
Conclusion
Learning how to point a wall is part repair skill, part patience test, and part masonry meditation. The essential steps are simple: inspect the wall, choose compatible mortar, remove failing material, clean and dampen the joints, pack in fresh mortar, tool the finish, clean carefully, and cure slowly. Each step protects the next.
For small areas, pointing can be a satisfying DIY project that improves both the appearance and durability of brick or stonework. For old, fragile, tall, or structurally questionable walls, bring in a professional. A wall can forgive many things, but bad mortar choices and careless chiseling are not high on the list.
Do the job slowly, keep your tools clean, respect the masonry, and your wall will look sharper, shed water better, and stand proudly for years. It may not thank you out loud, but then again, walls are famously reserved.












