
A dying lawn has a flair for drama. One week it looks like a soft green carpet, and the next it resembles a crunchy doormat left in the sun since 1998. Brown patches appear. Weeds throw a block party. Bare spots spread like bad gossip. Before you panic-buy every bag labeled “lawn rescue,” take a breath. A struggling lawn is not always dead; sometimes it is dormant, thirsty, compacted, underfed, overfed, scalped, shaded, diseased, or simply growing the wrong grass in the wrong place.
The good news? You can rejuvenate a dying lawn with a smart, step-by-step plan. The bad news? Grass does not respond well to guesswork, revenge watering, or the “more fertilizer must be better” philosophy. Lawn recovery works best when you diagnose the cause, improve the soil, repair bare areas, seed or sod at the right time, and maintain the grass with better habits going forward.
This guide explains how to revive dead grass, restore thin turf, repair brown lawn patches, and rebuild a healthy yard without turning your weekend into a full-blown turfgrass soap opera.
First, Is Your Lawn Dead or Just Dormant?
Before you renovate, check whether your lawn is truly dead. Cool-season grasses such as tall fescue, Kentucky bluegrass, and perennial ryegrass often turn brown during hot, dry weather but may green up when rain and cooler temperatures return. Warm-season grasses such as bermudagrass, zoysiagrass, St. Augustinegrass, and centipedegrass naturally go brown during winter dormancy.
Try the Tug Test
Grab a handful of brown grass and gently tug. If the roots hold firmly, the grass may be dormant or stressed but still alive. If it pulls up easily like a cheap wig in a windstorm, the roots are likely dead or severely damaged.
Look at the Pattern
Damage patterns offer clues. A uniform brown lawn often points to drought, poor irrigation, extreme heat, or dormancy. Random circular patches may suggest disease, pet urine, grubs, mower damage, or sprinkler gaps. Brown strips can come from fertilizer burn, chemical overlap, or mowing too low.
Step 1: Diagnose Why the Lawn Is Dying
Rejuvenating a dying lawn begins with detective work. If you skip this step, you may reseed beautifully only to watch the same problem return wearing sunglasses and a fake mustache.
Common Causes of a Dying Lawn
Drought stress: Grass turns gray-green, bluish, or straw-colored. Footprints may remain visible after walking across the lawn.
Soil compaction: Water runs off instead of soaking in. Roots struggle to breathe, and the lawn feels hard underfoot.
Thatch buildup: A spongy layer of dead stems and roots blocks water, air, and nutrients from reaching the soil.
Poor mowing habits: Cutting too short weakens roots and invites weeds. Dull blades tear grass and increase stress.
Incorrect watering: Frequent shallow watering encourages shallow roots. Late-day watering can keep blades wet overnight and increase disease risk.
Wrong grass type: A sun-loving grass planted in shade, or a cool-season grass forced through brutal southern heat, will always struggle.
Low fertility or wrong pH: Grass needs balanced nutrients and suitable soil pH to grow dense and resilient.
Pests or disease: Insects and fungal problems can damage lawns, but they are often secondary to poor growing conditions.
Step 2: Test the Soil Before Adding Anything
A soil test is the lawn-care version of reading the instructions before assembling furniture. It tells you what your lawn actually needs instead of what the internet, your neighbor, or a suspiciously confident garden-center display thinks it needs.
A soil test can reveal pH, phosphorus, potassium, organic matter, and fertilizer recommendations. If the pH is too low or too high, grass may not absorb nutrients efficiently even if fertilizer is present. That means you could be feeding the lawn and still getting disappointing results, like ordering pizza for someone who forgot how to chew.
For best results, test soil several weeks before major lawn renovation. This gives lime, sulfur, or other amendments time to begin working. Follow the soil test report rather than applying random fertilizer blends. More fertilizer is not automatically better; too much nitrogen can encourage weak, disease-prone growth and may burn stressed turf.
Step 3: Clean Up the Lawn
Before you seed, aerate, or topdress, remove debris. Rake up dead grass, leaves, twigs, and matted material. This exposes the soil surface and improves seed-to-soil contact. Grass seed cannot germinate well while sitting on top of thatch like a tourist on a beach towel.
If the lawn has thick dead patches, rake them firmly. For small bare spots, loosen the top half-inch of soil with a rake. If weeds have taken over, identify them before treating. Broadleaf weeds, grassy weeds, and sedges require different control strategies, and using the wrong herbicide can damage desirable grass.
Step 4: Dethatch Only When Needed
Thatch is a layer of organic material between green grass blades and the soil. A little thatch is normal. Too much thatch acts like a roof over the soil, keeping water and nutrients from reaching roots.
How to Check Thatch
Cut out a small wedge of turf and soil. If the brown, spongy layer is more than about half an inch thick, dethatching may help. If there is only a thin layer, leave it alone. Aggressive dethatching can stress an already weak lawn, especially during heat or drought.
Dethatch cool-season lawns during active growth in early fall or spring. Dethatch warm-season lawns when they are actively growing in late spring or early summer. Never dethatch when grass is dormant, drought-stressed, or already gasping for help.
Step 5: Core Aerate Compacted Soil
If your lawn feels like concrete, core aeration may be the hero of the story. Core aeration removes small plugs of soil, creating openings for air, water, fertilizer, and roots. It is especially useful for lawns with heavy foot traffic, clay soil, poor drainage, or thin growth.
Use a core aerator rather than spike shoes whenever possible. Spike aeration can poke holes, but it may also press surrounding soil tighter. Core aeration physically removes plugs, which helps relieve compaction more effectively.
When to Aerate
Aerate cool-season lawns in early fall or spring, with early fall often preferred because seedlings face less summer stress. Aerate warm-season lawns in late spring or early summer after they have fully greened up and are actively growing.
The soil should be moist but not soggy. If the soil is bone-dry, the machine may bounce around like a shopping cart with one bad wheel. If it is too wet, you risk making a muddy mess and compacting the soil further.
Step 6: Choose the Right Grass Seed
Seed choice matters. A premium seed mix suited to your region, sun exposure, and lawn use will outperform bargain seed that contains mystery grass, weeds, and crushed dreams.
Cool-Season Grass Options
Cool-season grasses grow best in northern and transition-zone climates. Tall fescue is durable and drought-tolerant. Kentucky bluegrass spreads by rhizomes and can repair itself, but it often needs more water and care. Fine fescues perform well in lower-input and partly shaded areas.
Warm-Season Grass Options
Warm-season grasses thrive in hot climates. Bermudagrass handles traffic and sun but dislikes shade. Zoysiagrass forms dense turf and tolerates heat, though it establishes slowly. St. Augustinegrass is common in warm coastal regions and is usually established by sod or plugs rather than seed.
If your yard has deep shade, consider whether grass is the best option. Sometimes the smartest way to rejuvenate a dying lawn is to stop forcing turf where it does not want to live. Mulched beds, shade-tolerant groundcovers, stepping stones, or native plantings may look better and require less maintenance.
Step 7: Overseed Thin Areas
Overseeding adds new grass plants to an existing lawn. It is one of the best ways to thicken turf, fill small bare spots, and crowd out weeds naturally.
How to Overseed a Dying Lawn
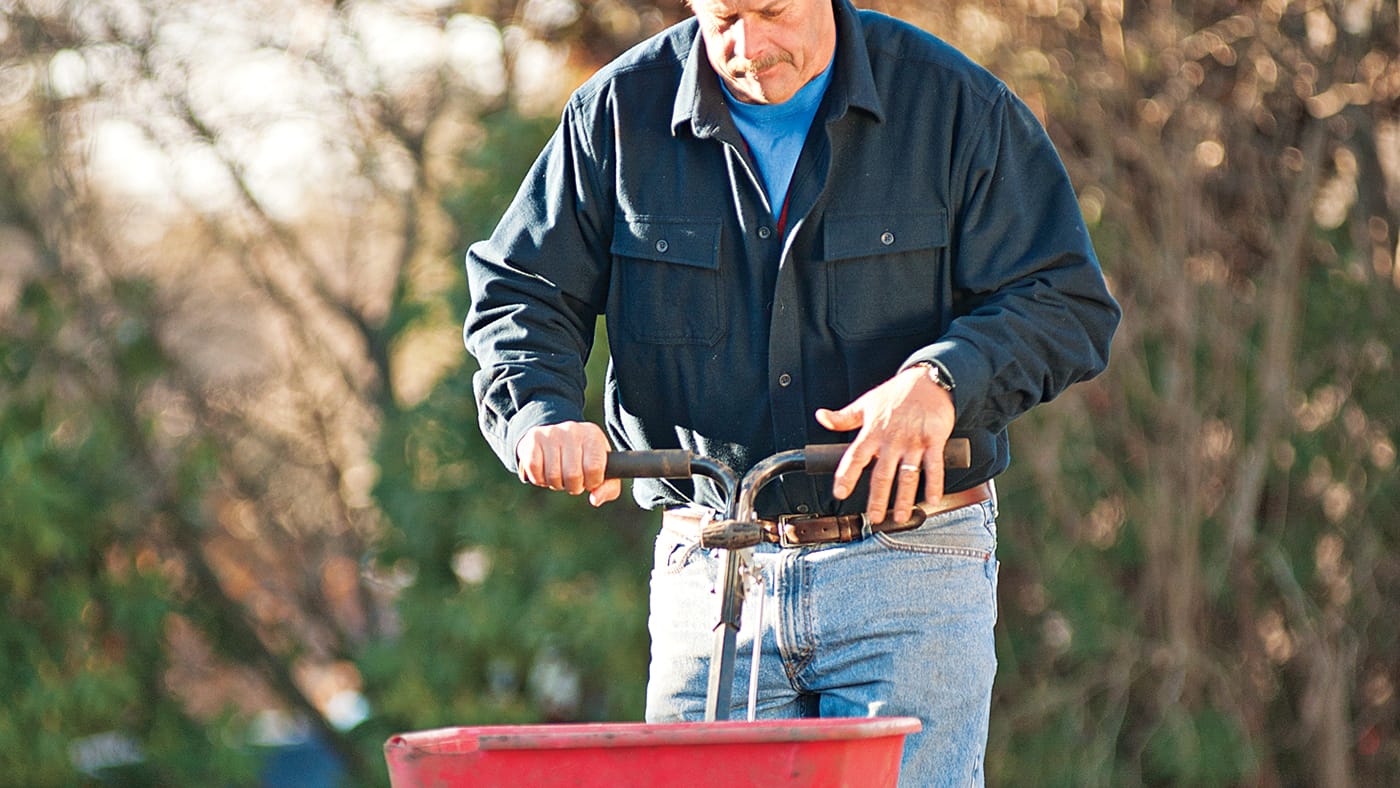
Mow the existing grass slightly lower than usual, but do not scalp it. Rake away clippings and loose debris. Aerate if the soil is compacted. Spread seed evenly using a broadcast spreader, drop spreader, or hand spreader for small areas. Lightly rake to improve seed-to-soil contact.
Topdress with a thin layer of compost or screened topsoil if needed, but do not bury the seed too deeply. Most grass seed needs only light coverage. A heavy layer of soil can smother seedlings before they ever get a chance to audition for the role of “beautiful lawn.”
Best Time to Overseed
For cool-season lawns, late summer to early fall is usually the best time to overseed. Soil is warm, air temperatures are cooler, and weed pressure is lower. Spring seeding can work, but new grass may struggle when summer heat arrives.
Warm-season lawns are usually repaired in late spring or early summer when warm-season grasses are actively growing. Sod, plugs, or sprigs are often used for species that do not establish well from seed.
Step 8: Water Correctly After Seeding
New seed must stay consistently moist until it germinates. This does not mean flooding the lawn until ducks arrive. It means light, frequent watering at first, then gradually transitioning to deeper, less frequent irrigation as the seedlings grow.
For newly seeded areas, water once or twice daily if conditions are dry, keeping the top layer of soil damp. After germination, reduce frequency and water more deeply. Once the lawn is established, most actively growing lawns do best with about one inch of water per week from rainfall or irrigation, adjusted for soil type, temperature, and local conditions.
Water early in the morning when possible. Morning watering reduces evaporation and allows grass blades to dry during the day. Avoid frequent shallow watering because it trains roots to stay near the surface, where heat and drought can bully them easily.
Step 9: Fertilize Carefully
Fertilizer can help a dying lawn recover, but timing and rate matter. A stressed lawn is not a buffet line. Dumping high-nitrogen fertilizer onto dry, damaged grass can make things worse.
Use your soil test results to choose the right fertilizer. For new seed, a starter fertilizer may be recommended if the soil test supports it. For established lawns, apply nitrogen during the active growing season for your grass type. Cool-season grasses usually benefit most from fall fertilization. Warm-season grasses are fertilized after green-up through summer, depending on species and local recommendations.
Never fertilize frozen ground, saturated soil, or drought-stressed turf. Sweep fertilizer off sidewalks and driveways back onto the lawn to reduce runoff and avoid creating oddly luxurious grass along the curb.
Step 10: Mow Like You Want the Lawn to Live
Mowing is not just cosmetic. It affects root depth, drought tolerance, weed pressure, and overall lawn health. Cutting grass too short weakens it and exposes soil to sunlight, giving weed seeds a lovely invitation.
Follow the one-third rule: never remove more than one-third of the grass blade at a time. If your mowing height is 3 inches, mow when the grass reaches about 4 to 4.5 inches. Keep mower blades sharp. Dull blades tear grass, leaving ragged tips that brown quickly and invite disease.
Leave grass clippings on the lawn when they are short and dry. Clippings recycle nutrients and do not cause thatch when mowing is done properly. Bag only when clippings are heavy, wet, diseased, or likely to smother the turf.
Step 11: Control Weeds by Growing Thicker Grass
Weeds love weak lawns. Crabgrass, dandelions, clover, plantain, nutsedge, and annual bluegrass often move into thin or stressed turf. The best long-term weed control is a dense, healthy lawn with proper mowing, watering, fertility, and soil conditions.
For existing weeds, identify the plant before treating. Hand-pull small infestations, especially after rain when roots release more easily. Use herbicides only when needed and always follow the label. Be careful with weed killers around newly seeded lawns because many products can prevent grass seed from germinating or injure young seedlings.
Step 12: Know When to Start Over
Sometimes a lawn is too far gone for light repair. If more than half the yard is bare, full of perennial weeds, severely compacted, or growing the wrong grass, complete renovation may be easier than patching. This may involve killing existing vegetation, grading, improving soil, installing irrigation corrections, and starting over with seed, sod, plugs, or sprigs.
Starting over sounds dramatic, but it can be practical. A full renovation gives you the chance to fix drainage, choose better grass, improve soil, and reset the lawn rather than endlessly nursing a yard that has been limping along for years.
Seasonal Lawn Rejuvenation Plan
Spring
Inspect winter damage, rake debris, sharpen mower blades, test soil, control early weeds, and repair small bare spots. Cool-season lawns can be seeded early if needed, but late summer to early fall is usually better for major overseeding. Warm-season lawns should not be heavily renovated until they are actively growing.
Summer
Raise mowing height, water deeply when needed, avoid heavy nitrogen during extreme heat, and reduce traffic on stressed areas. For warm-season lawns, summer is prime recovery time. For cool-season lawns, survival may be the main goal during hot weather.
Fall
Fall is the golden window for many cool-season lawn repairs. Aerate, overseed, fertilize according to soil test results, and keep new seed moist. Remove leaves promptly so seedlings are not smothered.
Winter
Limit traffic on frozen or dormant grass, service equipment, plan soil improvements, and choose seed or sod for the next renovation season. Winter is also a good time to rethink problem areas that might be better converted to mulch beds or low-maintenance landscaping.
Common Lawn Revival Mistakes to Avoid
Watering Every Day Forever
Daily watering is useful for new seed, but established lawns need deeper, less frequent watering. Constant shallow irrigation creates shallow roots and can increase disease pressure.
Scalping the Lawn
Cutting grass extremely short does not make it grow slower. It weakens the plant, exposes soil, and makes weeds happier than they have any right to be.
Using Too Much Fertilizer
Excess fertilizer can burn grass, increase disease risk, and cause runoff. Feed based on soil test results and the needs of your grass type.
Seeding at the Wrong Time
Seed planted at the wrong time may germinate poorly or fail during heat, cold, or drought. Match renovation timing to your grass type and region.
Ignoring Shade
If an area receives too little light, grass will thin no matter how much you seed. Use shade-tolerant varieties or consider a non-lawn solution.
Personal Experience: What Actually Works When Reviving a Lawn
One of the biggest lessons from real-life lawn recovery is that the ugly part often comes before the pretty part. A lawn renovation can look worse for a few weeks after raking, aerating, and overseeding. There may be soil plugs everywhere, thin patches exposed, and enough straw-colored grass to make you question your life choices. That is normal. Lawn rejuvenation is not instant makeup; it is physical therapy for your yard.
The most successful lawn revival projects usually start with patience and observation. For example, a homeowner may notice that one side of the lawn always browns first during summer. The first assumption might be “bad grass,” but a closer look could reveal a sprinkler head blocked by a shrub, compacted soil near a walkway, or a sunny slope that dries faster than the rest of the yard. Fixing the irrigation pattern and aerating that area may solve more than any expensive lawn tonic.
Another practical experience is that overseeding works best when preparation is slightly boring but thorough. People often want to throw seed over the lawn and call it a day. Unfortunately, grass seed is not magical confetti. It needs contact with loosened soil, steady moisture, and protection from heavy traffic. Raking bare spots, aerating compacted areas, spreading seed evenly, and watering lightly every day during germination can make the difference between a thick green comeback and a patchy disappointment.
Timing is another make-or-break detail. Cool-season lawns revived in early fall often perform better because seedlings enjoy warm soil and cooler air. They can build roots before winter and return stronger in spring. The same project done in late spring may look good at first, then struggle during summer heat. Warm-season lawns, on the other hand, recover best when they are actively growing in warm weather. Renovating at the wrong time is like asking someone to run a marathon during a nap.
Experience also teaches that mowing habits quietly decide the future of the lawn. A mower set too low can undo weeks of recovery. Taller mowing supports deeper roots, shades the soil, and helps prevent weed seeds from sprouting. Sharp blades matter too. Ragged grass tips turn brown quickly, making a lawn look stressed even when it is improving.
Finally, the best revived lawns are maintained, not micromanaged. Once the grass thickens, keep following simple habits: mow high, water deeply only when needed, fertilize according to soil test guidance, aerate compacted areas, and repair bare patches early. A lawn does not need perfection. It needs consistency. Treat it like a living system rather than outdoor carpet, and it will reward you with fewer brown patches, fewer weeds, and fewer Saturday mornings spent muttering at the yard in flip-flops.
Conclusion
Learning how to rejuvenate a dying lawn is less about buying the fanciest product and more about solving the real problem. Start by deciding whether the grass is dead or dormant. Diagnose water, soil, mowing, thatch, shade, pests, and disease issues. Test the soil before adding fertilizer. Rake away debris, dethatch only when needed, core aerate compacted soil, overseed with the right grass, and water carefully until new seedlings establish.
A healthy lawn is built from the roots up. When you improve the soil, choose the right grass, mow at the proper height, and water deeply instead of constantly, your yard becomes stronger and more resilient. It may not become a golf course overnight, and frankly, that is fine. A revived lawn should be green, usable, durable, and pleasant enough that you can walk across it barefoot without feeling like you are crossing a cereal aisle after an earthquake.
Note: Lawn renovation timing, grass selection, fertilizer rates, and pesticide use should be adjusted for your local climate, soil test results, grass species, and product label directions.














