
Hedge trimmers are basically giant electric hair clippers for shrubsuntil they’re not. When the blades go dull, your “quick tidy-up” turns into a leafy tug-of-war: frayed tips, mangled branches, and a motor that sounds like it’s reconsidering its life choices. The good news? Most hedge trimmer blades can be sharpened at home with simple tools, a little patience, and the kind of confidence you usually reserve for assembling “easy” furniture.
This guide walks you through fast, DIY-friendly ways to sharpen hedge trimmer blades safely and effectivelywhether you’ve got a cordless model, a corded electric trimmer, or a gas-powered beast. Expect clean cuts, less strain on the tool, and hedges that look groomed instead of… emotionally processed.
How Do You Know Your Hedge Trimmer Needs Sharpening?
Sharp blades slice. Dull blades shred. If you’re seeing torn, frayed, or bruised leaves after trimming, that’s your first clue. Other signs include:
- More vibration than usual (your hands shouldn’t feel like they’re holding a tiny jackhammer).
- Snagging and pulling instead of smooth cutting.
- More time and pressure needed to get through the same hedge.
- Hotter-than-normal blades from extra friction.
If you trim regularly, a light touch-up sharpening is often easier than waiting until the blades are completely butter-knife dull.
Safety First: Don’t Sharpen a Trimmer That Can Still “Trim” You
Before you do anything, make the tool incapable of surprising you.
- Corded electric: unplug it.
- Battery-powered: remove the battery pack.
- Gas-powered: shut it off, let it cool, and disconnect the spark plug wire.
Then gear up: work gloves (preferably cut-resistant) and safety glasses. You’ll also want a stable workspace and good lightingbecause “I think that’s the cutting edge” is not a professional sharpening technique.
Tools and Supplies You’ll Need
You don’t need a full metalworking shop. Most DIY sharpening kits come down to a few essentials:
- Flat file (common choice for hedge trimmer teeth)
- Sharpening stone / whetstone (for removing burrs)
- Stiff brush or old toothbrush (for debris and sap)
- Rag or shop towels
- Clamps or a bench vise (to hold the blade steady)
- Blade cleaner / resin remover (optional but very helpful)
- Lightweight machine oil or blade lubricant
Quick Tip: File vs. Rotary Tool
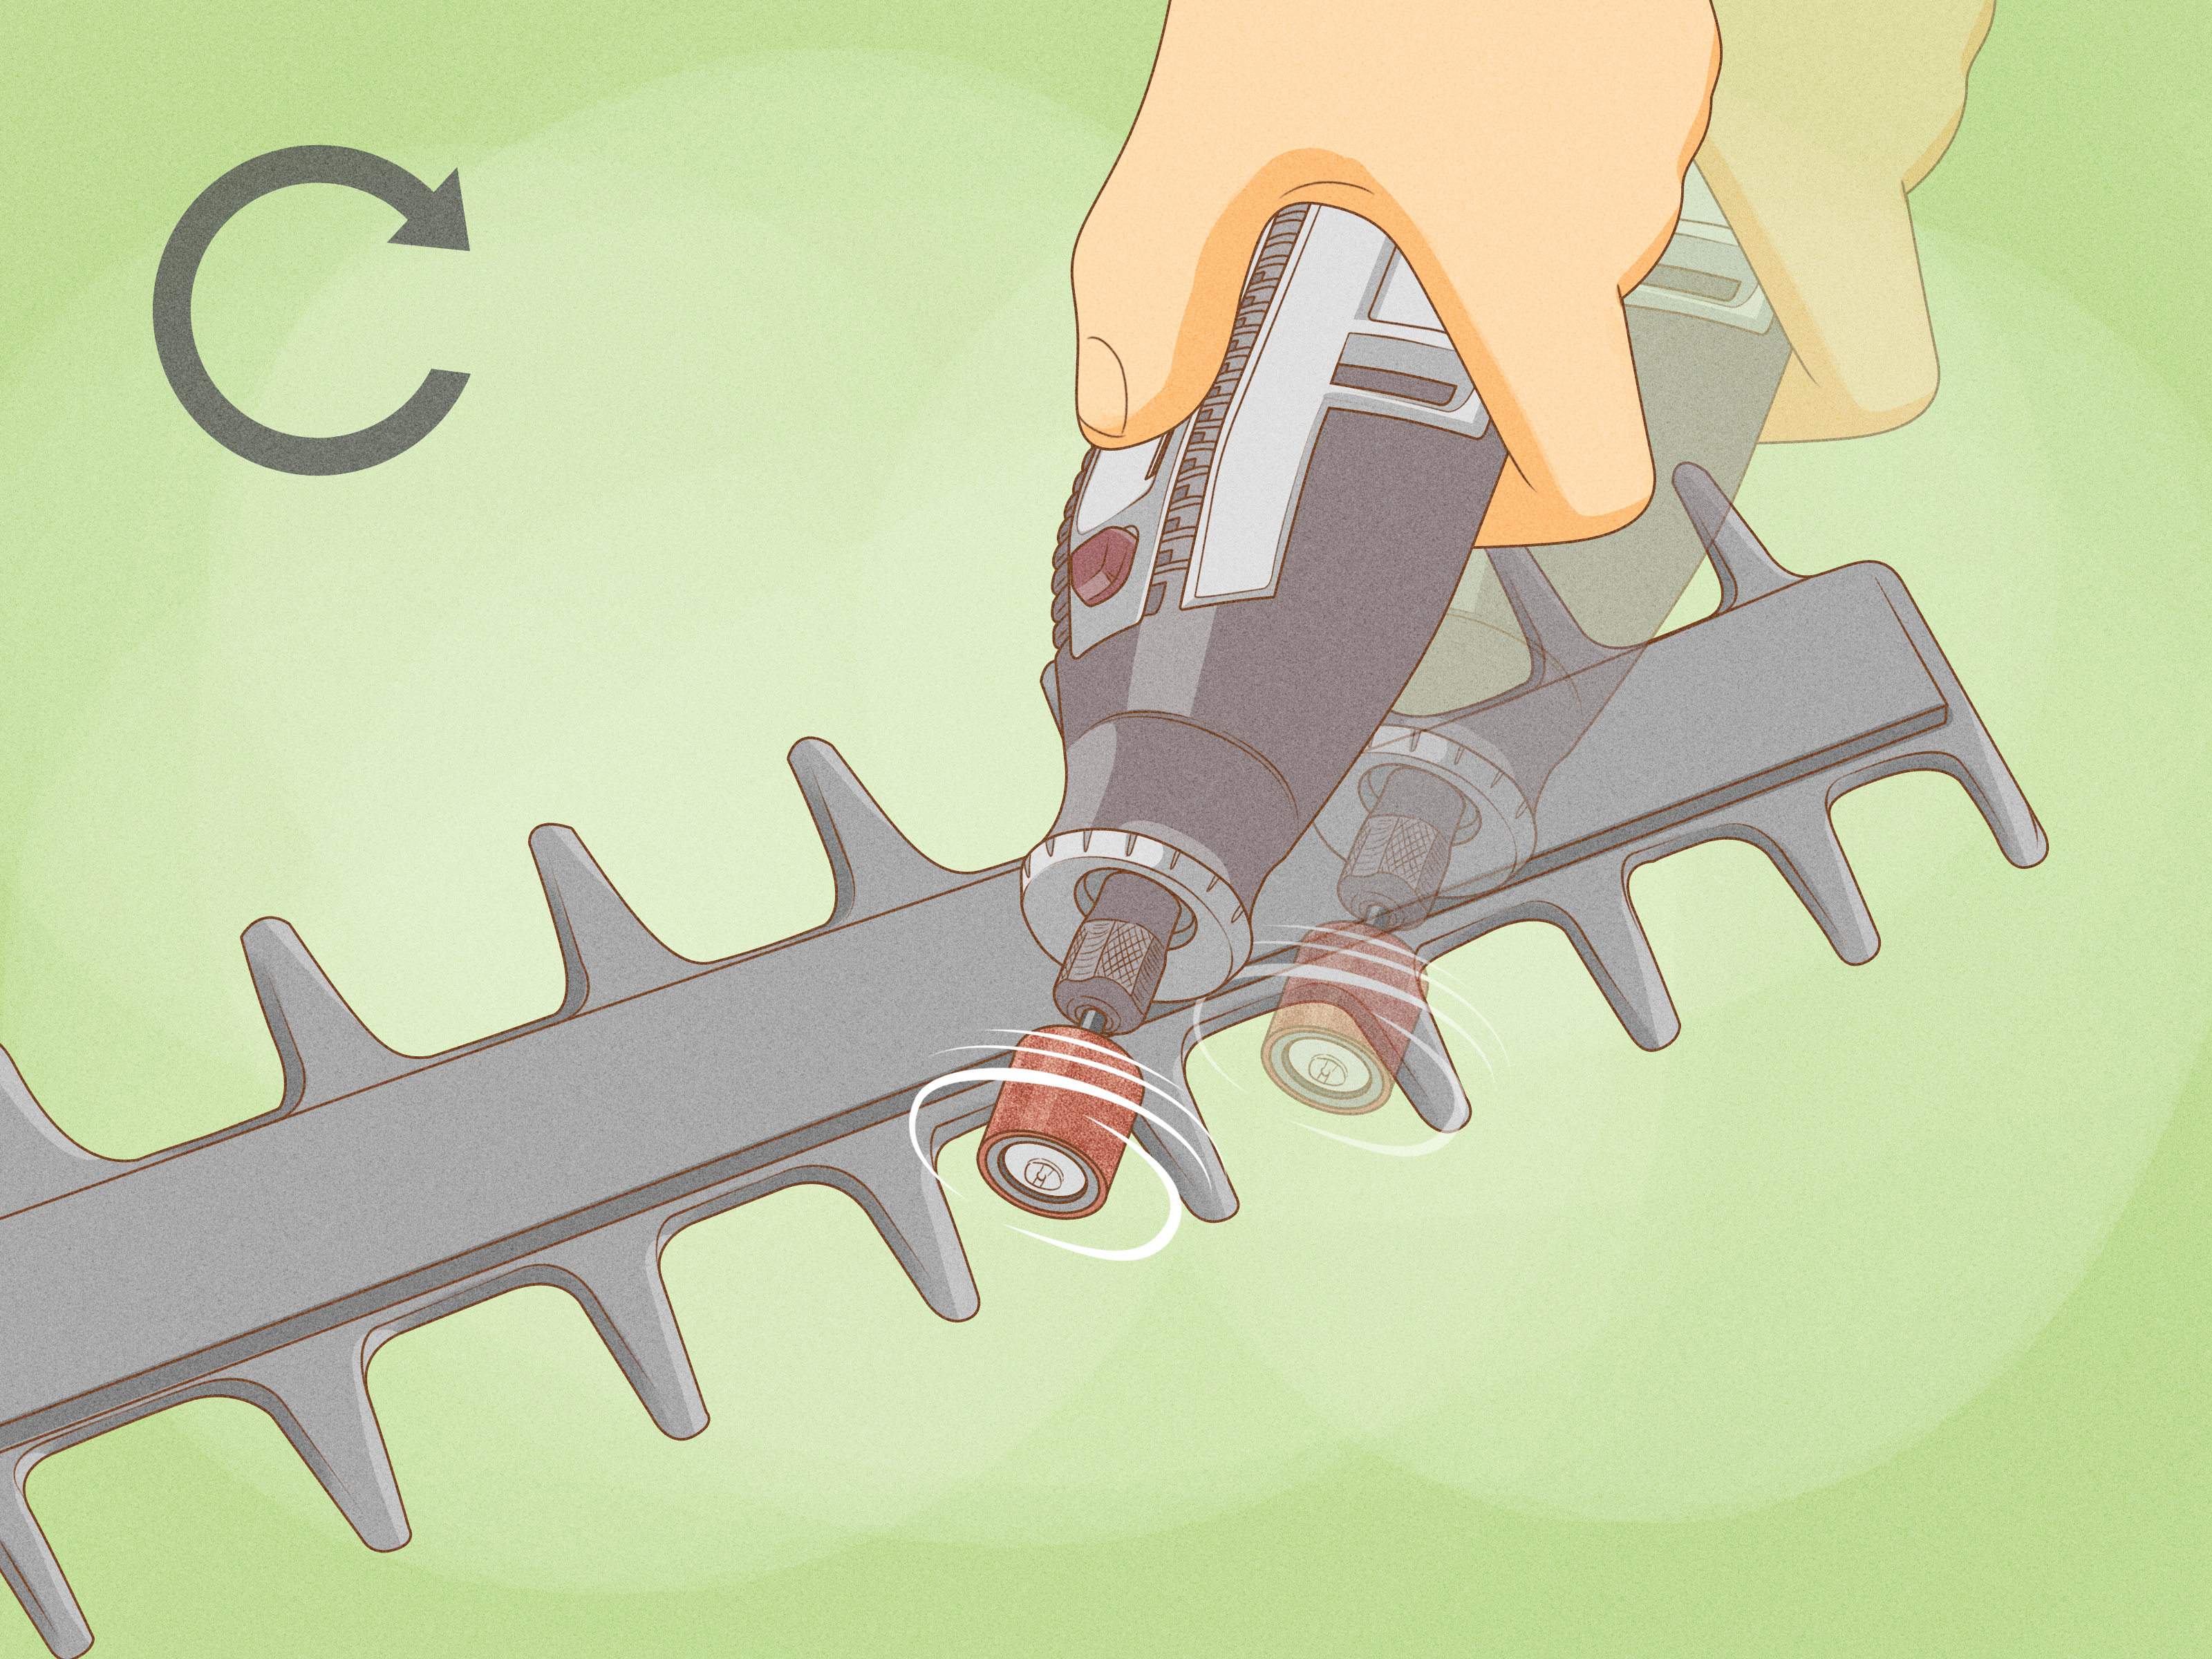
A hand file is the safest “quick and easy” solution for most people: controlled, low heat, low risk of removing too much metal. Rotary tools can work, but they’re easier to overdoespecially if you get aggressive, create heat, or change the factory angle. If your goal is “quick,” not “oops,” start with a file.
The 10–20 Minute Method: Quick Sharpening Step-by-Step
Step 1: Clean the Blades (Yes, This Matters)
Sharpening over sticky sap and grit is like trying to iron a shirt that’s still covered in crumbs. Brush off leaves, dirt, and debris. If there’s resin buildup, apply blade cleaner/resin remover and wipe until the metal feels clean. Dry the blades thoroughly.
Step 2: “Offset” the Blades So You Can Reach the Teeth
Hedge trimmers have overlapping teeth. To sharpen properly, you want clearance between the cutter teeth and the guard teeth. If your trimmer allows it, you can briefly power it on and off to stop the blades in an offset position. Then immediately disconnect the power again (unplug/remove battery/spark plug). No power stays connected while your fingers are near the blades. Ever.
Step 3: Secure the Blade (Stability = Accuracy)
Clamp the blade or the entire trimmer so it can’t wobble. A vise is ideal. If you don’t have one, clamps on a sturdy bench work. The goal is a solid setup so you’re filing the metalnot chasing it around the table.
Step 4: Match the Existing Bevel Angle
Hedge trimmer teeth have a factory-ground bevel. Your job is to follow it, not invent a new one. Place the file flat against the bevel and align it with the original angle. If you’re not sure, start with a light pass: the file will “settle” into the bevel when aligned correctly.
Step 5: File Each Tooth (Smooth, Consistent Strokes)
Use steady strokes in the direction of the cutting edge. Here’s the key: most files cut on the forward stroke. Don’t saw back and forth like you’re trying to start a campfire. Push with light pressure, then lift on the return stroke.
- Use the same number of strokes per tooth to keep them consistent.
- Stop when the bevel looks clean and shiny and the edge looks crisp again.
- Avoid removing lots of metal. This is a touch-up, not a re-forging.
Step 6: Remove Burrs (Don’t Skip This)
Filing can create tiny burrs on the backside of the edge. Use a sharpening stone (or fine sandpaper in a pinch) to lightly remove burrs. This step helps the blades glide and improves cut quality.
Important detail: for many hedge trimmer blades, you focus sharpening on the beveled cutting faces and treat the flat side as a reference surfacemeaning you don’t grind it into a new angle. You’re deburring, not reshaping.
Step 7: Reposition and Repeat
Many hedge trimmers have teeth that cut in both directions. You may need to offset the blades the other way to expose the opposite set of cutting edges. If you do, re-power briefly only if needed, then fully disconnect power again before continuing.
Step 8: Wipe Down, Lubricate, and Test
Wipe away metal filings, then apply a light coat of blade lubricant or machine oil. Run the trimmer briefly (in a safe area) to distribute oil. Then test on soft growth first. The cut should look clean, not shredded.
Easy Solutions for Common Problems
Problem: The Blades Are Sticky and Keep Jamming
This is often a cleaning issue, not a sharpening issue. Sap and grime increase friction and make blades drag. Deep clean with a resin remover, wipe dry, then lubricate. Regular “clean and oil” after trimming makes sharpening last longer.
Problem: Some Teeth Look Fine, Others Look Rounded
Focus on consistency. Give extra attention (a few more light strokes) to the rounded teethbut keep the same bevel angle. If a tooth is bent, cracked, or missing material, don’t try to “file it back into existence.” Replace the blade or have it professionally serviced.
Problem: The Trimmer Still Tears Leaves After Sharpening
Check these:
- Blade alignment: Loose hardware can cause poor cutting contact.
- Burrs: If you skipped deburring, the edge can still drag.
- Technique: If you changed the bevel angle, the cutting action may suffer.
- Plant material: Very thick, woody stems may be beyond the tool’s cut capacity.
Different Trimmers, Same Goal: Clean, Controlled Cuts
Cordless Battery Hedge Trimmers
These are the easiest to make safe: remove the battery. Many cordless models also make it simple to stop the blades in an offset position with a quick trigger tapthen battery out, gloves on, and you’re good.
Corded Electric Hedge Trimmers
Unplug first. If you need blade repositioning, plug in only long enough to move the blades, unplug immediately, then sharpen. Keep cords well away from your work area so nothing gets snagged or pulled.
Gas Hedge Trimmers
Let the unit cool, then disconnect the spark plug. Gas models often see heavier duty use, which can mean more sap buildup and more frequent cleaning. Make sure the blades are clean and lubricated before storingespecially if you’re done for the season.
Mistakes That Ruin Blades (and Weekends)
- Grinding aggressively: Overheating removes temper and eats metal fast.
- Changing the bevel angle: The factory angle exists for a reasonstick to it.
- Filing back-and-forth: It’s inefficient and can dull the edge you just created.
- Uneven strokes: Inconsistent tooth lengths can affect cutting performance.
- Skipping lubrication: A dry blade dulls faster and invites corrosion.
- Sharpening damaged teeth: Bent or cracked teeth are a repair/replace situation.
When to Get Professional Sharpening (or Replace the Blade)
DIY sharpening is great for routine maintenance. But consider professional service or replacement if:
- Teeth are chipped, badly rounded, or visibly deformed.
- The blade assembly is bent or the trimmer vibrates unusually even after cleaning.
- You’re dealing with a high-end unit under warranty and want to follow manufacturer recommendations.
- You’ve sharpened repeatedly and performance still isn’t returning.
Sometimes the most “quick and easy solution” is admitting the blade is past its prime and swapping it out.
FAQ: Quick Answers to Common Sharpening Questions
Do I need to disassemble the blade?
Usually, no. Most homeowners can sharpen with the blade still attached as long as the tool is fully powered down and the blade is securely clamped. Disassembly can help for deep cleaning or repairs, but it’s not required for routine touch-ups.
What angle should I sharpen at?
Follow the existing bevel angle on the teeth. If you keep your file aligned with the factory bevel, you’ll maintain the correct geometry without guessing a number.
Can I use a diamond sharpener?
Yesdiamond-coated sharpeners can be convenient for quick touch-ups. The same rules apply: match the bevel, use controlled strokes, and finish by removing burrs.
What lubricant should I use after sharpening?
A light machine oil or a blade lubricant designed for garden tools works well. Avoid drowning the bladeslight, even coverage is the goal.
Real-World Sharpening Experiences (So You Don’t Repeat Them)
The first “experience” most people have with hedge trimmer sharpening is not a triumphant montage set to upbeat music. It’s usually a Saturday morning where you plan to “just clean up the hedge real quick,” and the trimmer responds by chewing the shrub like it’s trying to make salad. That momentwhen you realize your hedge looks more stressed after groomingis a rite of passage.
One of the most common homeowner scenarios goes like this: you notice the cut quality is bad, so you press harder. The tool vibrates more, the blades get hotter, and the motor sounds annoyed. Then you stop and see ragged leaf tips everywhere. What happened? The blades didn’t suddenly become “weak.” They became dull and dirty. Sap acts like glue, grit acts like sandpaper, and the trimmer ends up working against itself. People who switch to a “clean-then-sharpen” routine almost always report the biggest improvementbecause they remove the friction problem before they even touch a file.
Another frequent experience: the “I’ll just use a power tool” temptation. A rotary tool can feel like a shortcut, and it can beif used lightly. But many DIYers learn the hard way that speed plus pressure equals too much metal removed, too fast. The blade may end up with a changed bevel angle, which can reduce cutting efficiency. In real yards, that shows up as uneven trimming: one section cuts fine, another snags, and you start wondering whether the hedge is secretly made of rebar. The fix usually isn’t mysticalgoing back to the hand file, matching the bevel, and restoring consistency tooth-by-tooth.
Landscapers and frequent trimmer users often describe a different lesson: touch-ups beat “rescue missions.” A few minutes of sharpening after several heavy trimming sessions (plus regular cleaning and oiling) keeps blades predictable. Waiting until the trimmer is extremely dull means you need more filing, more time, and more chances to overdo it. In practice, the “quick and easy” approach is a maintenance rhythm: brush off debris, wipe sap, oil the blades, and do light sharpening before performance falls off a cliff.
A surprisingly relatable experience is the “why is it still cutting badly?” moment after sharpening. Often, the problem is not sharpnessit’s stability and alignment. If bolts are loose or the blade assembly has play, sharp teeth won’t meet properly. People who add “check fasteners” to their routine tend to stop blaming their sharpening skills. And yes, sometimes the issue is simply trying to cut branches that exceed the tool’s capacity. The trimmer is for hedges, not for negotiating with thick, woody stems that should have met loppers.
Finally, there’s the satisfaction experiencethe one that makes you feel like a responsible adult with their life together. After a proper clean, careful filing, deburring, and lubrication, the trimmer glides. Leaves cut cleanly. The tool runs smoother. The hedge looks crisp instead of bruised. And you finish thinking, “That… actually worked.” The best part is that every future sharpening gets easier because you’ll recognize the bevel faster, you’ll know how light the pressure should be, and you’ll catch dullness earlybefore your hedge starts looking like it lost an argument.
Conclusion: Keep It Sharp, Keep It Simple
Sharpening hedge trimmer blades isn’t complicatedit’s a repeatable routine: disconnect power, clean, clamp, match the bevel, file with consistent strokes, remove burrs, lubricate, and test. Do that, and your hedge trimmer will cut cleaner, run smoother, and last longer. Your hedges will look better, your hands will feel less vibration, and your weekend projects will stop turning into “why is everything shredded?” mysteries.












