
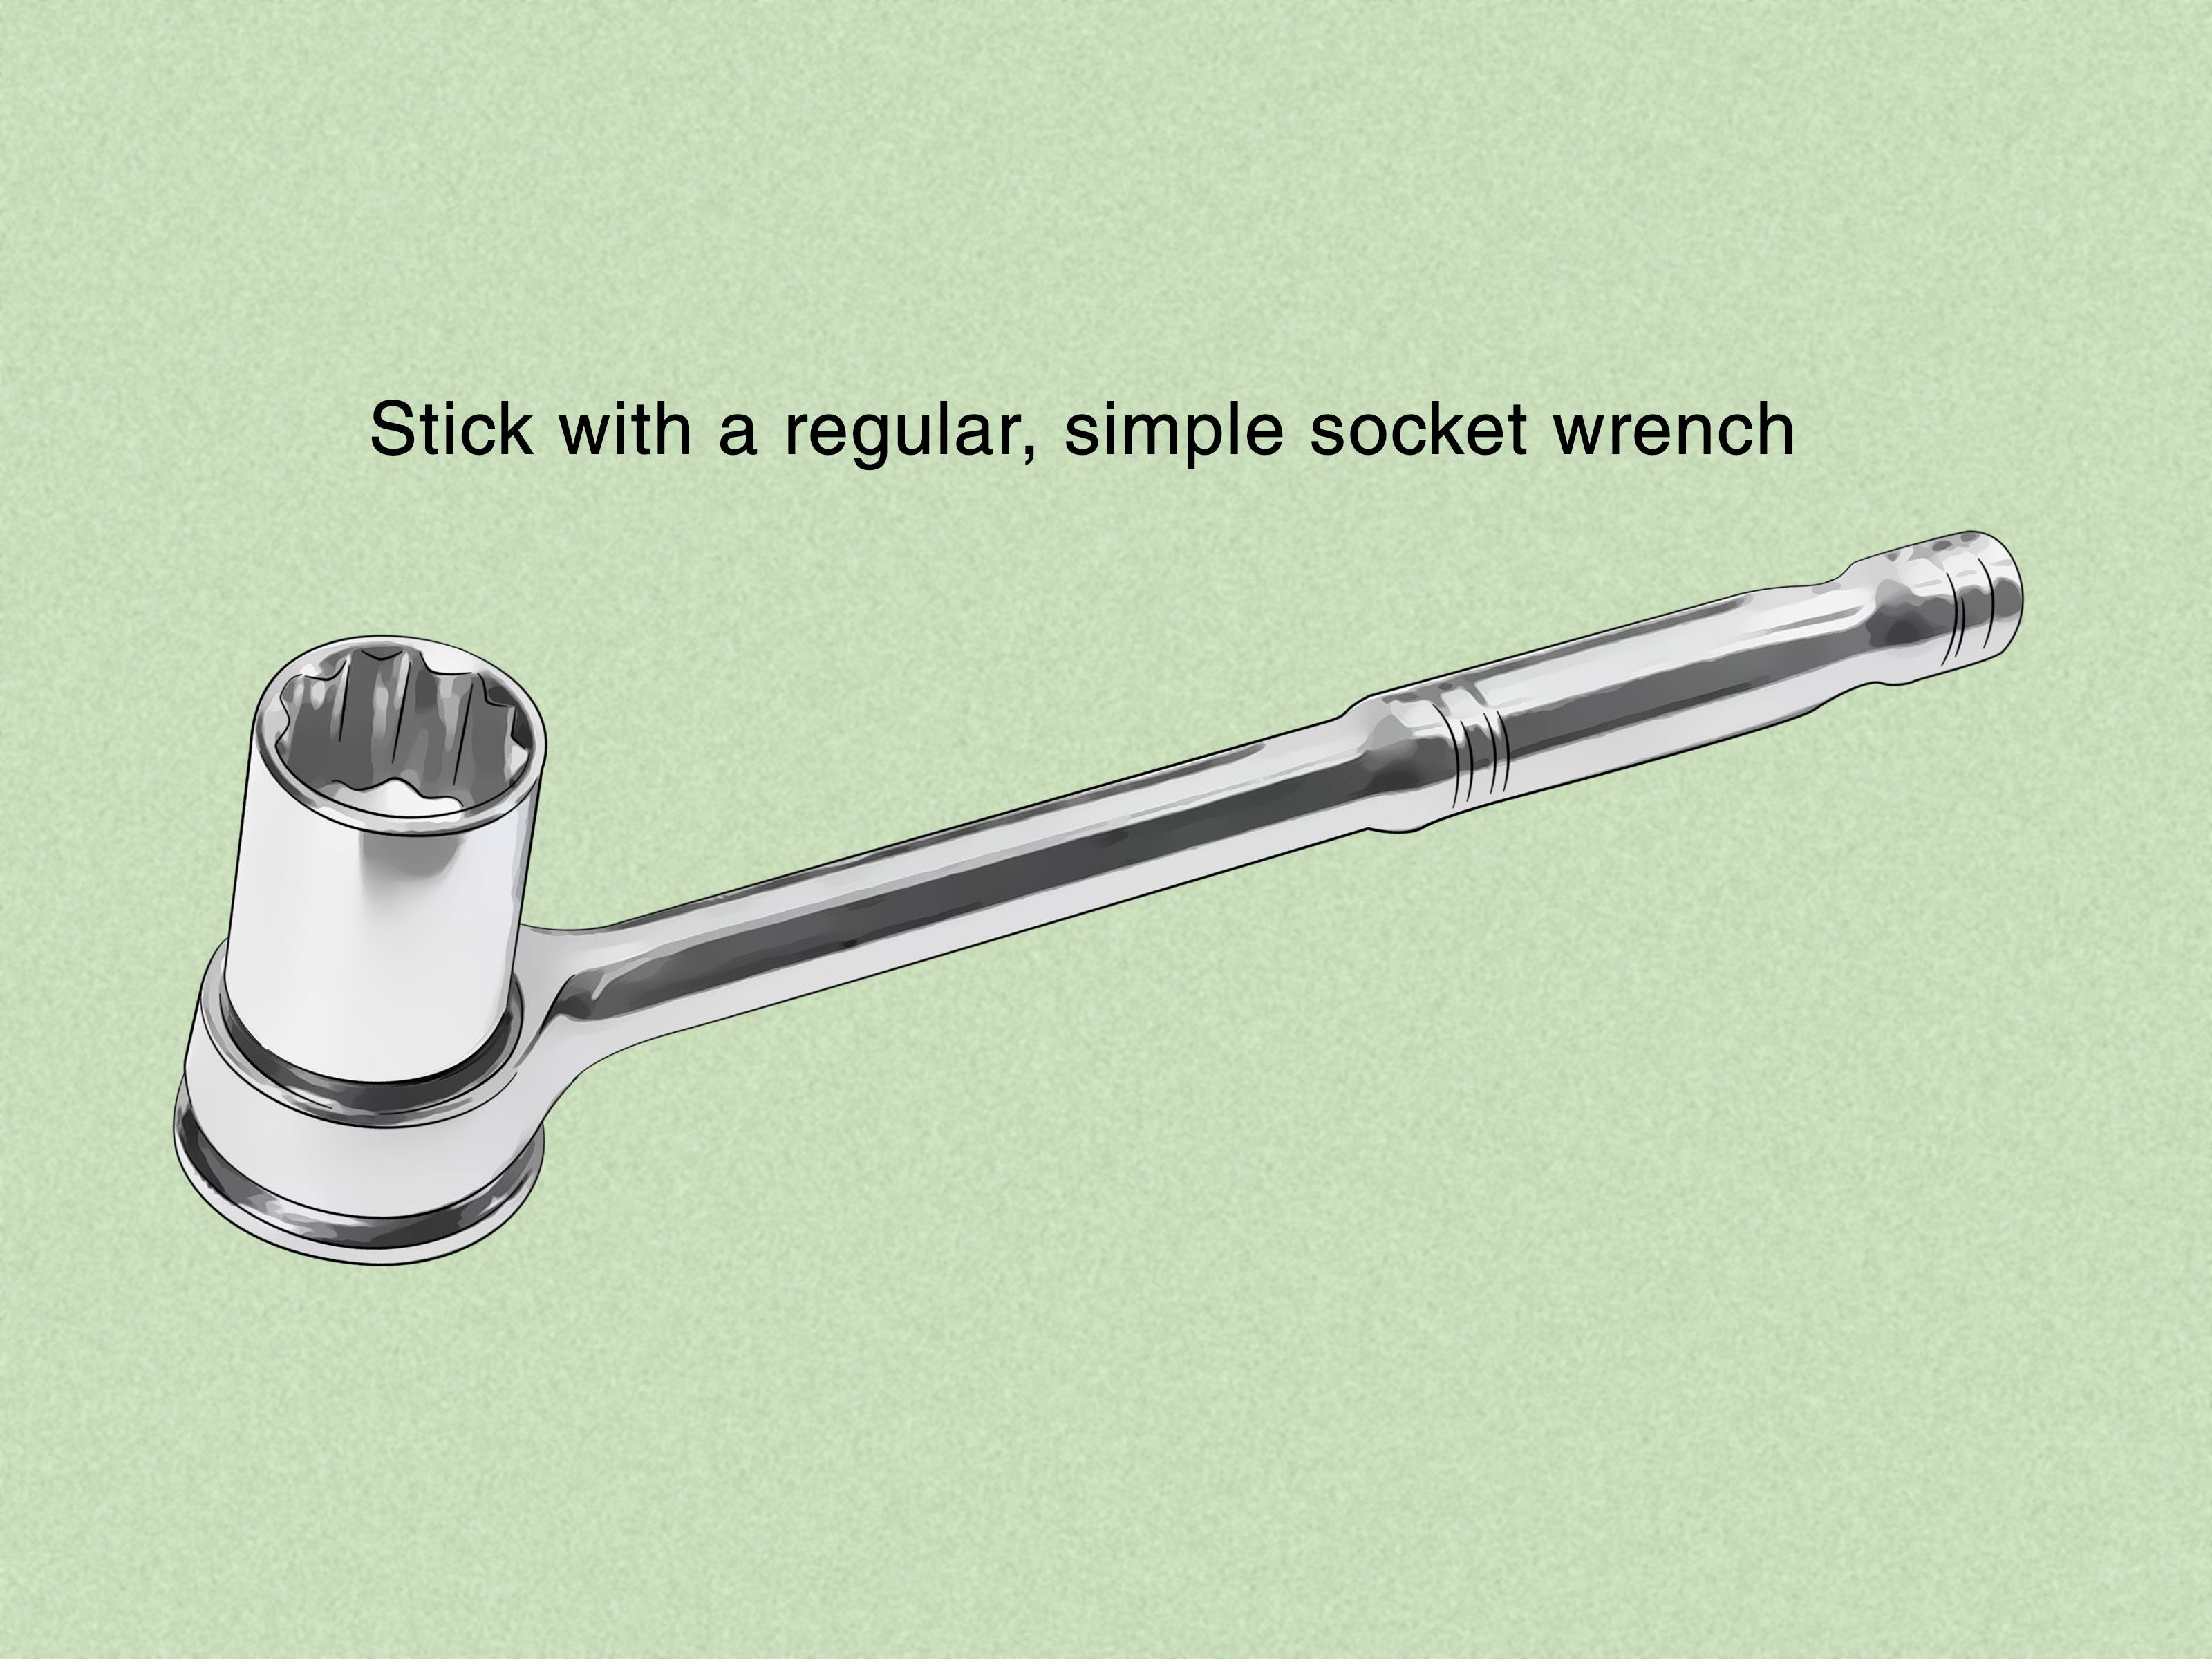
A torque wrench is one of those tools that looks simple until it saves you from a very expensive mistake. It does not just “tighten a bolt.” It tightens a bolt to a specific amount of rotational force, which is exactly what matters when you are installing lug nuts, spark plugs, cylinder head bolts, bicycle components, suspension parts, engine covers, and anything else that should be snugbut not “gorilla tight.”
Using a torque wrench correctly is not difficult, but it does require a little respect. Think of it less like a regular ratchet and more like a measuring instrument with a handle. Treat it well, set it correctly, pull it smoothly, and it will help you avoid stripped threads, warped parts, loose wheels, crushed gaskets, broken studs, and the classic DIY phrase: “Well, that did not sound good.”
This guide explains how to use a torque wrench, how to read torque wrench settings, how to maintain and store it, and how to avoid common mistakes that can throw off accuracy.
What Is a Torque Wrench?
A torque wrench is a tool designed to tighten a fastener to a specified torque value. Torque is twisting force, usually measured in foot-pounds, inch-pounds, or Newton-meters. When a repair manual says a bolt should be tightened to 80 ft-lb, it means the fastener needs that amount of twisting force to create the right clamping load.
That clamping load is the real goal. A properly tightened bolt stretches slightly, creating tension that holds parts together. Too little torque and the fastener can loosen. Too much torque and you can stretch, crack, crush, or strip something. Metal is strong, but it is not impressed by confidence.
Common Types of Torque Wrenches
Click-Type Torque Wrench
The click-type torque wrench is the most common option for automotive and home garage work. You set the desired torque on the handle, tighten the fastener, and stop when the wrench clicks. The click tells you the target torque has been reached. It is simple, reliable, and great for lug nuts, drain plugs, brackets, and many general repairs.
Beam Torque Wrench
A beam torque wrench uses a pointer and scale. As you apply force, the beam bends and the pointer shows the torque value. It has fewer moving parts and does not need to be wound back after use, but it requires a clear view of the scale while tightening.
Digital Torque Wrench
A digital torque wrench displays torque on a screen and may beep, vibrate, or flash when you reach the target. It is useful for precision work and for users who want easier reading. Digital models often require batteries and may need professional calibration just like mechanical models.
Split-Beam Torque Wrench
A split-beam wrench is a mechanical option that is often easier to set than a traditional click-type wrench. Many split-beam designs do not require being turned down to the lowest setting after use because they are not stored under the same spring tension as many micrometer click wrenches.
Before You Use a Torque Wrench
Find the Correct Torque Specification
Never guess the torque setting. The correct value should come from the vehicle owner’s manual, factory service manual, repair database, component manufacturer, or wheel manufacturer. Online charts can be useful for reference, but the official specification wins the argument every time.
For example, many passenger car lug nuts fall somewhere around 75 to 100 ft-lb, but trucks, trailers, aftermarket wheels, and specialty vehicles may need different values. Spark plugs, oil drain plugs, brake caliper bolts, intake bolts, and aluminum parts can also have very specific requirements.
Check the Units
Torque settings may be listed in ft-lb, in-lb, or Nm. Do not mix them up. One foot-pound equals 12 inch-pounds. That means 10 ft-lb is 120 in-lb, not 10 in-lb. Confusing those numbers can turn a small bolt into modern art.
Newton-meters are also common, especially on bicycles, motorcycles, and imported vehicles. If your wrench does not show the unit you need, use a reliable conversion before setting it.
Use the Right Size Wrench
A torque wrench is most useful when the target value falls comfortably within its working range. Avoid using a huge 1/2-inch-drive wrench for tiny 5 Nm bicycle bolts or a small 1/4-inch-drive wrench for wheel lug nuts. Many torque wrenches are most dependable away from the extreme low and high ends of their range.
- 1/4-inch drive: small fasteners, bicycles, motorcycles, interior trim, small engine parts
- 3/8-inch drive: spark plugs, brake components, engine covers, medium automotive work
- 1/2-inch drive: lug nuts, suspension bolts, larger automotive fasteners
- 3/4-inch or 1-inch drive: heavy trucks, industrial equipment, large machinery
How to Set a Click-Type Torque Wrench
Most beginners start with a click-type torque wrench, so let’s walk through the process.
Step 1: Unlock the Handle
Many click-type wrenches have a locking knob, collar, or ring at the bottom of the handle. Loosen or pull it to unlock the adjustment mechanism.
Step 2: Turn the Handle to the Main Scale
Rotate the handle until the main scale lines up near your desired torque value. For example, if you need 80 ft-lb, turn the handle until the scale reaches 80 or the closest lower number depending on your wrench design.
Step 3: Use the Micrometer Scale
Some wrenches use a main scale plus a rotating handle scale. If the main scale is set to 70 ft-lb and the handle scale is turned to 10, the total setting is 80 ft-lb. Read your tool’s manual because scale designs vary.
Step 4: Lock the Setting
Once the desired torque is set, lock the handle. This prevents the setting from changing while you work. A loose setting can lead to inaccurate tightening, and inaccurate tightening is exactly what the tool is supposed to prevent.
How to Use a Torque Wrench Correctly
Step 1: Start the Fastener by Hand
Always start nuts and bolts by hand before using a wrench. This helps prevent cross-threading. If the fastener does not turn easily for the first few threads, stop and check alignment. A torque wrench cannot fix crooked threads; it can only make the problem more dramatic.
Step 2: Snug the Fastener First
Use a regular ratchet or wrench to bring the fastener close to snug. Do not use the torque wrench to remove stuck bolts or to crank fasteners down from loose unless the manufacturer specifically allows that style of use. A torque wrench should be used for final tightening to specification.
Step 3: Place Your Hand on the Handle
Hold the torque wrench at the designated grip area. The tool is calibrated based on the handle length. Choking up on the shaft or pulling from the very end in an odd way can affect accuracy.
Step 4: Pull Smoothly
Apply slow, steady pressure. Do not jerk the wrench. Do not bounce on it. Do not perform a full-body gym routine. Smooth pressure gives the mechanism time to respond accurately.
Step 5: Stop at the First Click
When a click-type wrench clicks, stop. One click is enough. Repeated clicking can add more torque, especially if the fastener is no longer moving. The goal is not “click-click-click for luck.” The goal is one controlled pull to the target value.
Step 6: Use a Pattern for Multiple Fasteners
When tightening wheels, cylinder heads, valve covers, intake manifolds, brake rotors, or bicycle stem faceplates, use the recommended tightening sequence. Many parts require a crisscross or star pattern to distribute clamping force evenly.
How to Torque Lug Nuts
Lug nuts are one of the most common reasons people buy a torque wrench, and for good reason. Under-tightened lug nuts can loosen. Over-tightened lug nuts can stretch studs, damage wheels, distort brake rotors, or make roadside removal nearly impossible.
Basic Lug Nut Procedure
- Check the vehicle or wheel manufacturer’s torque specification.
- Make sure the wheel is seated flat against the hub.
- Thread all lug nuts by hand.
- Snug them lightly in a star or crisscross pattern.
- Lower the vehicle enough that the tire touches the ground and does not spin.
- Set the torque wrench to the correct value.
- Tighten in a star pattern until the wrench clicks once on each lug nut.
- Make a second pass to confirm all lug nuts are evenly torqued.
For many wheels, it is also smart to recheck lug nut torque after about 50 to 100 miles, especially after wheel installation, tire rotation, or new wheel mounting. This helps confirm the clamping load after parts settle from driving, heat cycles, and vibration.
Should Threads Be Dry or Lubricated?
This is a sneaky detail that matters. Lubrication changes friction, and friction changes how much clamping force is created at a given torque. A bolt tightened to 80 ft-lb with dry threads may not produce the same clamping load as a bolt tightened to 80 ft-lb with oil, grease, or anti-seize.
Use the condition specified by the manufacturer. If the instructions say clean and dry, keep the threads clean and dry. If they call for oil, grease, anti-seize, or thread locker, use the recommended product and amount. Do not add lubricant “just to be safe” unless the instructions say so. That little dab of confidence can become a stripped thread with excellent shine.
Using Extensions and Adapters
Regular socket extensions usually do not significantly change torque because they do not change the effective lever length of the wrench. However, adapters like crowfoot wrenches can change the effective length if they are placed in line with the torque wrench.
If you use a crowfoot adapter at a 90-degree angle to the wrench handle, the effective length usually stays the same, so the torque setting does not need adjustment. If the crowfoot extends the wrench length in line with the handle, you may need to calculate a corrected torque setting. When in doubt, use the tool manufacturer’s instructions or a torque adapter calculator.
Common Torque Wrench Mistakes
Using It as a Breaker Bar
Do not use a torque wrench to loosen stuck bolts. Breaker bars and regular ratchets are made for that kind of work. A torque wrench is for controlled tightening. Using it as a muscle tool can damage the mechanism or knock it out of calibration.
Ignoring the Correct Torque Spec
“Tight enough” is not a torque specification. Guessing may work on a garden gate, but it is a bad plan for wheels, brakes, engines, carbon bike parts, aluminum housings, and suspension components.
Pulling Too Fast
A quick jerk can overshoot the target torque. Pull slowly and steadily until the wrench signals.
Clicking More Than Once
One click means stop. Repeated clicks can over-tighten the fastener.
Using the Wrong Range
A torque wrench designed for 50 to 250 ft-lb is not ideal for a 7 ft-lb fastener. Choose a wrench that matches the job.
Forgetting to Reset the Wrench
Many adjustable click-type torque wrenches should be stored at their lowest marked setting after use. Do not turn below the lowest marked value unless the manual says to. The point is to relieve spring tension without damaging the adjustment mechanism.
Torque Wrench Maintenance
Store It Properly
Keep your torque wrench in its case when possible. Store it in a clean, dry place away from moisture, heavy dust, and extreme temperatures. Do not toss it into a toolbox where it can be smashed by sockets, hammers, and that mysterious bolt you have been saving since 2012.
Set Click-Type Wrenches to the Lowest Marked Setting
For many micrometer click-type torque wrenches, storing at the lowest marked torque value helps reduce internal spring tension. Do not force the handle below the lowest value. If your wrench is split-beam or digital, follow the manufacturer’s storage instructions.
Keep It Clean
Wipe the wrench with a clean, dry cloth after use. Avoid solvents unless the manufacturer allows them. Do not soak the head or spray lubricant into the mechanism unless the manual specifically tells you to do so.
Do Not Drop It
A torque wrench can survive normal use, but a hard drop can affect accuracy. If it falls from a bench or gets damaged, have it checked before using it on critical fasteners.
Exercise the Wrench If It Has Been Sitting
If a click-type wrench has not been used for a long time, set it to a moderate value and click it a few times on a safe test fastener before doing precision work. This can help internal parts move smoothly again.
Torque Wrench Calibration
Calibration verifies that the wrench is applying the torque it says it is applying. Many professional shops and tool manufacturers recommend checking calibration about once a year or after roughly 5,000 cycles for frequently used tools. You should also check calibration after a drop, damage, heavy use, or any time accuracy is questionable.
For casual home use, annual calibration may feel like overkill, but it is wise for critical jobs. If you are tightening lug nuts, brake components, engine internals, aircraft hardware, industrial equipment, or expensive bicycle parts, accuracy matters. A torque wrench with a certificate or recent calibration gives you more confidence than a dusty mystery wrench inherited from a garage drawer.
Practical Examples
Example 1: Tightening Lug Nuts
Your owner’s manual lists wheel lug torque at 90 ft-lb. You install the wheel, hand-thread the lug nuts, snug them in a star pattern, lower the tire lightly to the ground, set the wrench to 90 ft-lb, and tighten each lug nut until one click. Then you repeat the star pattern for confirmation. After driving 50 to 100 miles, you recheck the torque.
Example 2: Installing Spark Plugs
Spark plugs often thread into aluminum cylinder heads, which are not forgiving. Start each plug by hand, follow the plug or engine manufacturer’s torque specification, and use the correct wrench range. Too little torque can cause sealing problems; too much torque can damage threads or crush the plug washer too far.
Example 3: Bicycle Stem Bolts
Many bicycle components list torque in Nm, such as 5 Nm or 6 Nm. Use a small torque wrench designed for low torque values. Tighten paired bolts gradually and evenly instead of fully tightening one side first. This is especially important with carbon fiber parts, where over-tightening can cause costly damage.
How to Choose the Right Torque Wrench
Choose based on the work you actually do. For general automotive maintenance, a 1/2-inch-drive click torque wrench in the 20 to 150 ft-lb range is useful for wheels and many suspension jobs. A 3/8-inch-drive wrench may be better for spark plugs, brake hardware, and engine covers. For small fasteners, choose an inch-pound or low-range Nm wrench.
Look for clear markings, a comfortable handle, a locking adjustment, a sturdy case, and a calibration certificate if available. Accuracy specifications matter, but so does readability. A torque wrench you cannot read clearly is just a shiny guessing stick.
Troubleshooting: Why Your Torque Wrench Feels Wrong
It Clicks Too Soon
Check that the setting is correct and that you are reading the scale properly. Also confirm you are not using the wrong unit. If the wrench still seems off, have it tested.
It Does Not Click
Stop before applying excessive force. You may have set the value too high, exceeded the tool range, or the wrench may need service. Do not keep pulling until something makes a noise. That noise may be your bolt resigning.
The Fastener Keeps Turning
If a fastener keeps turning and never reaches torque, the threads may be stripped, the part may be compressing, or the wrong fastener may be installed. Stop and inspect.
The Wrench Was Dropped
Do not assume it is fine. For noncritical work it may seem acceptable, but for safety-related fasteners, verify calibration before use.
of Real-World Experience: What Using a Torque Wrench Teaches You
The first lesson a torque wrench teaches is humility. Most people overestimate how tight a bolt needs to be. If you have ever removed lug nuts installed by an impact wrench set to “thunderstorm,” you know the feeling. You lean, grunt, question your life choices, and eventually wonder whether the wheel was attached by a medieval blacksmith. A torque wrench brings the process back to earth. It shows you that proper tightness is not always maximum tightness.
In real garage work, the biggest improvement comes from slowing down. Before using a torque wrench, clean the fastener area, inspect the threads, confirm the torque spec, and make sure the socket fits fully. Those small steps feel boring until they prevent a rounded nut or a stripped aluminum hole. The best mechanics are not the ones who pull the hardest. They are the ones who notice when something feels wrong before it becomes expensive.
Another useful habit is tightening in stages. On wheels, covers, manifolds, and parts with multiple bolts, do not bring one fastener fully to final torque while the others are loose. Snug everything first, then work up in a pattern. For example, if the final torque is 90 ft-lb, you might snug the lug nuts, make a pass at around 50 ft-lb, then finish at 90 ft-lb. This helps parts seat evenly and reduces the chance of distortion.
Storage also matters more than beginners expect. A torque wrench left loaded at a high setting for months may drift. A wrench bouncing around in a drawer may lose accuracy. A digital model with old batteries may behave unpredictably. Once you start treating the tool like a measuring device, not a pry bar with numbers, it lasts longer and performs better.
One of the most practical experiences is rechecking wheel torque after driving. It takes only a few minutes, but it builds confidence. Set the wrench to the correct lug nut torque, follow the star pattern, and confirm each nut. If none move before the click, great. If one turns noticeably, you just found a problem before it found you on the highway.
Finally, a torque wrench develops mechanical feel. Over time, you learn what 20 ft-lb, 80 ft-lb, or 5 Nm feels like. That does not mean you should stop using the tool; it means you become better at noticing unusual resistance, dirty threads, wrong hardware, or parts that are not seated correctly. The wrench gives the number, but your attention keeps the job safe.
Final Thoughts
Learning how to use a torque wrench is one of the best upgrades you can make to your DIY skill set. It helps you work with accuracy instead of guesswork, especially on vehicles, bicycles, motorcycles, engines, wheels, and delicate components. The basic rules are simple: use the correct torque specification, choose the right wrench range, start fasteners by hand, pull smoothly, stop at the first click, and maintain the tool properly.
A torque wrench will not make you invincible, but it will make you more precise. And in mechanical work, precision is often the difference between a clean repair and a weekend that suddenly includes drilling out a broken bolt.
Note: This article is for educational purposes. Always follow the manufacturer’s service manual, safety instructions, torque specifications, and lubrication requirements for the exact vehicle, tool, or component you are working on.












