
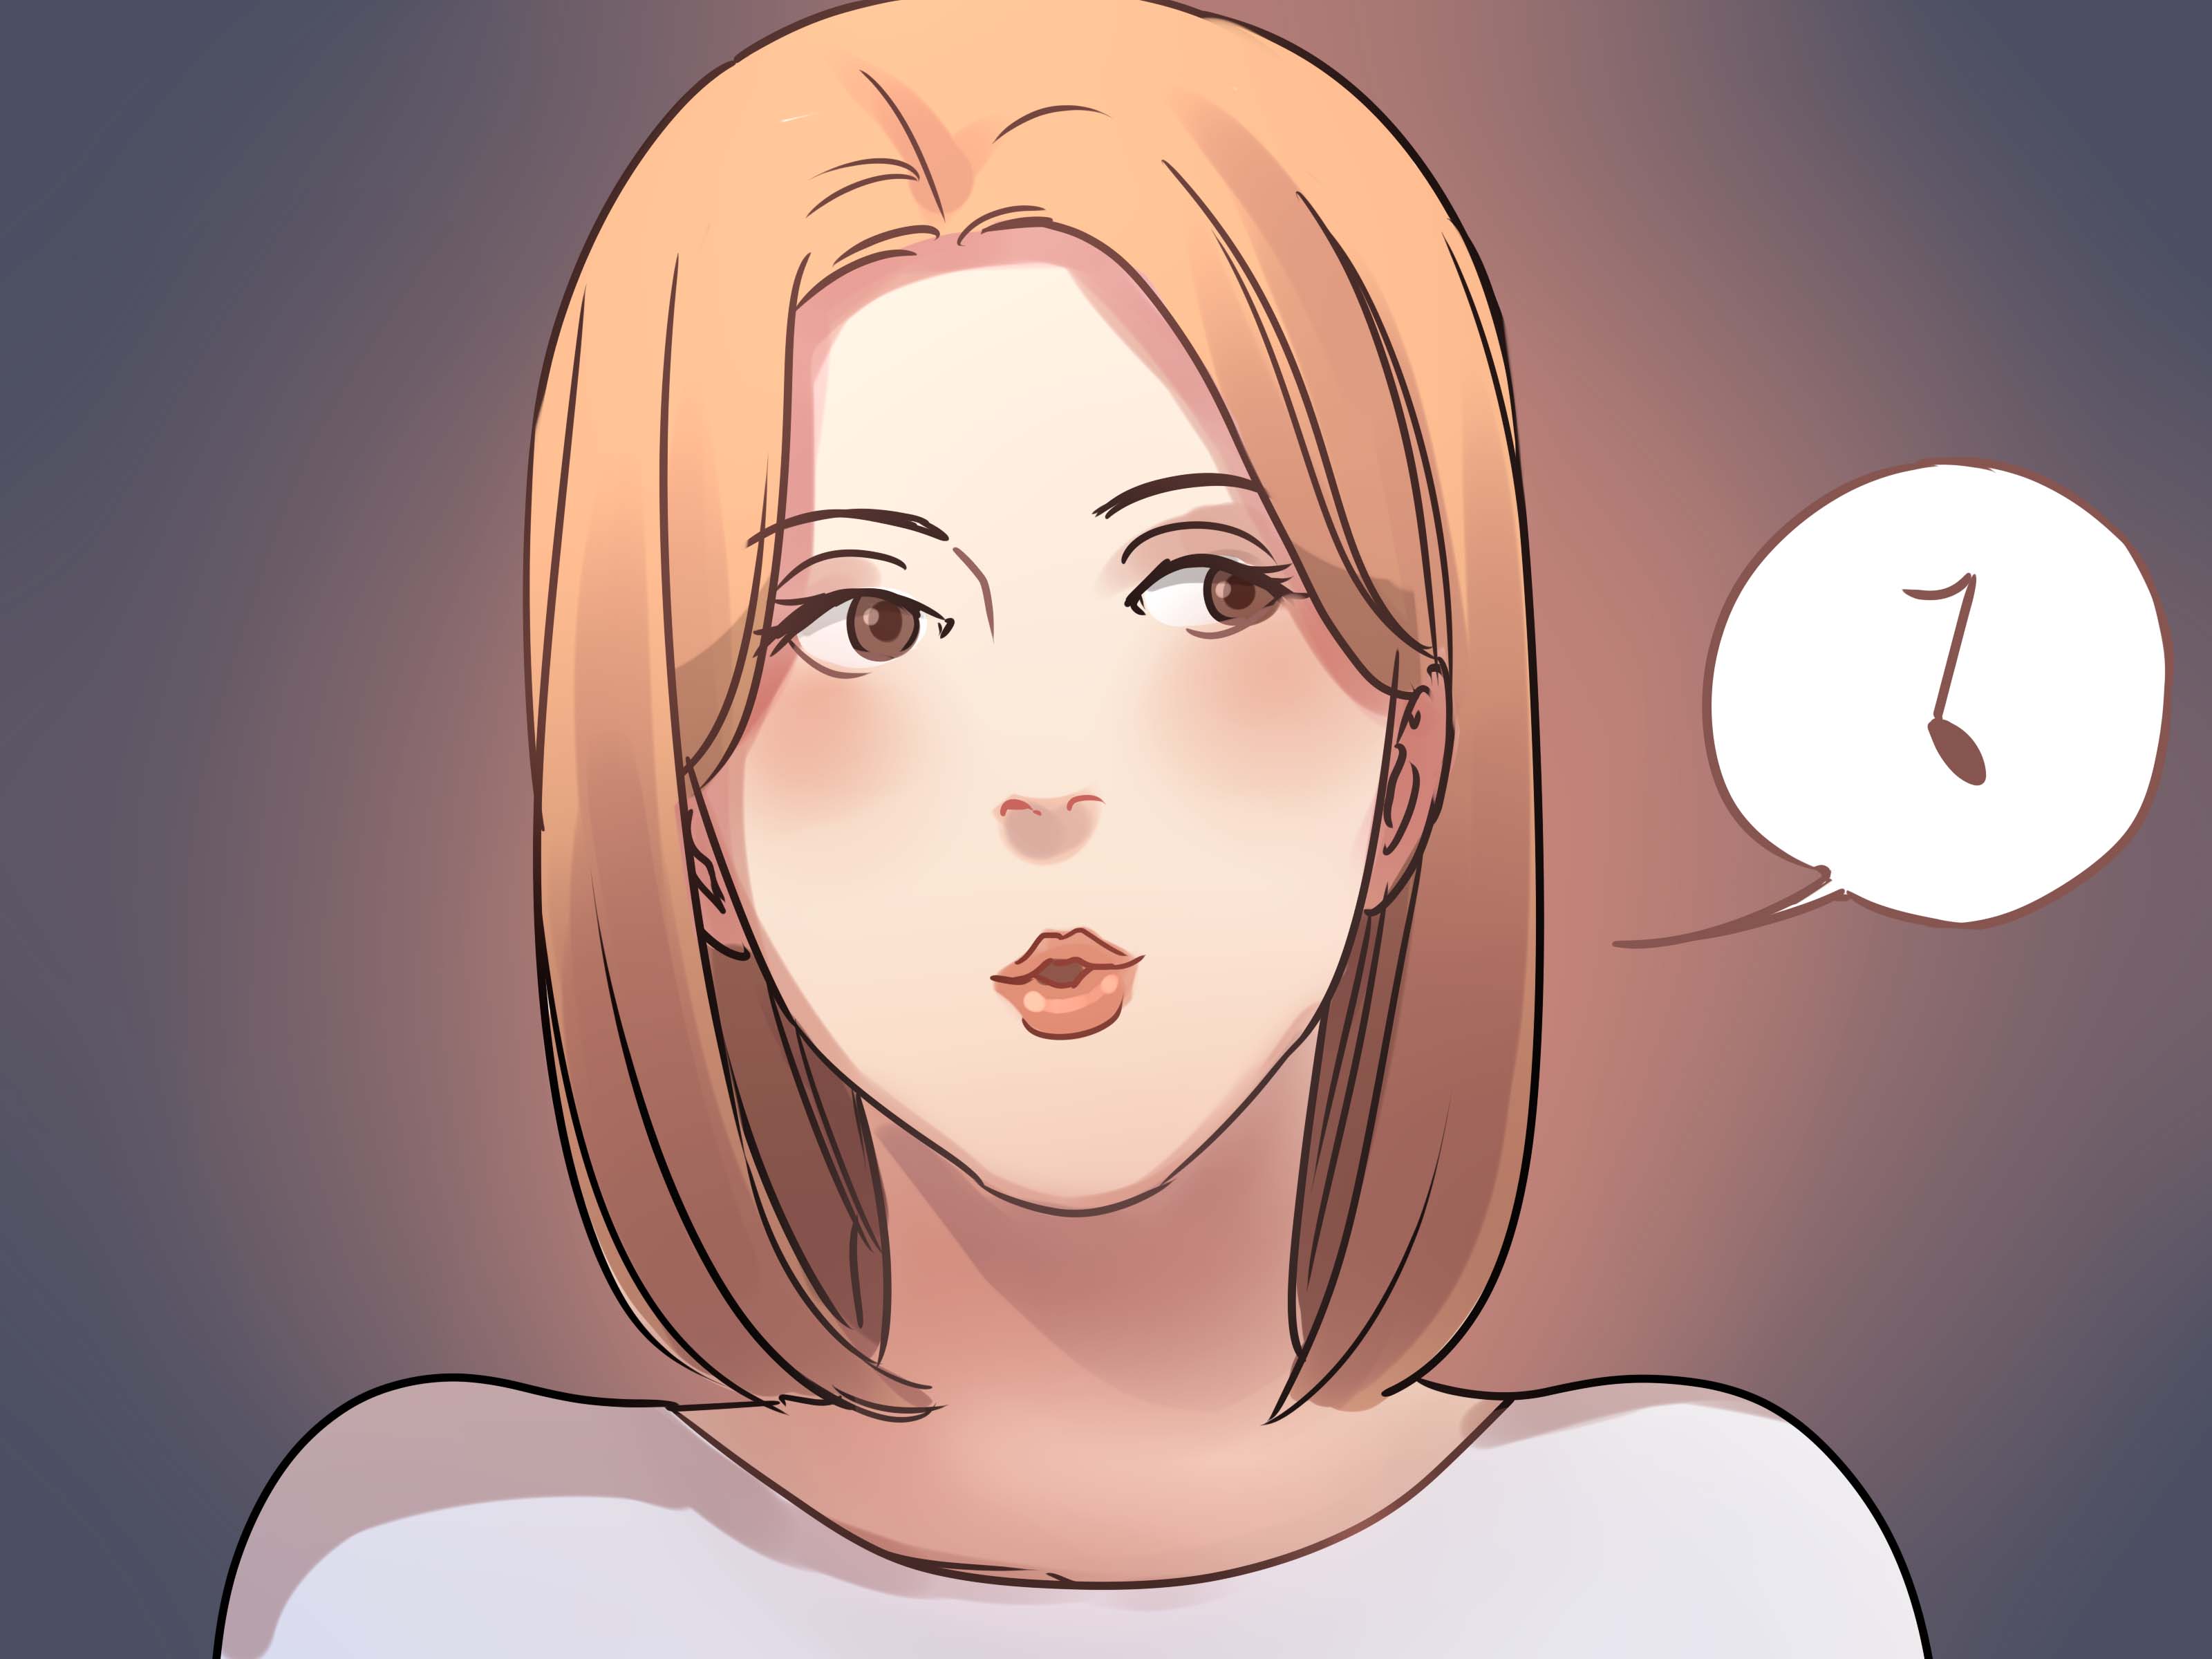
Learning how to whistle with your tongue can feel oddly personal. One person makes a bright, clean whistle on the first try, while another stands in front of the mirror puffing air like a confused tea kettle. The good news? Whistling is not magic. It is a tiny sound experiment happening inside your mouth, using your lips, tongue, breath, and patience.
When you whistle, your mouth works like a small musical instrument. Your tongue helps shape the air channel, your lips create a narrow opening, and your breath supplies the movement that turns plain air into sound. Once you understand the shape, the rest is practice. Not dramatic, “train on a mountain for six months” practicejust a few short sessions where you adjust, listen, and try again.
This guide explains how to whistle with your tongue in 10 practical steps, including beginner-friendly positioning, common mistakes, troubleshooting tips, and real-world practice experiences. Whether you want to whistle a tune, get someone’s attention, or finally stop being the person who says, “I can’t whistle,” this is your starting line.
What Does “Whistling With Your Tongue” Mean?
Whistling with your tongue usually means using the tongue to control the shape of the airflow inside your mouth. Unlike a simple lip whistle, where the lips do most of the visible work, tongue whistling depends heavily on where your tongue sits, how close it is to the roof of your mouth, and how smoothly air moves over or around it.
There are several types of mouth whistling. Some people pucker their lips and lift the tongue slightly. Others curl the tongue, use the tongue tip behind the lower teeth, or even use fingers to push the tongue into position for a louder whistle. In this article, we will focus mainly on the finger-free tongue whistle because it is cleaner, easier to practice anywhere, and less likely to make you look like you are trying to remove popcorn from your molars in public.
How Whistling Works: The Simple Science
A whistle happens when air moves through a small opening and vibrates in a controlled way. Your mouth becomes a resonating chamber, similar to a tiny flute. Change the shape of that chamber, and you change the pitch. Move your tongue forward, backward, higher, or lower, and the sound may become sharper, softer, higher, lower, or disappear completely.
The tongue matters because it controls the air path. If the space is too wide, you get breathy air. If it is too tight, the sound chokes. If your lips are loose, the air escapes without focus. A clear whistle needs a sweet spot: steady breath, firm but relaxed lips, and a tongue position that guides air through a narrow channel.
Before You Start: Set Yourself Up for Success
Whistling is easier when your mouth is slightly moist. If your mouth is very dry, the air may feel scratchy and harder to control. Take a sip of water before practicing. Avoid forcing the sound, especially if your jaw starts to feel tense. Whistling should feel light, not like you are inflating a truck tire with your face.
Practice in short bursts. Five minutes is enough for one session. Your mouth muscles are small, and they can get tired quickly. A relaxed beginner often learns faster than someone who attacks the skill like it owes them money.
How to Whistle With Your Tongue: 10 Steps
Step 1: Wet Your Lips and Relax Your Mouth
Start by gently moistening your lips. You do not need to overdo it; this is not a lip balm commercial. The goal is simply to help your lips seal smoothly. Relax your jaw and cheeks. Keep your mouth loose enough to adjust but firm enough to hold a shape.
Think of your mouth as an instrument before a performance. If everything is stiff, the sound will be stiff too. Take one slow breath in through your nose and let your shoulders drop. That little reset helps more than people expect.
Step 2: Form a Small “O” Shape With Your Lips
Pucker your lips into a small, rounded opening. The hole should be small, about the size of a pea or slightly smaller. If the opening is too wide, the air spreads out and loses power. If it is too tight, the air may squeak or stop.
Do not push your lips too far forward. A gentle pucker works better than a cartoon kiss. Your lips should feel controlled, not strained. Imagine you are quietly saying “oo,” as in “food,” but without using your voice.
Step 3: Place Your Tongue Behind Your Lower Teeth
Rest the tip of your tongue lightly behind your lower front teeth. This position gives the air a smooth ramp to travel over. The middle of your tongue should rise slightly toward the roof of your mouth, but it should not press hard against it.
This is where many beginners get stuck. They either flatten the tongue too much or jam it upward. Instead, aim for a gentle curve. The tongue should shape the air, not block it like a security guard at a nightclub.
Step 4: Leave a Narrow Air Channel
Now create a small space between your tongue and the roof of your mouth. Air needs a narrow path to move through. Too much space creates a dull blowing sound. Too little space creates pressure without tone.
A helpful trick is to whisper the sound “hew” or “whoo” without using your voice. Notice how your tongue naturally lifts and creates a channel. That position is close to what you need for a beginner tongue whistle.
Step 5: Blow Gently at First
Blow a soft, steady stream of air through your lips. Do not blast. Beginners often think more power equals more whistle, but too much air can destroy the shape before sound has a chance to form. Start gently, then increase pressure only after you hear a faint tone.
If you hear nothing but air, that is normal. You are not failing; you are mapping the invisible geometry of your mouth. Whistling is mostly micro-adjustment. The first tiny sound is the breakthrough.
Step 6: Adjust Your Tongue Height
While blowing, slowly raise and lower the middle of your tongue. Move in tiny amounts. A millimeter can make the difference between silence and a whistle. If the tone appears briefly, pause and try to remember the exact mouth position.
Higher tongue placement often creates a higher pitch. Lower tongue placement may create a softer or lower sound. But every mouth is shaped a little differently, so treat these rules as a guide, not a strict law carved into a stone tablet.
Step 7: Tighten the Lip Opening Slightly
If your air sounds too breathy, make the lip opening smaller. The lips should focus the air into a clean stream. Keep the corners of your mouth slightly firm. If the corners collapse, air leaks out and the whistle disappears.
Try this: blow gently, then slowly tighten your lips as if zooming in with a camera lens. Somewhere in that adjustment, you may hear the tone sharpen. That is your mouth finding the whistle zone.
Step 8: Keep Your Breath Steady
A whistle needs consistent airflow. If your breath pulses, the whistle may crack, fade, or wobble. Practice blowing as if you are cooling soup on a spoon: controlled, smooth, and not aggressive enough to redecorate the table.
Once you can make a faint whistle, try holding it for two seconds. Then three. Then five. Duration matters because it teaches your mouth to remember the shape. A short accidental whistle is exciting, but a held whistle means you are gaining control.
Step 9: Experiment With Pitch
After you can produce a steady whistle, play with pitch. Move your tongue slightly forward to brighten the sound. Pull it slightly back to lower or round the tone. Change the lip opening a little and listen carefully.
Do not rush into songs yet. First, learn how your mouth changes sound. Try making one high note, one lower note, and one comfortable middle note. Think of it as learning three buttons on a new instrument.
Step 10: Practice Short Tunes and Real-Life Use
Once you can control a few notes, practice simple patterns. Start with two-note changes, then try a basic melody like a short nursery tune or a simple call-and-response pattern. Keep it light. Whistling improves when practice feels playful.
Also, use good manners. A whistle can be cheerful, but it can also be loud or distracting. Practice away from sleeping people, studying people, nervous pets, and anyone holding hot coffee. Great power, tiny mouth instrument, reasonable responsibility.
Common Whistling Mistakes and How to Fix Them
Mistake 1: Blowing Too Hard
Too much air is the most common beginner mistake. If your cheeks puff up and your face feels tense, reduce the pressure. A whistle needs focused air, not hurricane-force enthusiasm.
Mistake 2: Leaving the Lips Too Loose
Loose lips allow air to escape in every direction. Firm the corners of your mouth and make the opening smaller. The center of the lips should guide air forward like a nozzle.
Mistake 3: Pressing the Tongue Too Hard
Your tongue should shape the airflow, not seal off your mouth. If air feels blocked, lower the tongue slightly. If sound is airy, raise it slightly. Tiny changes matter.
Mistake 4: Practicing With a Dry Mouth
A dry mouth can make whistling uncomfortable and less controlled. Sip water before practicing. If dry mouth is persistent, painful, or connected with other symptoms, it is worth asking a healthcare professional for advice.
Mistake 5: Changing Everything at Once
If you adjust your lips, tongue, jaw, and breath all at the same time, you will not know what helped. Change one thing at a time. First adjust the tongue. Then the lips. Then the airflow.
How Long Does It Take to Learn?
Some people learn to whistle in minutes. Others need days or weeks. The timeline depends on mouth shape, breath control, tongue awareness, and plain old trial and error. The most important sign of progress is not a perfect whistle; it is noticing what changes the sound.
Even a faint squeak is useful feedback. A squeak means air is starting to vibrate in the right way. From there, you refine the position. Whistling is like tuning a radio. At first, everything is static. Then, suddenly, a signal appears.
Tips for Making Your Whistle Louder
To make your tongue whistle louder, do not simply blow harder. First, improve the seal around your lips. Then make sure the air channel over your tongue is narrow and stable. Once the shape is strong, add more breath support gradually.
Use your diaphragm gently, the same way you would support a long spoken phrase. Your cheeks should not balloon dramatically. If they do, you are storing air instead of directing it. A louder whistle comes from better focus, not facial inflation.
Can Everyone Learn to Whistle?
Most people can learn some form of whistling, but not everyone learns the same way. Teeth alignment, tongue mobility, lip shape, mouth size, and even comfort with breath control can affect technique. If one method does not work, try another. A pucker whistle, tongue whistle, inward whistle, or finger whistle may suit your mouth better.
If you have jaw pain, mouth sores, tongue restrictions, or dental issues, avoid forcing practice. Whistling should not hurt. A comfortable technique is always better than a dramatic one that makes your face file a complaint.
Beginner Practice Routine
Use this simple five-minute routine once or twice a day:
- Drink a sip of water and relax your jaw.
- Hold the small “O” lip shape for 20 seconds.
- Place your tongue behind your lower teeth and blow gently.
- Adjust tongue height slowly for one minute.
- Adjust lip tightness for one minute.
- Try to hold any whistle sound for two to five seconds.
- End with a relaxed breath and stop before your mouth feels tired.
This routine works because it trains control without frustration. You are not trying to win a whistling championship by Friday. You are teaching your mouth to repeat a precise shape.
Experience Notes: What Learning to Whistle Actually Feels Like
Learning how to whistle with your tongue often feels less like learning a skill and more like solving a tiny puzzle with no picture on the box. At first, many beginners do the obvious things: pucker the lips, blow air, wait for music. Instead, they get a soft hiss, a cheeky little puff, or the kind of silence that makes the mirror seem judgmental.
The first useful experience is realizing that whistling is not about effort. A beginner may blow harder and harder, thinking volume will somehow summon the sound. Usually, the opposite happens. The harder they blow, the more the mouth shape falls apart. Then, during a random gentle breath, a tiny whistle appears for half a second. That tiny sound is exciting because it proves the skill is possible. It is like finding one bar of phone signal in the wilderness.
Another common experience is inconsistency. A learner may make a whistle once, celebrate like they just won an Olympic medal, and then immediately lose it. This is completely normal. The mouth has not yet memorized the position. The best response is to freeze for a moment and notice everything: Were the lips tight? Was the tongue high? Was the jaw relaxed? Was the air soft or firm? These observations turn accidents into repeatable technique.
Some people discover that their best whistle happens when they stop staring at themselves in the mirror. A mirror helps with lip shape, but it cannot show what the tongue is doing inside the mouth. Too much visual checking can make the face tense. Many learners improve faster when they close their eyes, blow gently, and focus on feel and sound. The ear becomes the coach.
There is also a funny social side to learning. Practicing around family members can invite commentary. Someone will say, “Just do it like this,” then produce a perfect whistle with zero explanation, which is about as helpful as saying, “To fly, simply become airborne.” That is why step-by-step practice matters. People who can already whistle often forget how many small adjustments are involved.
A good practice experience is short and calm. Two or three minutes while walking outside, waiting for coffee, or taking a break from work can be more effective than a long, frustrated session. Your lips and tongue get tired. When they do, the whistle becomes worse, and then your mood joins the collapse. Stop before irritation takes over. The next session will usually feel easier.
Many learners also notice that hydration helps. A slightly moist mouth allows smoother airflow and better lip control. This does not mean you need any special product. A simple sip of water is often enough. On the other hand, practicing with a dry, sticky mouth can make the technique feel harder than it really is.
The best milestone is not the first whistle. It is the first repeatable whistle. Once you can make the sound three or four times in a row, your confidence changes. You begin to understand how your tongue controls pitch, how your lips focus air, and how small adjustments create big differences. From there, whistling becomes less mysterious and more playful.
Eventually, you may find yourself whistling without thinking: while cleaning, walking, waiting, or pretending you are not avoiding a chore. That is when the skill becomes yours. It starts as awkward air management and turns into a small, cheerful habit. Not a bad reward for something that costs nothing and fits entirely inside your face.
Conclusion
Whistling with your tongue is a learnable skill built from small adjustments. The basic formula is simple: relaxed mouth, rounded lips, tongue behind the lower teeth, narrow air channel, and steady breath. The challenge is finding the exact position that works for your mouth. Once you hear even a faint whistle, you are no longer guessingyou are refining.
Practice gently, stay patient, and change one thing at a time. Your first whistle may be tiny, squeaky, or hilariously unstable, but that still counts. Every clear tone begins as a weird little puff of air that finally found its path.
SEO Tags
Note: This article is written for web publication and synthesizes practical whistling technique, basic sound science, and general oral-comfort guidance from reputable instructional, science, and health references without including source-link elements in the HTML.














