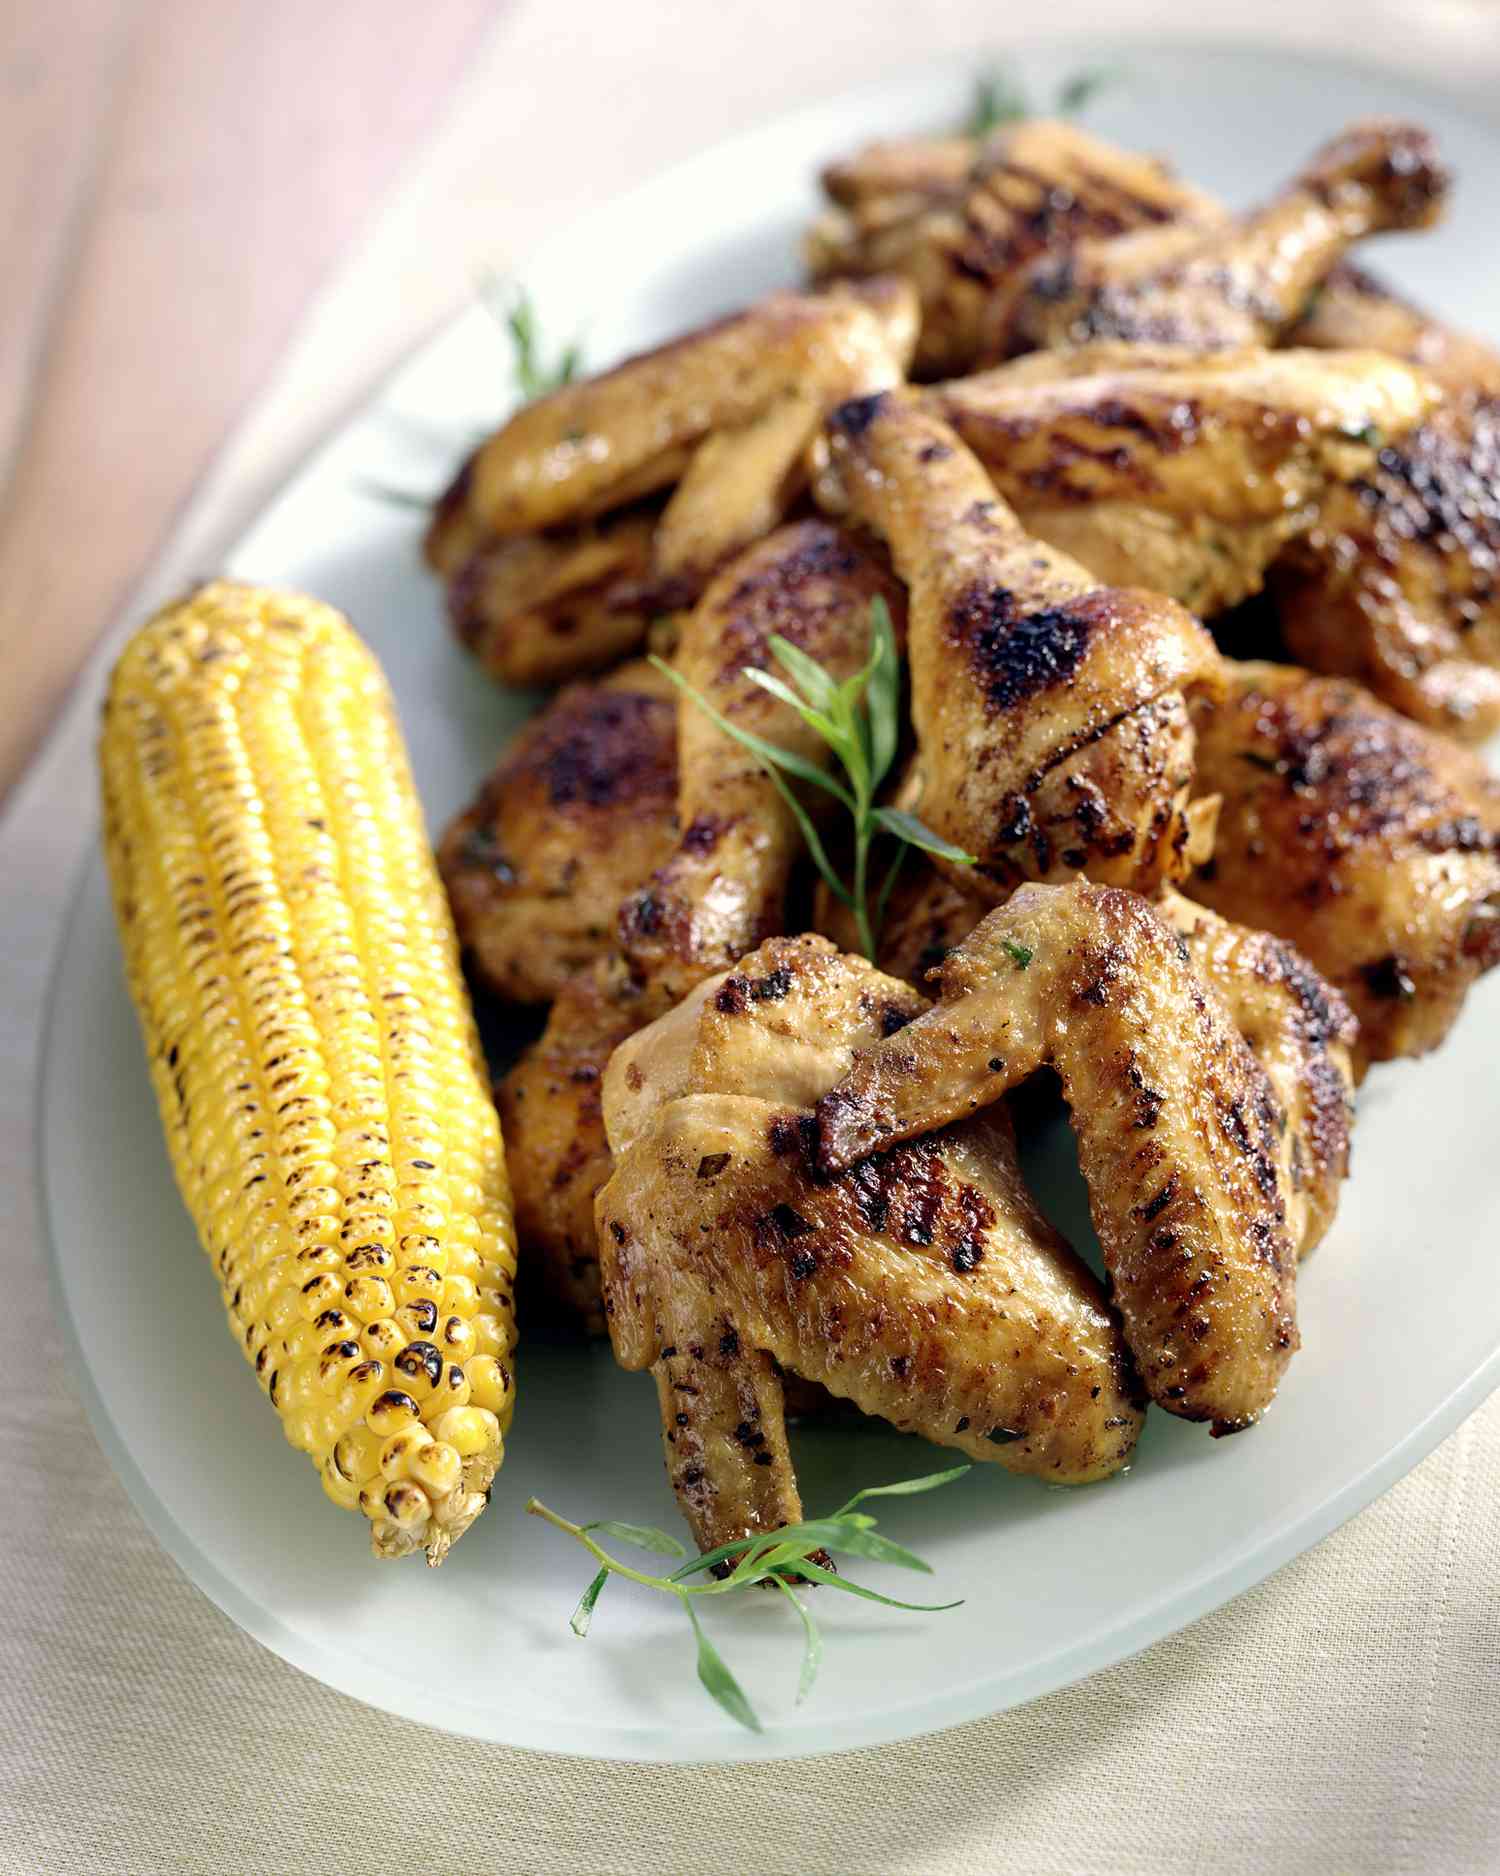
Some dinners walk into the kitchen wearing a cape. This recipe for crockpot chicken with dry rub is one of them. It asks for a handful of pantry spices, a few minutes of prep, and the heroic patience to let your slow cooker do the heavy lifting while you go live your life. By dinner, you get tender chicken with a deeply seasoned, savory-sweet crust that tastes like you spent far more effort than you actually did. That is not laziness. That is culinary efficiency wearing fuzzy slippers.
The beauty of crockpot chicken with dry rub is that it gives you big barbecue-style flavor without needing a grill, smoker, or dramatic weather report. A good dry rub clings to the chicken, seasons the meat as it cooks, and blends with the juices in the bottom of the slow cooker to create a rich, spoonable sauce. Use chicken thighs for juicy, forgiving results, chicken breasts for lean meal prep, or a mix if your family enjoys negotiating dinner like a committee.
This guide covers the best chicken cuts, a balanced homemade dry rub, step-by-step slow cooker instructions, serving ideas, storage tips, and real kitchen experience to help you avoid dry chicken, bland seasoning, and the mysterious sadness of overcooked poultry.
Why This Crockpot Chicken With Dry Rub Works
A dry rub is more than a sprinkle of spices. It is a flavor strategy. Salt helps season the meat, paprika adds color and warmth, brown sugar gives a gentle caramel-like sweetness, garlic and onion powder build savory depth, and chili powder or cayenne brings a little attitude. Not too much attitude, though. We are making dinner, not starting a spice rebellion.
The slow cooker is ideal because it uses gentle, moist heat. As the chicken cooks, it releases juices that mingle with the dry rub. The result is tender meat with concentrated seasoning, especially if you place the chicken in a single layer and avoid drowning it in liquid. Unlike soups or stews, this recipe needs only a small amount of broth or water. Too much liquid washes away the rub and turns your flavorful chicken into something that tastes like it once heard about seasoning from across the room.
Best Chicken Cuts for Dry Rub Crockpot Chicken
Chicken Thighs
Chicken thighs are the top choice for this recipe. They stay juicy during long cooking, absorb bold seasoning well, and shred beautifully. Bone-in, skin-on thighs have excellent flavor, but boneless, skinless thighs are easier for meal prep and sandwiches.
Chicken Breasts
Chicken breasts work well if you prefer leaner meat, but they cook faster and can dry out if left too long. For best results, check them early and remove them once they reach a safe internal temperature of 165°F. Slice or shred them after a short rest so the juices have time to settle.
Whole Chicken
A whole chicken can also be cooked with dry rub in the crockpot. It produces tender meat and plenty of flavorful juices, but the skin will not become crispy unless you finish it under the broiler for a few minutes. Consider that optional finishing step the chicken’s red-carpet moment.
Ingredients for Crockpot Chicken With Dry Rub
For the Chicken
- 2 1/2 to 3 pounds chicken thighs or chicken breasts, thawed
- 1 tablespoon olive oil
- 1/3 cup low-sodium chicken broth
- 1 tablespoon apple cider vinegar or lemon juice
- Optional: 1 tablespoon unsalted butter for extra richness
For the Homemade Dry Rub
- 2 tablespoons brown sugar
- 1 tablespoon smoked paprika or sweet paprika
- 2 teaspoons kosher salt
- 1 1/2 teaspoons garlic powder
- 1 1/2 teaspoons onion powder
- 1 teaspoon chili powder
- 1 teaspoon dried oregano or Italian seasoning
- 1/2 teaspoon black pepper
- 1/4 teaspoon cayenne pepper, optional
- 1/2 teaspoon ground cumin, optional for smoky depth
This dry rub gives you a balanced flavor: smoky, savory, lightly sweet, and just spicy enough to keep things interesting. If you are cooking for kids or spice-sensitive eaters, skip the cayenne. If your dinner table enjoys a little fire, add extra chili powder or a pinch more cayenne.
How to Make Crockpot Chicken With Dry Rub
Step 1: Pat the Chicken Dry
Place the chicken on a plate or cutting board and pat it dry with paper towels. This small step matters. A dry surface helps the spice rub stick better, which means more flavor stays on the chicken instead of sliding into the slow cooker like it gave up halfway.
Step 2: Mix the Dry Rub
In a small bowl, stir together the brown sugar, paprika, salt, garlic powder, onion powder, chili powder, oregano, black pepper, and optional cayenne or cumin. Break up any brown sugar clumps with a fork. The rub should look evenly mixed and smell like something that belongs near a backyard grill.
Step 3: Season Generously
Rub the chicken with olive oil, then coat every side with the dry rub. Use your hands or tongs to press the seasoning into the meat. If you have time, let the seasoned chicken rest in the refrigerator for 30 minutes to 8 hours. This helps the salt and spices penetrate more deeply. If you are cooking right away, no problem. Dinner will still be delicious.
Step 4: Add a Small Amount of Liquid
Pour the chicken broth and apple cider vinegar into the bottom of the crockpot. The liquid prevents scorching and creates a flavorful base, but it should not cover the chicken. Remember, the chicken will release its own juices as it cooks.
Step 5: Slow Cook Until Tender
Place the seasoned chicken in the slow cooker in a single layer when possible. Cover and cook on low for 4 to 6 hours or on high for 2 to 3 hours, depending on the size and cut of the chicken. Chicken breasts often finish sooner, while bone-in thighs may need a bit longer. The chicken is done when it reaches an internal temperature of 165°F when checked with a food thermometer.
Step 6: Rest, Slice, or Shred
Transfer the chicken to a plate and let it rest for 5 to 10 minutes. You can serve it whole, slice it for dinner plates, or shred it with two forks. Spoon some of the seasoned cooking juices over the top for extra flavor. That liquid is not “just juice.” It is basically the slow cooker’s thank-you note.
Optional Broiler Finish for Better Texture
Slow cookers are amazing at tenderness, but they do not brown food the way an oven or skillet does. If you want a slightly caramelized outside, place the cooked chicken on a foil-lined baking sheet and broil it for 3 to 5 minutes. Brush it lightly with the crockpot juices first. Watch carefully because brown sugar can go from “beautifully glazed” to “tiny campfire” rather quickly.
Flavor Variations
BBQ-Style Dry Rub Chicken
Add 1 teaspoon mustard powder and use smoked paprika. After cooking, toss shredded chicken with a few spoonfuls of the cooking juices and a little barbecue sauce. Serve on buns with coleslaw for an easy pulled chicken sandwich.
Southwest Crockpot Chicken
Add cumin, chili powder, and a pinch of coriander. Shred the chicken and serve it in tacos, burrito bowls, quesadillas, or nachos. Add lime juice at the end to brighten the flavor.
Herb Garlic Chicken
Skip the brown sugar and cayenne. Use garlic powder, onion powder, thyme, rosemary, parsley, salt, and pepper. This version is excellent with mashed potatoes, rice, roasted vegetables, or a simple green salad.
Spicy Honey Rub Chicken
Add cayenne to the rub and drizzle the cooked chicken with 1 to 2 tablespoons of honey before broiling. The result is sweet, spicy, sticky, and dangerously snackable.
What to Serve With Crockpot Dry Rub Chicken
This chicken is flexible enough to work with classic comfort-food sides or lighter weekday meals. For a cozy dinner, serve it with mashed potatoes, mac and cheese, cornbread, green beans, or roasted carrots. For a fresher plate, pair it with cucumber salad, cabbage slaw, steamed broccoli, or a big mixed salad with avocado and lime dressing.
For meal prep, shred the chicken and use it throughout the week. It works in rice bowls, wraps, tacos, baked potatoes, grain bowls, chicken salad, flatbread pizzas, and quick pasta dishes. One crockpot batch can become several meals, which is wonderful because future-you deserves applause and possibly a cookie.
Tips for the Best Crockpot Chicken With Dry Rub
Do Not Start With Frozen Chicken
For food safety and even cooking, use thawed chicken in the slow cooker. Frozen chicken can spend too much time in the temperature range where bacteria grow quickly. Thaw chicken in the refrigerator, in cold water, or in the microwave if you plan to cook it immediately afterward.
Use a Food Thermometer
Color is not the best way to judge doneness. Chicken can look cooked before it is safe, and slow-cooked chicken may remain slightly pink near the bone even when fully cooked. A thermometer takes away the guessing game. Cook poultry to 165°F.
Avoid Overcooking Chicken Breasts
Chicken breasts are lean, so they can become dry if cooked too long. Start checking them around the 2-hour mark on high or the 4-hour mark on low. Thighs are more forgiving and better suited for longer cooking.
Keep the Lid Closed
Every time you lift the slow cooker lid, heat escapes. That can extend the cooking time and slow everything down. Unless you are checking temperature near the end, let the crockpot do its job in peace.
Use the Cooking Juices
The liquid in the bottom of the crockpot is packed with seasoning. Skim off excess fat if needed, then spoon it over sliced chicken or mix it back into shredded chicken. You can also simmer it in a small saucepan for a few minutes to make it more concentrated.
How to Store and Reheat Leftovers
Let leftover chicken cool slightly, then refrigerate it in an airtight container within two hours. Store it in the refrigerator for up to 4 days. For longer storage, freeze shredded or sliced chicken in freezer-safe bags or containers for up to 3 months. Add a little cooking liquid before freezing to help prevent dryness.
To reheat, warm the chicken gently in a covered skillet, microwave-safe dish, or small saucepan with a splash of broth. Avoid blasting it with high heat for too long, especially if you used chicken breasts. Reheat until hot throughout, then serve with fresh herbs, lemon juice, barbecue sauce, salsa, or your favorite finishing touch.
Common Mistakes to Avoid
Using Too Much Liquid
This is one of the most common slow cooker mistakes. You only need enough liquid to protect the bottom and create steam. Too much broth dilutes the dry rub and gives the chicken a boiled texture instead of a rich, seasoned flavor.
Skipping the Salt
Salt is not just there to make food salty. It helps bring out the flavor of the chicken and the spices. If you are watching sodium, reduce the amount slightly and use low-sodium broth, but do not remove salt completely unless medically necessary.
Forgetting Acid
A splash of apple cider vinegar or lemon juice balances the brown sugar and spices. It keeps the flavor from feeling flat. You do not need much; just enough to make the dish taste brighter.
Expecting Crispy Skin From a Crockpot
A slow cooker creates moisture, not crispiness. If you use skin-on chicken and want the skin crisp, finish it under the broiler. Otherwise, remove the skin before serving or enjoy the chicken for its tender, juicy texture.
Recipe Card: Crockpot Chicken With Dry Rub
Prep Time
10 minutes
Cook Time
2 to 6 hours, depending on setting and chicken cut
Servings
6 servings
Ingredients
- 2 1/2 to 3 pounds thawed chicken thighs or chicken breasts
- 1 tablespoon olive oil
- 1/3 cup low-sodium chicken broth
- 1 tablespoon apple cider vinegar or lemon juice
- 2 tablespoons brown sugar
- 1 tablespoon smoked paprika
- 2 teaspoons kosher salt
- 1 1/2 teaspoons garlic powder
- 1 1/2 teaspoons onion powder
- 1 teaspoon chili powder
- 1 teaspoon dried oregano
- 1/2 teaspoon black pepper
- 1/4 teaspoon cayenne pepper, optional
Instructions
- Pat the chicken dry with paper towels.
- Mix the brown sugar, paprika, salt, garlic powder, onion powder, chili powder, oregano, black pepper, and optional cayenne in a small bowl.
- Rub the chicken with olive oil, then coat it evenly with the dry rub.
- Pour the broth and apple cider vinegar into the slow cooker.
- Add the seasoned chicken in a single layer when possible.
- Cover and cook on low for 4 to 6 hours or high for 2 to 3 hours, until the chicken reaches 165°F.
- Rest for 5 to 10 minutes, then slice or shred.
- Spoon the seasoned juices over the chicken before serving.
Kitchen Experience: What I Learned Making Crockpot Chicken With Dry Rub
The first time I made crockpot chicken with dry rub, I expected the slow cooker to behave like a tiny indoor grill. This was optimistic, adorable, and completely wrong. The chicken came out tender, but the seasoning tasted a little washed out because I had added too much broth. I had treated the crockpot like a soup pot instead of a slow cooker. Lesson learned: when using a dry rub, the liquid should support the chicken, not give it swimming lessons.
On the next attempt, I patted the chicken dry, used only a small amount of broth, and pressed the spice mixture firmly onto the meat. The difference was huge. The rub stayed where it belonged, the chicken released enough natural juices, and the finished dish had a much deeper flavor. That was the moment this recipe moved from “fine weeknight chicken” to “wait, why is everyone suddenly standing near the crockpot with forks?”
Chicken thighs became my favorite cut for this method. They are forgiving, flavorful, and nearly impossible to ruin unless you forget about them for half a calendar year. Boneless thighs shred easily and soak up the seasoned juices beautifully. Bone-in thighs taste even richer, especially if you broil them for a few minutes after slow cooking. Chicken breasts are still useful, especially for meal prep, but they need a closer eye. Once they hit 165°F, they should come out and rest. Leaving them in the slow cooker for hours after they are done is how juicy chicken becomes desk-chair cushion.
I also learned that the dry rub can change the whole personality of the meal. With smoked paprika, chili powder, and brown sugar, the chicken leans barbecue-style and practically begs for cornbread. Add cumin and lime, and suddenly it belongs in tacos. Use herbs, garlic, and lemon, and it turns into a Sunday-dinner situation with potatoes and green beans. The base recipe is dependable, but the seasoning can travel.
Another practical tip: save the juices. At first glance, the liquid in the slow cooker might look humble, but it carries the spice rub, chicken flavor, and just enough fat to make shredded chicken taste rich. I like to strain it, skim a little fat if needed, and stir it back into the meat. For sandwiches, I reduce the liquid in a saucepan until slightly thicker. It makes the chicken taste more intentional, which is chef-speak for “people will think you tried harder.”
This recipe is especially useful on busy days because the prep is short and the payoff is generous. You can season the chicken in the morning, cook it while you work, and have dinner ready before anyone can ask the dreaded question: “So, what are we eating?” It also holds up well for leftovers. The next day, shredded dry rub chicken can become tacos, wraps, rice bowls, loaded baked potatoes, or a quick chicken salad with a smoky twist.
The biggest experience-based advice is simple: trust the thermometer, not the clock alone. Slow cookers vary. Chicken pieces vary. Even the mood of your kitchen seems to vary sometimes. A food thermometer gives you the answer. When the chicken reaches 165°F, it is safe. When it rests and gets tossed with those seasoned juices, it is delicious. And when dinner tastes this good with only ten minutes of prep, it is perfectly acceptable to take all the credit.
Conclusion
A great recipe for crockpot chicken with dry rub should be simple, flavorful, and flexible enough for real life. This version checks all the boxes: pantry spices, minimal prep, juicy chicken, and plenty of ways to serve it. The dry rub brings smoky, savory, lightly sweet flavor, while the slow cooker keeps the meat tender and easy to shred. Whether you serve it with classic sides, tuck it into tacos, pile it onto sandwiches, or use it for weekly meal prep, this crockpot chicken earns its spot in your regular dinner rotation.
Note: This article is based on widely accepted slow-cooker cooking methods and current poultry food-safety guidance. For best results, always start with thawed chicken and confirm doneness with a food thermometer.