
A ceiling fan should make your room feel breezy, not sound like a tiny helicopter is preparing for takeoff above your bed. If your ceiling fan is making noise, the good news is that the cause is often simple: a loose screw, dusty blades, a wobbly mount, an unbalanced blade, or a light kit that has decided to become a percussion instrument.
The not-so-good news? Some ceiling fan noises can point to electrical problems, worn parts, or an unsafe installation. That means the right fix depends on the sound. A clicking ceiling fan is not the same problem as a grinding ceiling fan. A hum after installing a new dimmer switch is a different beast from a rattle that only happens on high speed. Your fan is basically speaking in appliance Morse code. This guide translates it.
Below, we will break down the most common reasons a ceiling fan makes noise, how to troubleshoot each sound, what you can safely fix yourself, and when to call an electrician before your fan becomes modern ceiling art.
Common Ceiling Fan Noises and What They Usually Mean
The fastest way to diagnose a noisy ceiling fan is to listen carefully. Is the sound rhythmic? Does it happen only on high speed? Does it come from the motor, the blades, the ceiling canopy, or the light fixture? You do not need a detective hat, although nobody is stopping you.
1. Clicking or Tapping Noise
A clicking ceiling fan is usually caused by something loose. The most common suspects are blade screws, blade brackets, light fixture screws, the pull chain, or the ceiling canopy. As the fan spins, vibration makes the loose part tap repeatedly. The faster the fan spins, the faster the clicking becomes.
Start by turning the fan off and waiting for the blades to stop completely. Then inspect the blade screws and brackets. Tighten each screw gently but firmly. Do not overtighten, especially if your fan has wooden or composite blades, because you can strip the screw hole or crack the material.
Next, check the light kit. Loose glass shades, bulbs, decorative rings, and small retaining screws can create a surprisingly loud tick-tick-tick. If your fan has pull chains, make sure the chain is not hitting the light globe or motor housing while the fan is running.
2. Rattling Noise
A rattling ceiling fan usually means vibration is traveling through loose parts. The sound may come from the canopy near the ceiling, the mounting bracket, the light kit, the motor housing, or even wire connectors inside the switch housing. Rattling can sound harmless at first, but it should not be ignored because movement can worsen over time.
Check the canopy cover, downrod screws, mounting bracket screws, blade arms, and light kit. If the fan rattles only at high speed, the problem may be minor imbalance plus slightly loose hardware. If the fan rattles at every speed, look more closely at the mount and electrical box.
A ceiling fan must be attached to a fan-rated electrical box or secure fan support. A box designed only for a light fixture may not safely support the weight and motion of a fan. If the fan moves at the ceiling or the mounting box shifts, stop using it and call a licensed electrician.
3. Humming or Buzzing Noise
A soft hum can be normal, especially on some older AC motor fans. A loud ceiling fan humming noise, however, is a clue. It can come from the motor, a wall control, a remote receiver, an incompatible dimmer switch, resonance between the fan and ceiling, or electrical wiring issues.
One common mistake is connecting a ceiling fan motor to a standard light dimmer. Light dimmers and fan speed controls are not the same thing. A regular dimmer can cause buzzing, poor speed control, motor stress, or overheating. Use only a wall control rated for ceiling fans and compatible with your fan model.
If your ceiling fan started humming after a new remote receiver or wall switch was installed, the control may be the culprit. If the hum comes from the breaker panel, outlet, or wiring, turn off the fan and call an electrician. Electrical buzzing is not the kind of household soundtrack you want to remix.
4. Grinding Noise
A grinding ceiling fan is more serious. It may indicate worn bearings, internal motor wear, parts rubbing together, or blade brackets installed incorrectly. Some older fans have oil ports and can be lubricated, but many modern ceiling fans use sealed bearings. If those bearings fail, lubrication may not be possible, and replacement may be the practical fix.
Turn off the fan and inspect for visible rubbing. Look at the blade brackets, motor housing, decorative covers, and light kit. If a bracket or cover is touching another part, adjust it according to the owner’s manual. If nothing is visibly rubbing and the grinding appears to come from inside the motor, contact the manufacturer or a professional.
5. Scraping or Rubbing Noise
A scraping noise often means two parts are physically touching. This may happen when the canopy is pushed too tightly against the ceiling, when the motor housing is misaligned, or when blade holders are installed incorrectly. In hugger or low-profile fans, small clearances can make this more likely.
Look for scrape marks, uneven gaps, or a cover that sits crooked. Make sure the canopy is not rubbing against the ceiling or downrod. If the fan is newly installed, review the manual to confirm that blade arms, spacers, washers, and housings are assembled in the right order.
6. Wobbling With Noise
A ceiling fan that wobbles and makes noise is usually out of balance. Dust buildup, warped blades, bent blade arms, loose fasteners, or uneven blade height can all cause wobble. A tiny amount of movement is common, especially on high speed, but a fan should not sway dramatically or look like it is auditioning for a disaster movie.
Clean the blades first. Dust may not look heavy, but uneven buildup changes the blade weight enough to cause vibration. Wipe the top and bottom of each blade with a damp microfiber cloth, then dry thoroughly. After cleaning, test the fan again.
If it still wobbles, measure the distance from each blade tip to the ceiling. The measurements should be consistent. If one blade sits lower or higher, the blade arm may be bent or loose. Tighten screws and inspect for warped or cracked blades. If everything looks good but the wobble remains, use a ceiling fan balancing kit.
Step-by-Step: How to Fix a Noisy Ceiling Fan
Before touching the fan, turn it off. For anything involving wiring, the receiver, the wall switch, or the mounting bracket under the canopy, turn off power at the breaker. Safety first; dramatic sparks are only fun in cartoons.
Step 1: Identify When the Noise Happens
Run the fan briefly at low, medium, and high speed. Does the noise happen at all speeds or only one? Does it get faster as the blades spin faster? Does it stop when the light is off? Does it happen only when the wall control is used?
A speed-related click usually points to a moving part. A constant hum may point to electrical control or motor issues. A rattle on high speed may point to imbalance. A scraping sound at every speed suggests contact between parts.
Step 2: Clean the Fan Thoroughly
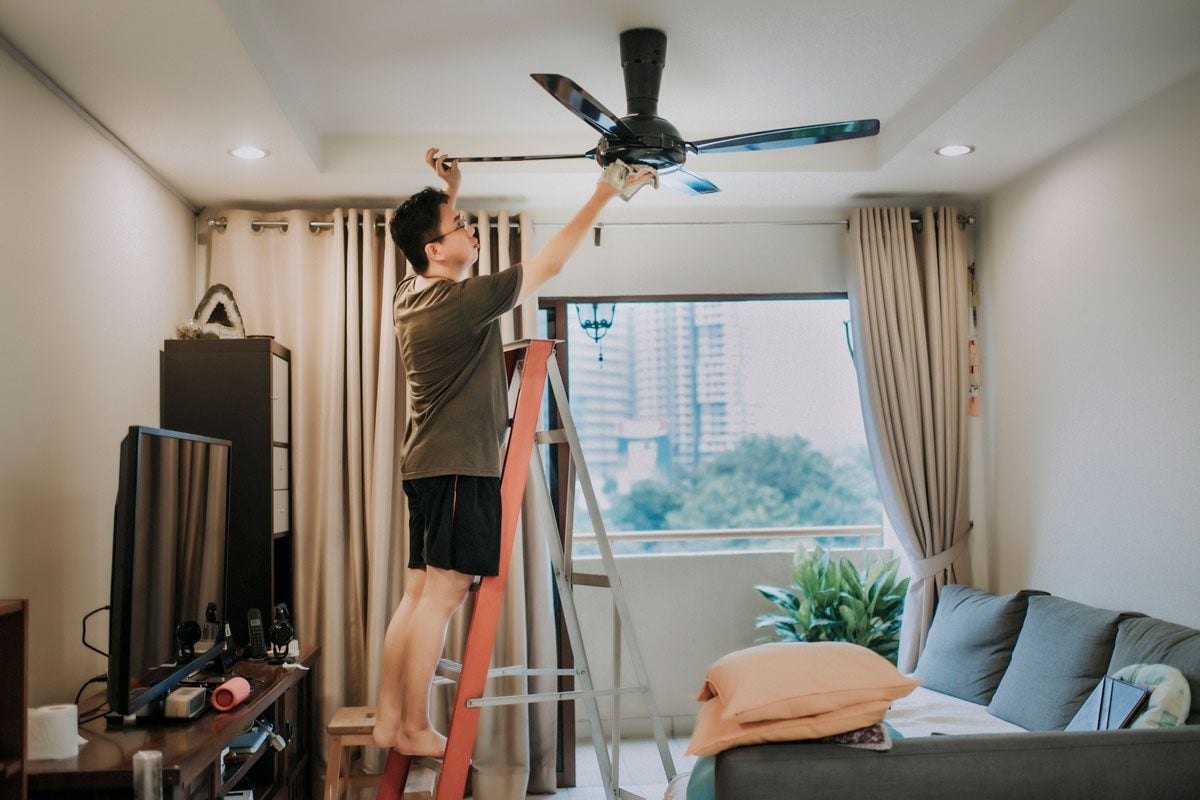
Dust is boring, but it is powerful. Dust on one blade can throw off balance and create wobble, rattle, and motor strain. Use a pillowcase over each blade to trap dust, then wipe the blade clean with a damp cloth. Clean the blade arms, motor housing, and light kit as well.
After cleaning, make sure everything is dry before turning the fan back on. Moisture and electrical fixtures are not best friends.
Step 3: Tighten the Easy Hardware
Check blade screws, blade brackets, light shade screws, bulb tightness, pull chain clearance, canopy screws, and visible motor housing screws. Many ceiling fan noises are solved right here. It is not glamorous, but neither is lying awake at midnight listening to a fan click like a haunted metronome.
Step 4: Check the Mount and Downrod
If the fan still makes noise, inspect the downrod, hanger ball, canopy, and mounting bracket. The hanger ball should sit securely in its bracket groove. The downrod screws should be tight. The canopy should cover the bracket without rubbing hard against the ceiling.
If the ceiling box moves, the fan appears poorly supported, or the fan was installed where a light fixture used to be, stop and get professional help. Ceiling fans require proper support because they create dynamic movement, not just downward weight.
Step 5: Balance the Blades
A balancing kit includes a plastic clip and small adhesive weights. Place the clip on one blade, test the fan, then move it from blade to blade until the wobble improves. Once you find the blade and position that reduces movement, attach a small weight to the top of the blade in that spot.
This process requires patience. Think of it as tuning a guitar, except the guitar is on your ceiling and nobody invited it to make noise.
Step 6: Test the Wall Control or Remote Receiver
If the fan hums, buzzes, or behaves strangely after a control change, check compatibility. A ceiling fan should use a fan-rated wall control, not a standard light dimmer unless the fan manual specifically allows it. Remote receivers can also fail or create humming. In some cases, bypassing or replacing the receiver solves the sound.
Because this step can involve wiring, call an electrician if you are not comfortable working safely with electrical systems.
Step 7: Consider Motor Wear
If the fan is old, grinding, smelling hot, crackling, or getting louder over time, the motor may be failing. Turn it off and avoid using it until the issue is identified. A replacement fan may be more cost-effective than repairing a worn motor, especially on basic models.
When a Noisy Ceiling Fan Is Dangerous
Some sounds are annoying. Others are warnings. Turn off the fan and call a professional if you notice crackling, sizzling, burning smells, visible sparks, heat at the switch, a buzzing breaker, a loose ceiling box, severe wobble, or a fan that suddenly slows down and hums without spinning.
Also be cautious if the fan is newly installed and noisy from day one. New ceiling fans can make noise because of incorrect assembly, wrong wall controls, loose mounting, or shipping damage. If it is under warranty, contact the manufacturer with the model number and proof of purchase.
How to Prevent Ceiling Fan Noise
Preventive maintenance is simple. Clean the blades every few months, especially in kitchens, bedrooms, and rooms with pets. Dust, grease, and pet hair can build unevenly and throw the fan off balance.
Once or twice a year, inspect and tighten visible screws. Check the light kit, pull chains, canopy, blade brackets, and blade screws. Replace warped or cracked blades with parts designed for your specific fan model. Do not mix random blade sets, because even small differences in length, pitch, and weight can cause wobble.
Use the right speed control and avoid standard light dimmers for the fan motor. If your fan has a reverse switch, use the correct direction for the season: counterclockwise in summer for a cooling breeze and clockwise on low in winter to help move warm air down. Proper use reduces unnecessary strain and keeps the fan running smoothly.
Should You Repair or Replace a Noisy Ceiling Fan?
Repair is usually worth trying when the fan is fairly new, the noise is clicking or rattling, the blades are in good condition, and the fix is cleaning, tightening, or balancing. These repairs are inexpensive and often take less than an hour.
Replacement makes more sense when the motor is grinding, the fan is very old, replacement parts are unavailable, the blades are warped, the fan uses outdated controls, or the installation itself is questionable. Newer fans often offer quieter motors, better blade design, integrated LED lighting, remote controls, and improved energy efficiency.
In short, do not replace a fan because of one loose screw. But do not keep a fan that sounds like a coffee grinder with wings.
Real-World Experiences: What Noisy Ceiling Fans Teach You
One common homeowner experience starts with denial. The fan clicks once. Then twice. Then it becomes part of the room’s personality. People tell themselves, “It has always done that,” even though it absolutely has not. In many cases, the mystery ends with one loose blade screw. A screwdriver turns for five seconds, and the fan becomes quiet again. It is both satisfying and mildly embarrassing, which is the essence of home maintenance.
Another familiar story is the bedroom fan that only rattles at night. During the day, it behaves like a polite appliance. At 1:00 a.m., it becomes a tiny ceiling drummer. This often happens because the room is quieter at night, making small vibrations more noticeable. Light kit glass, pull chains, or canopy screws are frequent offenders. A small adjustment can turn the room from “budget motel suspense scene” back into a peaceful sleeping space.
Then there is the wobbling fan in a rental home. The tenant may notice that the fan shakes on high speed but works fine on low. This can be caused by dust, imbalance, or an older installation. The best first step is simple cleaning and checking visible screws. However, if the ceiling mount moves or the fan looks poorly supported, that is a landlord or electrician issue, not a “let me improvise with tape” issue.
Many people also discover ceiling fan noise after replacing a wall switch. The old switch worked, the new dimmer looks sleek, and suddenly the fan hums like it is meditating badly. The problem is usually compatibility. A fan motor needs a control designed for fans. Standard light dimmers can create buzzing and may damage the motor. This is one of those home improvement lessons that sounds boring until your ceiling starts singing.
Outdoor fans bring their own personality. Patio ceiling fans collect pollen, dust, moisture, and insect debris. A fan that was quiet in spring may rattle by late summer because dirt has accumulated unevenly on the blades or hardware has loosened from constant use. Outdoor-rated fans are built for damp or wet locations, but they still need cleaning and inspection. Weather-resistant does not mean maintenance-free; it means “less dramatic when humidity shows up.”
Finally, there is the old faithful ceiling fan that has worked for fifteen years and suddenly begins grinding. Cleaning and tightening may help if something is rubbing, but a true internal grinding sound often means wear. At that point, replacing the fan can be the smarter move. A quieter, more efficient model can improve comfort and reduce the chance of future issues. Sometimes the best repair is a respectful retirement ceremony and a trip to the home improvement store.
Conclusion
If your ceiling fan is making noise, do not panic and do not immediately assume the motor is doomed. Most noisy ceiling fan problems come from loose hardware, dusty blades, unbalanced parts, rubbing covers, light kit vibration, or incompatible controls. Start with the easy fixes: clean the fan, tighten visible screws, check the light kit, inspect the canopy, and balance the blades.
Pay attention to the sound. Clicking often means loose screws. Rattling suggests vibration. Humming may involve the wall control, receiver, resonance, or motor. Grinding deserves prompt attention. Crackling, sizzling, burning smells, severe wobble, or a moving ceiling box are signs to stop using the fan and call a professional.
A quiet ceiling fan is not just more pleasant; it is usually safer, more efficient, and longer-lasting. Your fan’s job is to move air, not provide background percussion. With a little troubleshooting, you can usually restore the calm and get back to enjoying the breeze.
Note: This article provides general troubleshooting guidance. Always follow the owner’s manual for your specific ceiling fan model, turn off power before electrical work, and contact a licensed electrician for wiring, breaker, mounting box, or unsafe wobble concerns.












